How to start adding intervals to your training
Elevate your cycling and get more out of your training by adding interval sessions to your next ride
Alex Hunt
Junior Tech Writer
Interval training is a fundamental component of improving your physical ability on the bike. Although you may have heard of interval training and have a rough idea of what it is, understanding which intervals to use and how to structure them into your training can be a bit more unclear. It is not simply riding as hard as you can and then as easy as you can and repeating a bunch of times. Interval training can be used to target the different physiological systems that the body recruits whilst riding.
What is interval training?
In the simplest form interval training boils down to having set periods of time (the interval) where you ride at a target intensity separated by periods of recovery at a lower intensity. The length of an interval is infinitely variable with standard sessions using anything from 10-second max sprints through to 30min blocks. The aim is to match the interval duration and intensity to the system you are trying to develop.
Why are interval sessions so beneficial?
Firstly, intervals should be seen as a more focused approach to training. Rather than just riding around for hours at a random intensity you are allocating time in specific zones that will lead to adaptations happening in the body. Secondly, intervals are the best way of making training efficient. It can condense your training into a significantly smaller window by using intervals. This means you can either fit more training in per week or have more time to do other things away from the bike.
How do I plan my intervals?
This is where things start to get a little more complicated. The intervals you do day-to-day need to be viewed on a bigger scale and look at how the interval sessions across a week will all affect each other. If you do a session of 2 x 20-minute intervals at threshold one day, it isn’t wise to put VO2 max intervals in the following day as your body will not be in a state to make the most of the training stimulus and the fatigue from the session before might even restrict the power you can achieve in the following days.
- Read more: Should we all be doing ramp FTP tests?
What should my interval session look like?
When you have decided that today is the day to take on an interval session it is important to structure it properly. Intervals are all about specific and efficient training, to make sure that this is achieved there is a structure your rides should follow.
Warm-up
This is exactly what it sounds like. The start of the ride should be used to gradually get the body ready for what is to come. How long you spend on a warm-up is up to you, however a gradual rise in intensity is a nice way to wake the legs up, ideally with a short burst of effort at the target intensity of the intervals.
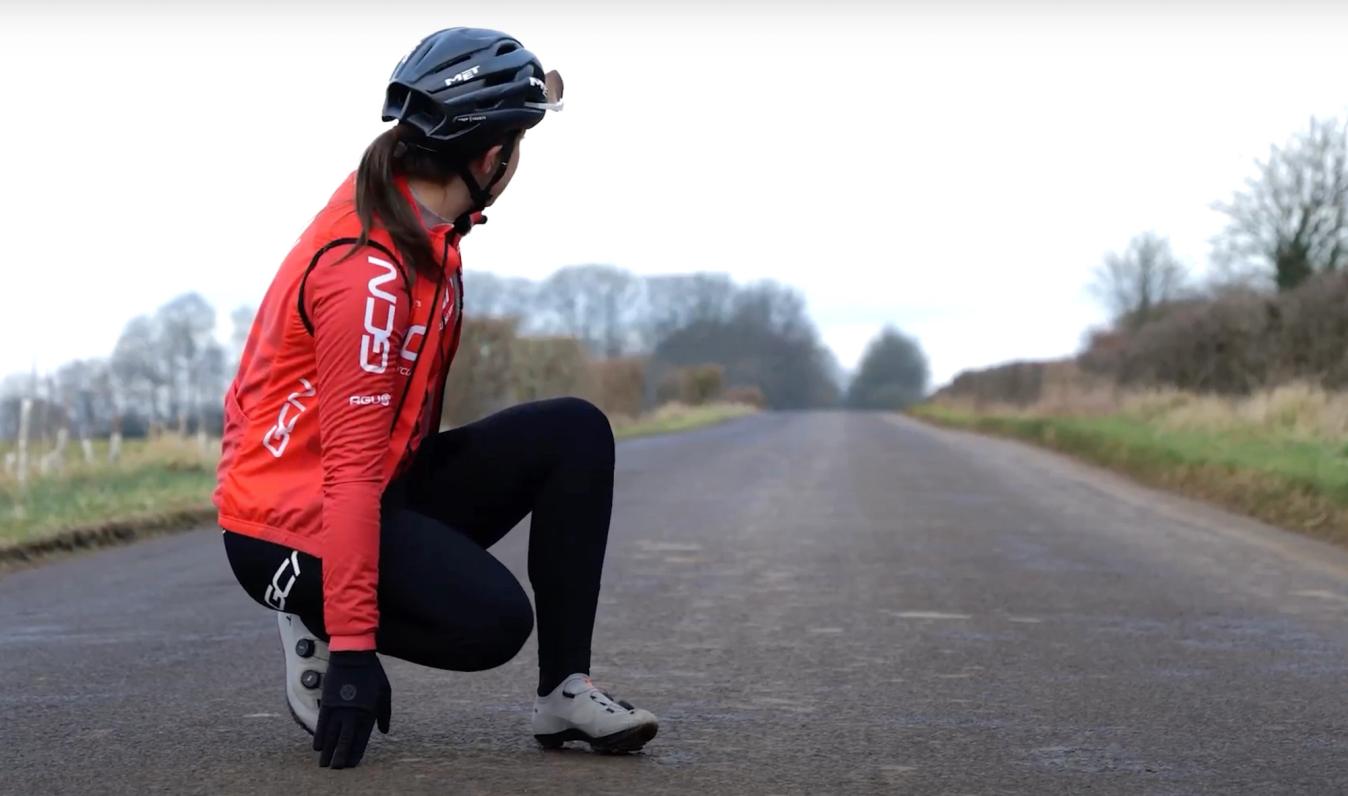
Location, location, location
This is arguably the most important part of the planning process and something that will come easier with time. The interval sessions you are planning on doing will largely dictate the route of the ride. If you are looking to do a three-minute max anaerobic effort then somewhere where you can ride uninterrupted for that time is going to be important and using a climb might help with this. The same goes for longer efforts that could be up to 30 minutes long. With these, you want to try and avoid junctions and towns where traffic or road calming measures could hinder the effort.
© GCN
Finding a section of road that is going to best suit the interval session is crucial for getting the most out of it
Something to bear in mind is that interval sessions do not have to be a circular ride. For certain intervals such as hill repeats it is common to warm up on the way to the hill and then lap the section during the intervals. These might not make for the most exciting of routes but it is the easiest way to fit in the specific training out on the roads.
Get ready for the session
Once the route has been selected and the warm-up is out of the way it is best to give yourself five minutes of easy riding. This will allow your heart rate to drop back down and give you time to mentally prepare for what is to come.
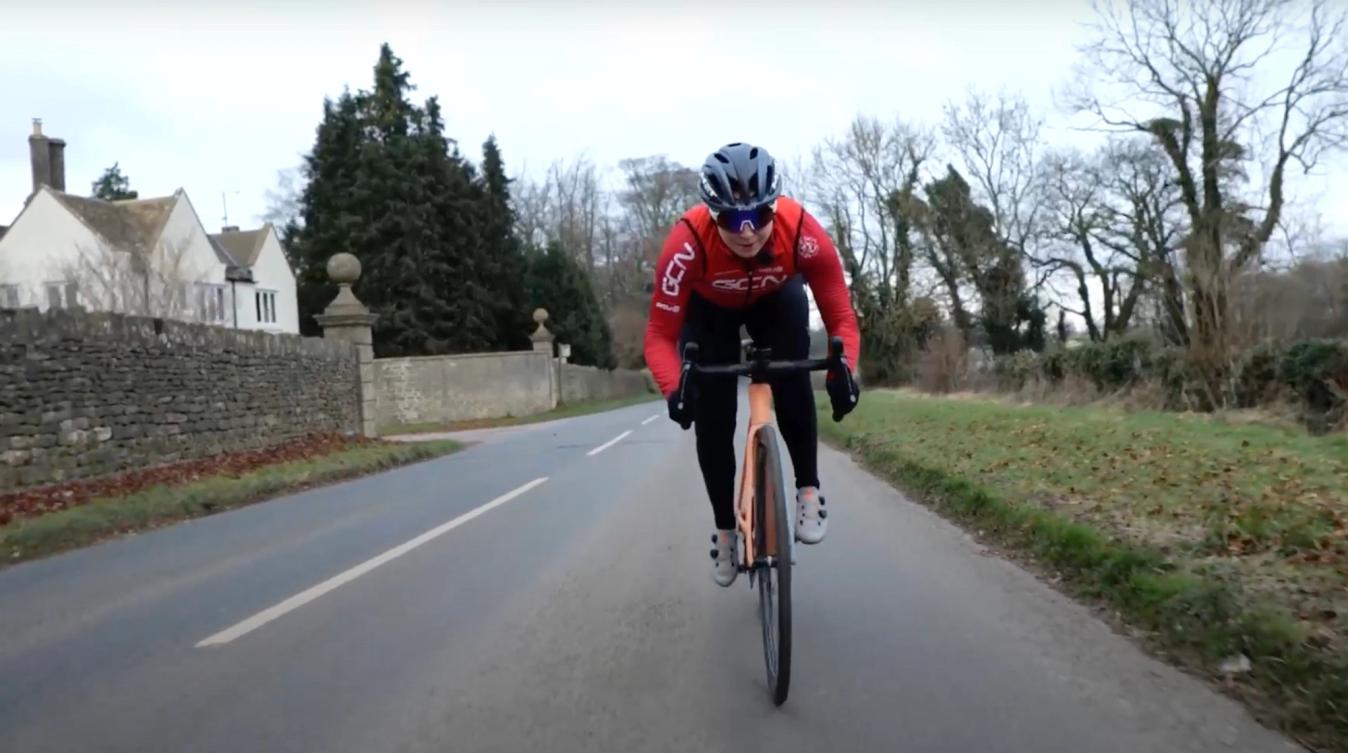
Don’t go out too hard!
It is easy to go out in the first few intervals way above your target power or effort only to pay the price later. With shorter intervals that are under a minute in length, the likelihood is that there are going to be lots of them. The real benefit from interval training is often found in the last 25% of the intervals where you really have to fight to achieve your target numbers. The intervals at this end of the session really develop fatigue resistance. If the first few intervals feel easy, enjoy it while it lasts. Before you know it the effort that felt comfortable will feel barely achievable.
Get your recovery right
There is more than one way to recover between intervals depending on how hard the efforts are and what you are trying to achieve. Recovery can be freewheeling or very soft pedalling, just to keep the bike moving. Or it can be a more moderate zone two intensity where you are still pushing on the pedals a little.
© GCN
Taking some time to get comfortable, get your heart rate back under control and rehydrating is key to making the most of the recovery window
Regardless of which type of recovery you use in the session, make the most of it. Focus on your breathing and getting the heart rate back down before the next interval comes around. Use it as a time to take on water, adjust your clothing and get comfortable.
Failure is unavoidable
If you are setting your targets for the intervals just right you will find that some sessions are impossible to complete. Even with all the will and motivation in the world it just isn’t possible to get the last intervals in the bag. When this happens it can leave you feeling dejected, this is a sign that you are pushing yourself hard enough to see real benefits.
Not every interval session should have you on your knees but occasionally finding a session too hard to fully complete should be seen as a good thing. Instead of abandoning the remaining efforts, carry on but ride at whatever effort is achievable, It is still better to fight on than give up altogether and as you improve you will be able to get closer to completing the whole session at the target intensity.
Add the workout to your head unit
Before you head out it is always advised to create the workout on your head unit so you can follow it. It might seem unlikely whilst sitting on the sofa but even the simple act of counting to 10 and remembering which interval you are on can be a headache when you are mid-ride. The last thing you want to do is get home, upload your ride and find out that you missed two intervals because you miscounted.

© GCN
Adding the workout to your gps head unit is the best way to keep track of exactly where you are in the session
Did we miss anything that you would tell someone that is getting started? Share you experiences and thoughts in the comments below


Related Content

How much does tech affect performance? Pro and a £100 bike versus killer climb
Conor Dunne and James 'Hank' Lowsley-Williams recruit Max Stedman to take on a steep climb on a 1980s Peugeot bike
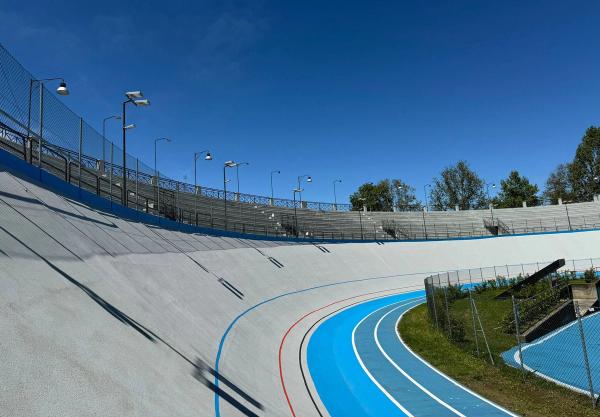
Concrete, Coppi and community: The salvation of Turin's outdoor velodrome
The Motovelodromo Torino Fausto Coppi has a rich 100-year history but fell into disrepair for two decades. Nearly bulldozed for a supermarket, it's now thriving once more
Dan Lloyd’s journey back to fitness and health: The importance of VO2 max
In the second instalment of the series, Dan is looking into VO2 max and why it matters for health
Essential bikepacking gear: Conor Dunne's tips to start your cycling adventures
Conor explains his choice of bike, baggage, clothing and accessories for the ultimate bikepacking adventure