How to convert a road bike to a 1x set-up
Single chainrings are taking over, but the simplicity of the set-up is complicated to achieve when dropping from 2x, so we've got some pointers to follow
Alex Hunt
Junior Tech Writer
1x – or one-by – drivetrains have steadily been taking the cycling market by storm. First it was mountain bikes around a decade ago, and lately it became a natural choice for gravel bikes. Now, we're even seeing 1x coming into fashion in the road bike faction of the cycling world, with some professionals getting rid of the front derailleur in the world's biggest races.
1x gearing is a simplistic set-up that can remove clutter from the bottom bracket area of your bike. With modern 12-speed groupsets offering wider-than-ever gear ratios, it is possible for riders to drop a front chainring without too much compromise.
If you find yourself riding in particularly hilly terrain, 1x groupsets can be limiting, with the choice between wide ratios or comfortable cadences needing to be made.
If you are keen to make the move to a single chainring, you will need some new parts and a little bit of bike mechanical know-how, as it is not as simple as just removing the derailleur and a chainring.
At the very least, you’ll need a new chain as it will need to be a little bit longer than the one currently fitted to your bike. If you do not have a wide ratio cassette, now would be a good time to get one of those fitted to the bike to really maximise the benefits of a 1x configuration.
To compensate for the missing chainring, you are also going to need to source some narrower chainring bolts to hold the single ring in place.
Remove the necessary drivetrain components from the bike
To begin with, the main bulk of the drivetrain needs to be removed. This includes your chain, cassette, crankset and chainrings. If you are unfamiliar with how to complete this part of the job, we have dedicated how-to guides on each of these areas that should make it a little clearer.
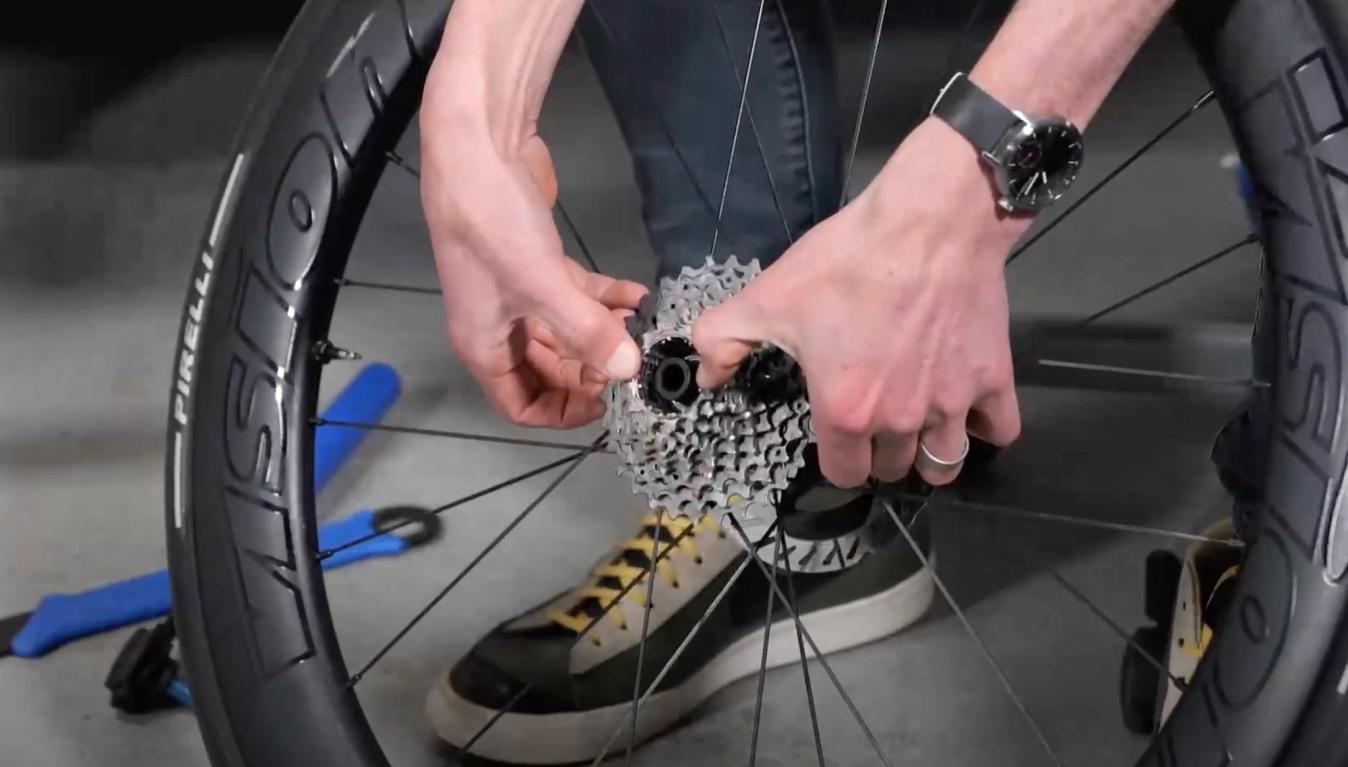
© GCN
Removing your drivetrain gives you the opportunity to clean your freehub and bottom bracket
At this point, it is also time to remove the front derailleur from the bike. Depending on the groupset you are using, this can either be a straightforward or more involved job.
For SRAM AXS users it is simply a case of unbolting the derailleur. For Shimano Di2 and all mechanical groupsets, you will need to remove the cable from the derailleur, then remove the derailleur from the frame and lastly chase the cable and housing out of the frame. This can be a fiddly task but be sure to gently work the cable out of the frame to prevent any damage from occurring.
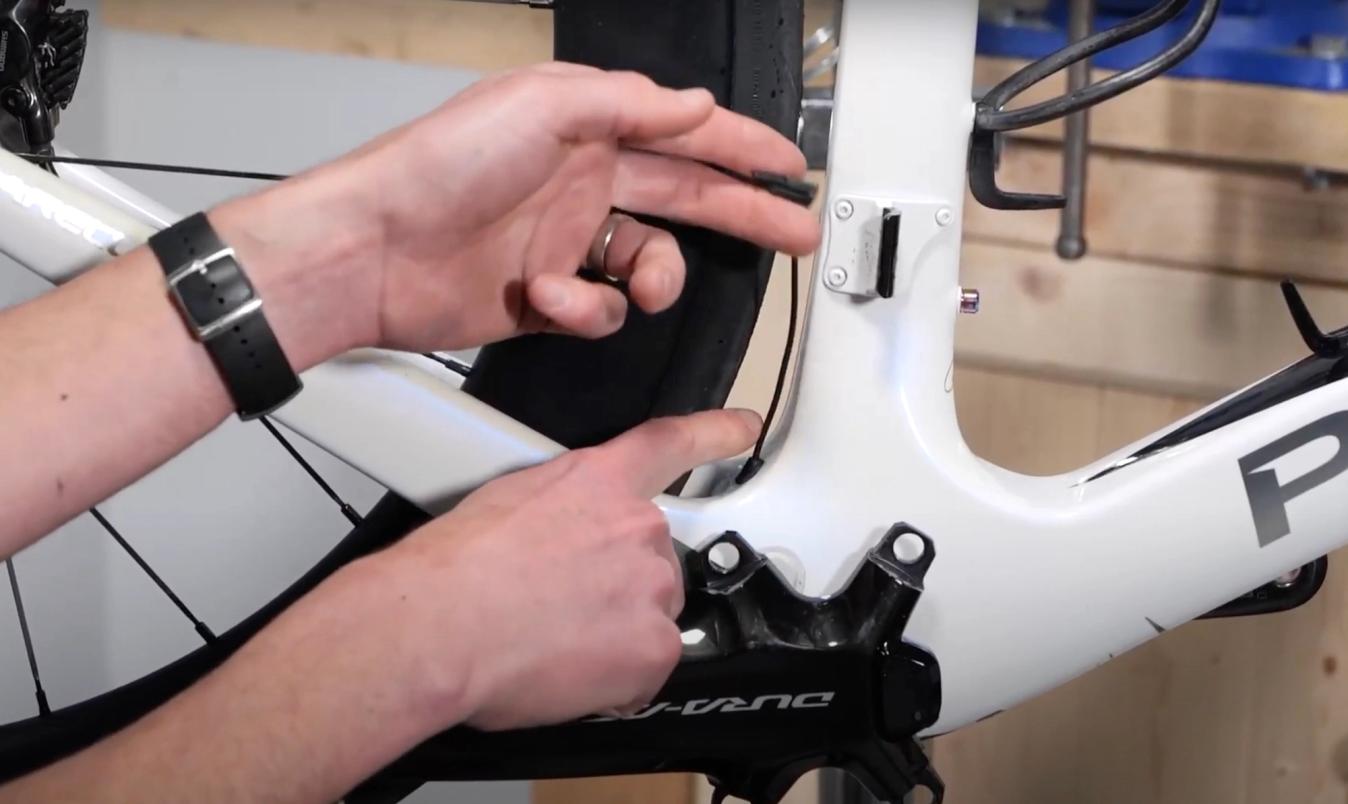
© GCN
When removing the front derailleur make sure to remove any cables or wires from the area
Refit the new components
Now that the old components have been stripped off the bike, give any dirty areas a once-over before fitting the new components.
1x groupsets are best paired with wider ratio cassettes. For SRAM users this is simply a case of finding the cassette that is at the maximum of your rear derailleur limit or upgrading the derailleur to be able to accommodate a larger cassette. For Shimano users, it might take a bit more research as the cassette ratios differ from Dura-ace to Ultegra to 105. It is also an option to fit an after-market cassette if there is a specific range you are looking for. The only limiting factor is the cage length of the rear derailleur.

© GCN
Fitting bolt covers can be a great way of smoothing the transition between the cranks and the single chainring
When it comes to fitting the single front chainring it is important to make sure you have the correct chainring bolts for a single ring. When tightening the bolts make sure to work in a diametrically opposing pattern increasing the torque little by little to prevent uneven loading or, as Alex found, snapped chainring bolts.
- Read more: Complete guide to road bike groupsets 2024
Depending on the cranks and the rings you are fitting to them, you might find that there is a pronounced step between them that not only looks unfinished but can leave sharp edges and corners exposed. It is easy to find blanking covers online that sit over the chainring bolts smoothing over the transition between the crank arm and the chain ring.
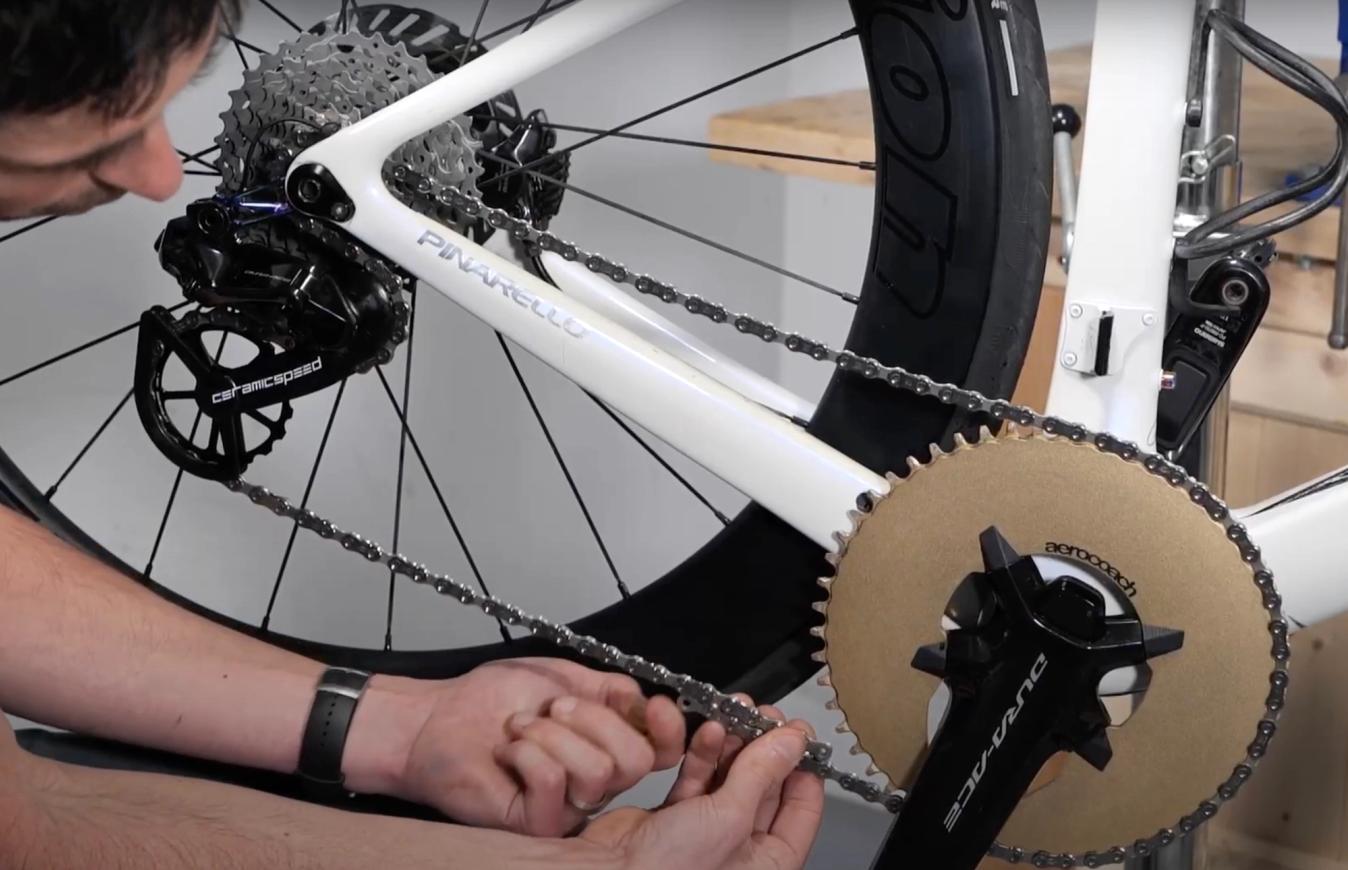
Setting the correct chain length
We have looked at how to set the correct chain length for a 1x system in a separate article. However, the principle is fairly straightforward. The chain is the correct length if there is tension in the system when in the smallest sprocket at the back and when the cage is not over-extended when in the largest sprocket.
© GCN
1x drivetrains require a different length chain to a two-by set up
Due to the change in cassette size, it is also necessary to set the b-tension screw to ensure that the upper pulley wheel does not foul on the largest sprocket when in that gear. If you are unsure as to which screw adjusts the b-tension on your rear derailleur, consult the manufacturer's user manual.
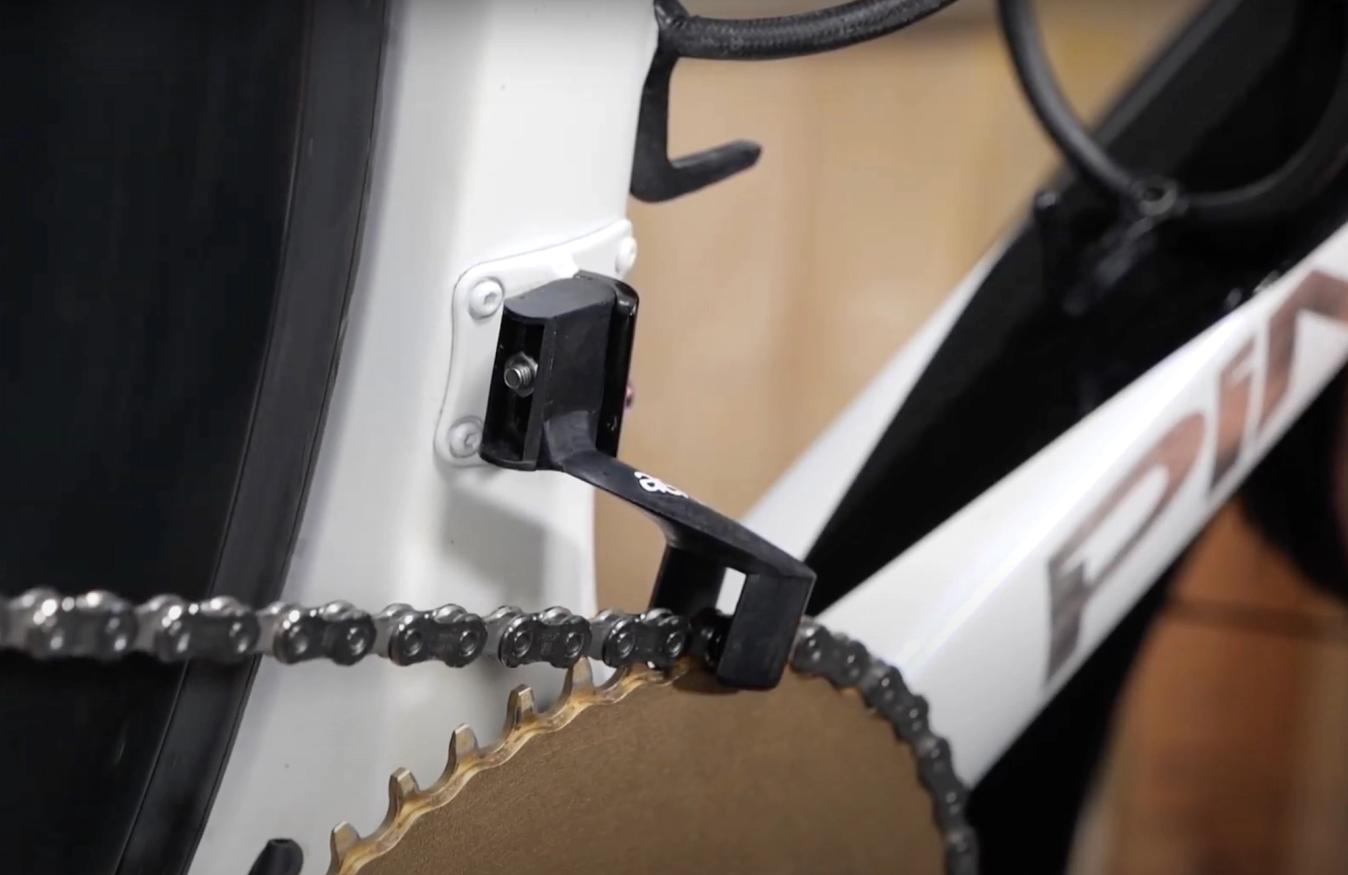
Fitting a chain guide
1x road systems run the risk of dropping the chain more than traditional two-by systems as there is no front derailleur to help retain the chain. As there is no need for the chain to move from the single-ring, fitting a small chain guide can help keep the chain in place, especially when at either extreme of the cassette.
© GCN
A chain guide can be a useful addition to a 1x setup for added chain security
When fitting the chain guide it is important to fit it as close to the chain as possible without it fouling on the chain when it sits at either end of the cassette. Depending on the style of chain guide, this might need spacing out with some washers but investing some time in getting this perfect will keep your bike running quietly with no issues.
Converting your bike to a 1x drivetrain is no small task and depending on the current setup of your bike could be a costly upgrade. It is worth spending some time making sure that a 1x configuration will work for you, your riding style and the terrain you ride in as reverting back to a 2x setup can be equally as costly and time-consuming.
Have you ever converted a bike to 1x? Let us know how it went and how you find riding a single chainring bike in the comments below.


Related Content

8 commuter hacks that make cycling to work easy
Follow these tips to ensure a smooth commute by bike and unlock all the benefits of riding to work
How to measure chain wear correctly
Knowing how to measure the wear to your chain and when it needs replacing can save you a considerable amount of money

Best commuting clothing: What to wear on your ride to work
Clothing choices can make or break a ride to work, and the best clothing for commuters will be comfortable, keep you dry and help you to maintain the right temperature on rides to work

Indoor training apps all cyclists should know about
We take a look at the fitness apps that can help you get the most out of your indoor training sessions, and make them more enjoyable, too