Difficulty
Medium
How to change the gearing on your bike
It’s easy to change the gear ratios on your bike by swapping to a new cassette. Here’s how
Tom Hallam-Gravells
Online Production Editor


Whether you’ve bought a new bike or are planning for an event, every so often you may need to alter your bike’s gear ratios. This can be done by changing the chainrings or, more commonly, by swapping the cassette.
The steps below are for changing a cassette, in this instance from an 11-34t to a smaller 11-32t, but the process is almost identical if you’re swapping it for something larger. Just be wary that you may need a new, longer chain if you’re moving to something larger.
A new cassette will also need to be the same 'speed' as the one you’re replacing, meaning it needs to have the same amount of sprockets on it. It also needs to compatible with your rear derailleur and freehub.
To complete the job, you’ll need a chain tool and wrench, quick link pliers, chain whip, hex or allen key and a lockring tool.
Tools Needed
Step 1
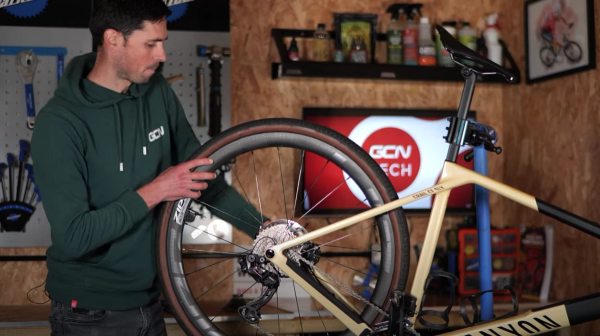
Remove the rear wheel
Start by removing the rear wheel from the bike. This whole process will be easier if your bike is in a work stand, but you can also simply prop your bike up against a wall - just make sure it doesn’t topple over!
Step 2
Attach the lockring tool and chain whip
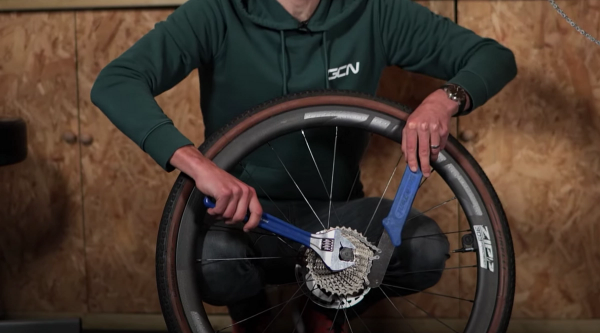
While standing up, lean the wheel against your legs with the cassette facing away from your body. Insert the lock ring tool into the cassette’s lock ring and then wrap the chain whip tool around the cassette, ensuring that the handle is on your left-hand side, as you’ll need to push this down with your left hand.
Step 3
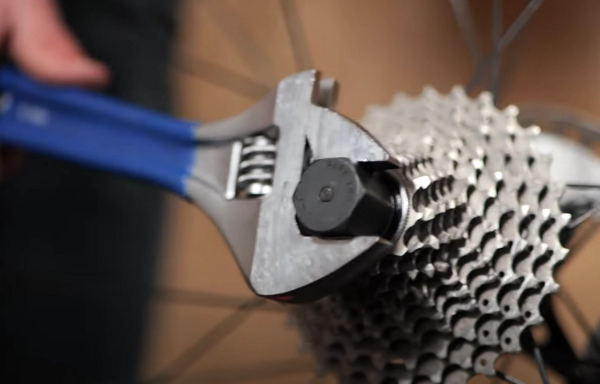
Remove the cassette
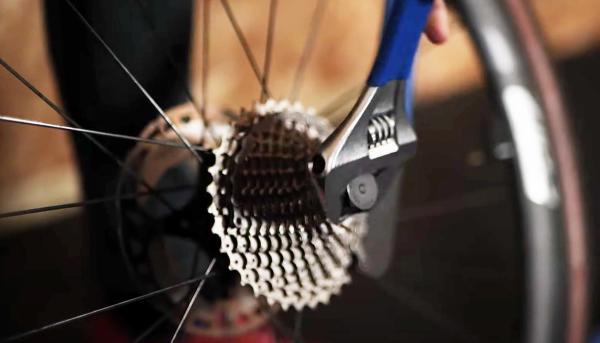
Attach a wrench to the lockring so that the handle is on your right-hand side. Press down with your left hand on the chain whip tool and on the wrench with your right hand, until the lock ring becomes loose - this may take a bit of effort, but it should eventually budge.
Once it’s loose, use your hands to fully unscrew the lock, and then pull the cassette off the freehub, making sure that the cogs and any spacers stay in the correct order.
Top Tip
Tightly hold the cassette together when removing it, otherwise the cogs will escape individually, leaving you with a piecing-together job.
Step 4
Attach the new cassette
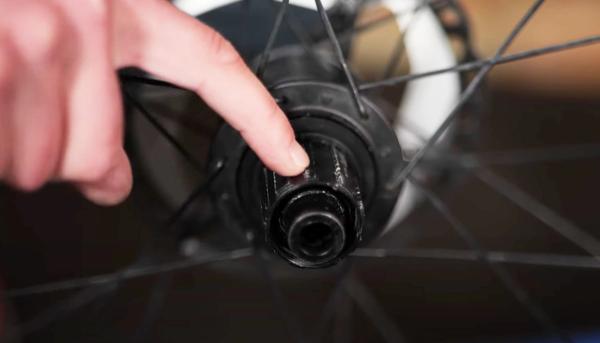
Freehub bodies have teeth and indents machined into them, which match up to the pattern machined onto the inside of cassettes. These teeth vary in size, so you need to make sure the cassette is lined up on the freehub correctly.
On Shimano and SRAM freehub bodies, there will be one gap between teeth that is larger than the others. Match the largest tooth on the inside of the cassette to this.
Some cassettes also arrive with a plastic sleeve which shows you which part of the cassette needs to align with the larger gap on the freehub. You can slide the cassette onto the freehub with this plastic still attached, and it’ll simply slide out once you’re done.
Step 5
Tighten the lockring
Attach the smallest cog and then the lockring. Insert the lockring tool and then tighten it by hand, before finishing the job with the wrench. Make sure you stick to any recommended torque limits which should be displayed on the lockring.
You can then attach the wheel to your bike.
Step 6
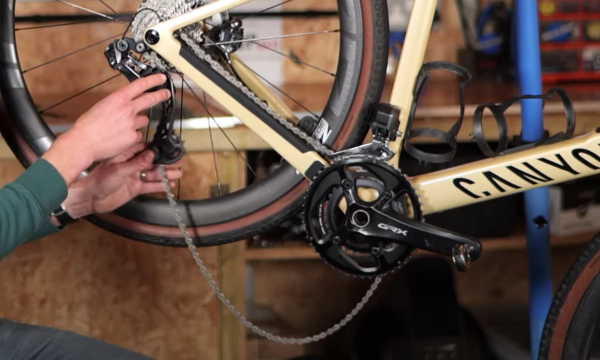
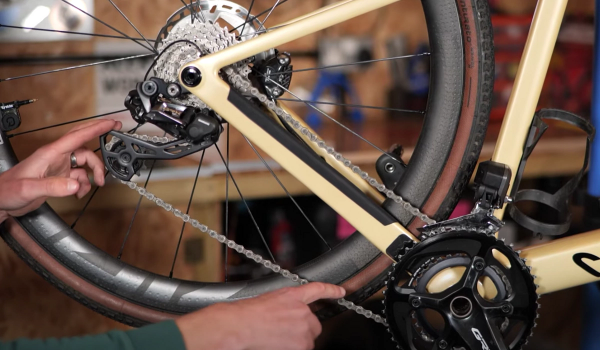
Check chain length
The chain may need shortening if you’ve swapped to a smaller cassette. This won’t always be necessary if you’ve only made a small change, but will be necessary if it has become slack or is sagging when in the small ring at the front and back.
In this instance, we’re going to make the chain shorter.
If you’ve changed to a larger cassette, you may need to change to a longer chain. Note that you can't add links to a chain, you need a new one.

Step 7
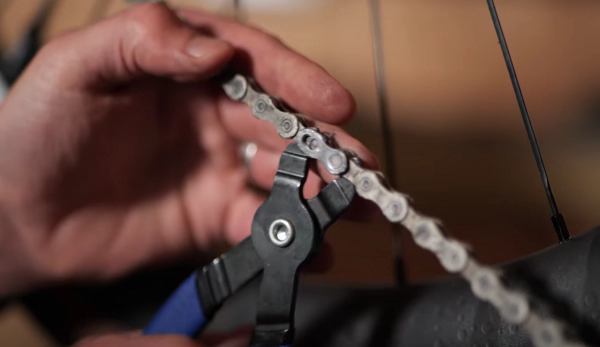
Shorten the chain
Find the quick link on your chain and then use the quick link pliers to pinch and loosen it - this will disconnect the chain.
Work out how many links you need to remove and then use a chain tool to remove the relevant pin that’s holding the final link in place. As our chain has a quick link, the final link left at the end of the chain needs to be an inner link.
Read more: How to calculate the correct chain length
Top Tip
On a chain, there are both inner and outer links. An inner link inserts inside the outer link, while the outer link overlaps the inner link.
Step 8
Reconnect chain
Finish by using the quick link to fasten the two ends of the chain back together.
Do a final check to make sure the chain length is right by running the bike through all the gears.
Step 9
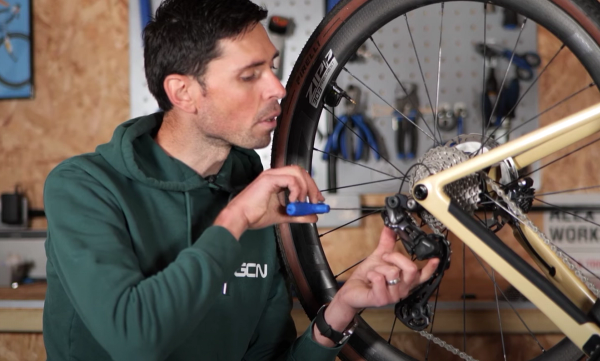
Check rear derailleur position
As you’ve changed the size of your cassette, you will need to adjust the B limit screw on the rear derailleur. This alters the angle of the rear derailleur in relation to the cassette. If the position of the derailleur is too low, then shifting won’t be very accurate, but if it’s too high, the rear derailleur may contact the cassette - as well as affecting shifting, this could also damage the derailleur.
Step 10
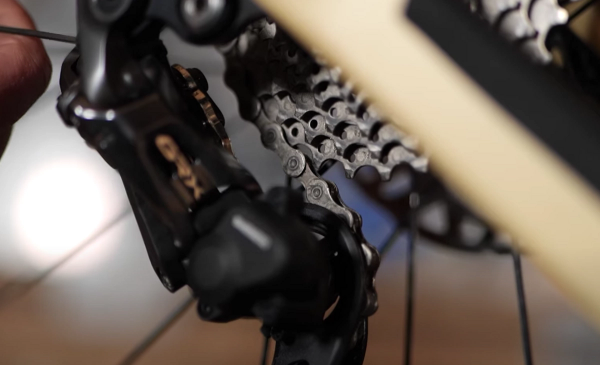
Adjust position of rear derailleur
The B screw is located at the rear of the derailleur near to the mech hanger.
As we’ve moved to a smaller cassette, we need to move the derailleur closer to the cogs.
To do this, shift into the smallest chainring and the largest cog on the cassette and then loosen the screw until the derailleur is sitting close to the cogs, but not touching them. If you’ve switched to a larger cassette, simply turn the screw in the other direction to ensure that the cogs aren’t touching the derailleur.
Step 11
Final checks
Flick through the different gears, making sure that the chain is the correct length and that the derailleur is shifting smoothly. If there are any shifting issues, revisit step 9, or if the chain is slack or overly tense, go to steps 6 and 7.
.jpg?w=600&auto=format)
Related Content
How to calculate the correct chain length
A well-fitting chain is essential for proper shifting performance. Here’s how to get it right
Can easier gears actually help you ride faster?
Does this counterintuitive logic really hold any water in the real world? Alex and Ollie put it to the test
Team time trial: 20-minute HIIT indoor cycling workout
This HIIT spin bike workout replicates the varied intensities of a team time trial effort

The full pyramid: 30-minute HIIT indoor cycling workout from GCN
A 30-minute HIIT workout for developing anaerobic fitness, led by Manon Lloyd