Difficulty
Hard
How to change integrated handlebars
Alex heads down to the Pinarello store in London to get his integrated bars and stem changed, showing you all the steps so you can complete the job too
Alex Hunt
Junior Tech Writer


Integrated handlebars are great, providing the sleek, cable-free look that many riders love. That sleek appearance doesn't come without sacrifice, though, and integrated handlebars can be more tricky to set-up than regular handlebars.
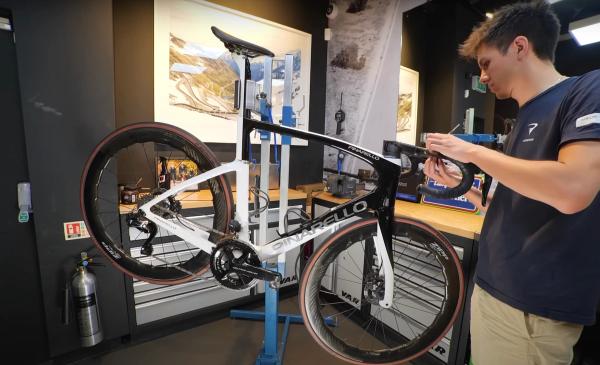
To help you navigate the process, GCN's Alex Paton visited the Pinarello store in London to get his bar changed and to show you the process.
What are integrated handlebars?
Many modern bikes such a Canyon's Aeroad bike range use integrated cables and hose routing that goes through the handlebars and stem, and then either the fork or the frame.
Integrated bars have a really clean aesthetic, with the form of the bars uninterrupted by hoses and joins. They have some minor aerodynamic benefits too.
However, changing out an integrated bar and stem is a far more involved job than on a traditional bike.
How difficult is it to change integrated handlebars?
As Alex says in the video, "swapping out an integrated handlebar and stem with the hoses inside is what I think is one of the most frustrating jobs on modern bikes!"
Yet, fear not! With the help of this guide, Alex and Tristan at the London Pinarello store, you can easily follow along and change a set of integrated handlebars yourself. Alex also has a new set of Shimano Dura-Ace brakes fitted in the video, so if you're just looking for some pointers on how brake sets work on integrated bars, this is definitely something you'll want to watch.
Don't forget, to complete the sleek look, you'll need to carefully wrap handlebar tape once you're done. We've got a guide to help with this here.
How to Steps
Prepare your bike, ideally by using a bike stand
Remove mounts and loosen levers
Wheel and brake preparation
Disconnect brake hoses
Trim the hoses
Remove the old bars
Fit the new bars
Complete bar fitting
Refit levers
Refit Hoses
Bleed the brakes
Refit pads and wheels
Fit any accessory mounts
Centre the bars
Wrap the bars
Tools Needed
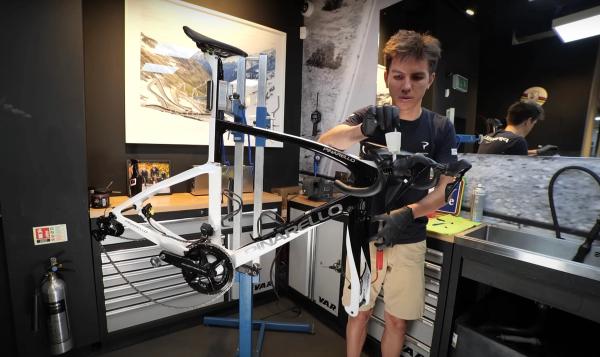
Step 1
Prepare your bike, ideally by using a bike stand
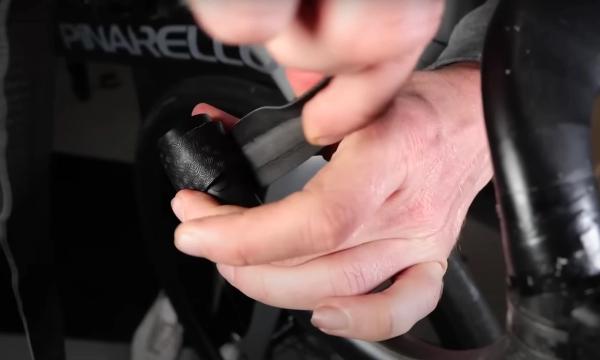
First things first, getting the bike in a position and state to start working on it is a must. Ideally, you want to place the bike in a work stand, clamping it around the seat post with the bike set at a good height to work on the handlebars. Once that is all set, peel back the lever hoods and remove the bar tape from the handlebars. Depending on the condition it, the bar tape can be reused, or alternatively this is the perfect time to fit some fresh new tape.
Step 2
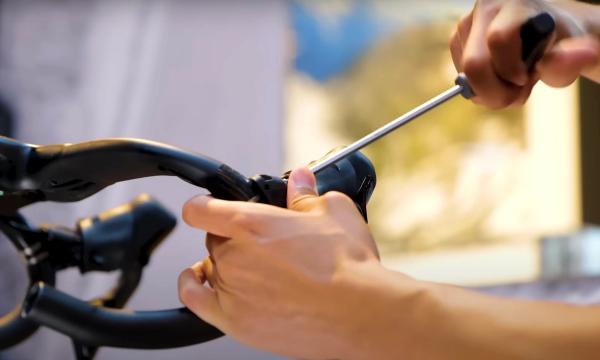
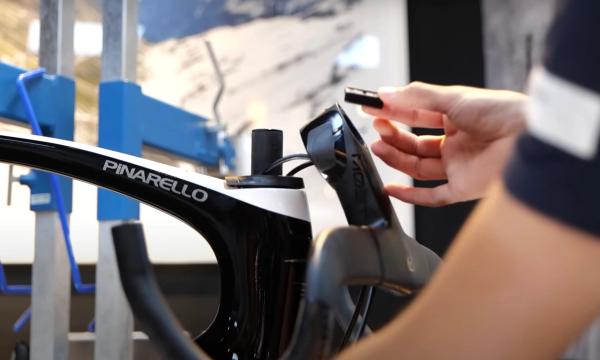
Remove mounts and loosen levers
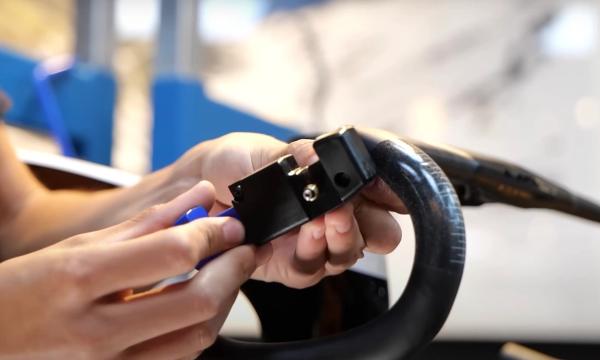
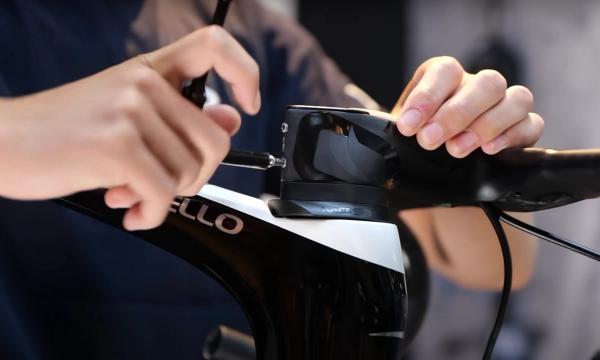
Remove any mounts for lights or head units, keeping them safely to one side with any bolts that accompany them. Once the bars are clear of all accessory mounts, using a 5mm hex wrench, loosen off the clamp bolts on each of the levers.
Step 3
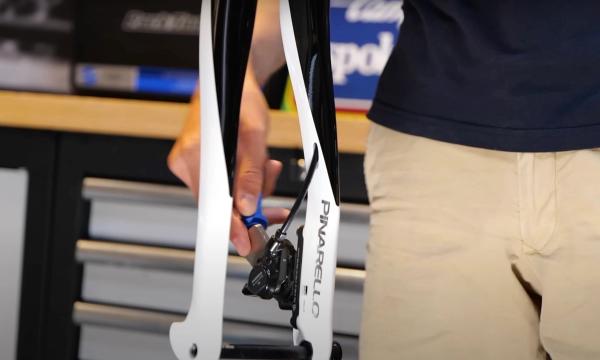
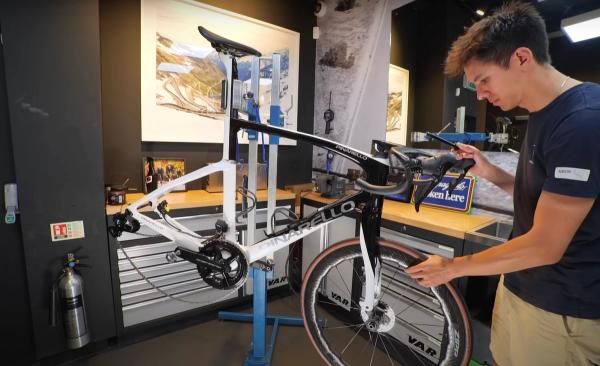
Wheel and brake preparation
As the integrated bars have internal hose routing, the brakes are going to need disconnecting so that routing can be fed through the bars. In preparation for this, and the subsequent bleed that will need to take place, the front and rear wheels need to be removed along with the brake pads. Once the pads are removed, the pistons will need to be separated using a piston separator tool so that the brake bleeding block can fit in the calliper.
Top Tip
It is important when the brake pads are removed to keep them in a clean area away from any oil or contaminants that could cause issues with the pad material.
Step 4
Disconnect brake hoses
Before we can remove the old bar, we firstly need to disconnect the brake hoses at the levers. This is done with a 7mm spanner. As you loosen the bolt this will open the hydraulic system so, at this point, don’t be unnerved if a small amount of brake fluid starts to leak out.
Be careful to wipe up any fluid that leaks so that it does not cause any damage to any other parts of the bike. With both hoses disconnected, the levers can now be removed and put to one side.
Top Tip
Ensure that the lever is not depressed whilst the brakes are disconnected, as this will cause more fluid to leak.
Step 5
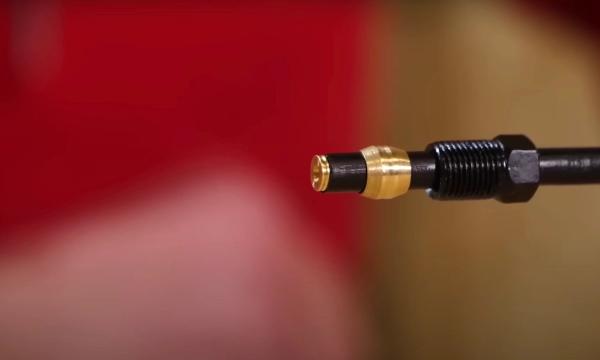
Trim the hoses
In order to feed the hoses through the bar, they will need to be trimmed down using a specific hydraulic hose cutting tool. This will then allow the flare nut and compression fitting to be removed.
Step 6
Remove the old bars
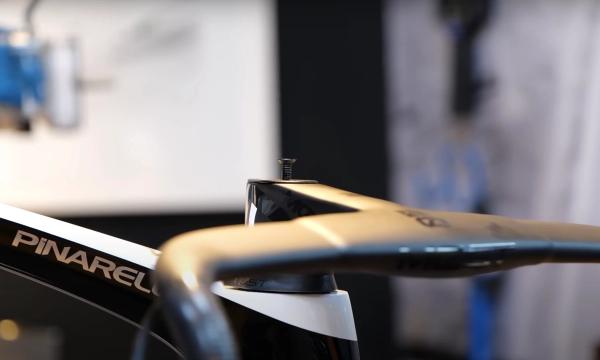
At this point the stem clamp bolts can be loosened. Now, the top cap preload bolt can be fully removed from the steerer. The handlebars can then be removed from the fork by carefully lifting them at the same time as guiding the brake hoses through the internal routing of the bar.
Top Tip
The handlebars do not need to be fully removed, instead they just need to be loosened until there is no tension on the bolt.

Step 7
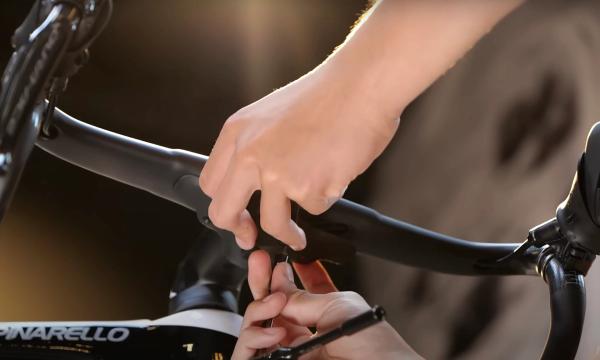
Fit the new bars
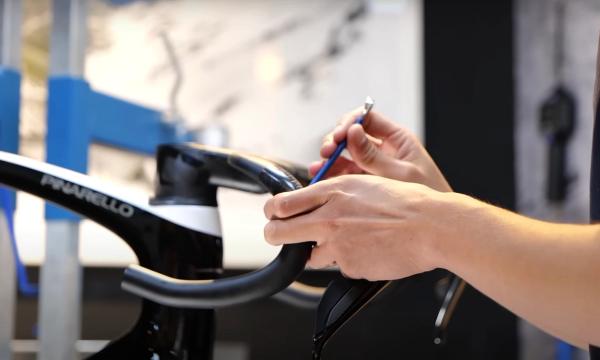
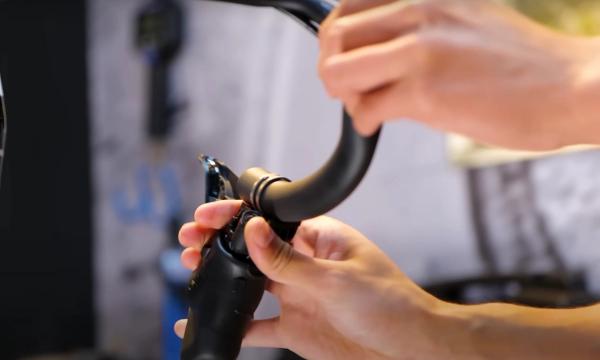
This step will vary slightly depending on the bar manufacturer as some brands like the MOST bar featured here have an access panel to aid the hose routing whereas some will not.
Before fitting the bars back on to the steerer, feed the brake hoses through the bars. A small pick or screwdriver can be used to help locate the hoses as they exit the bar at the lever end. Once the hoses are routed you can then fit the bars on to the steerer, ensuring that any spacers have been refitted in the desired configuration.
Top Tip
Double check that you have fed the correct hose to the correct side of the bar so that the each brake is operated by your preferred lever.
Step 8
Complete bar fitting
Now that the bar is fitted, the top cap and top cap bolt can be refitted with a small film of grease on the threads. Once fitted, a small amount of preload can be set with the top cap bolt to take up and play in the headset - this is typically in the region of 2-4Nm and must be completed before tightening the stem clamp bolts.
Step 9
Refit levers
When refitting the levers, make sure they feelcorrect and, most importantly, equal. Some brands will have markings to make this part easier, however you typically want the levers to be parallel with the ground and with each other for a neutral feel.
Once you are happy with the position, torque the clamp bolts up to the recommended figure with a hex wrench. For Shimano this is 6-8Nm.
Step 10
Refit Hoses
Now that the bars and levers are all set, it is time to prepare the hoses. As we trimmed the hoses and removed the flare nuts and compression fittings, we firstly need to ensure that the hoses are still long enough for the new bar (especially if a wider one has been fitted). Once happy with the length of the hoses, the flare nut needs to be fitted onto the hose while making sure the threaded section is pointing towards the lever, then fit a new compression fitting and finally a new barb. Now it is time to refit the hose to the lever. Using a 7mm hex wrench, Shimano recommends a torque of 7-9Nm, but check with the specific model and manufacturer before tightening.
Top Tip
Using specific hydraulic hose tooling for this section will make it a lot easier and make it far less likely that anything gets damaged during the process.
Step 11
Bleed the brakes
Since the system has been disconnected, it is important to bleed the brakes to ensure that any air that may have got into the hose of the lever is purged out and replaced with brake fluid. We have done a complete guide on bleeding brakes that can be found here. Once the bleed is complete, wipe the bars and levers down with IPA or brake cleaner to remove any fluid.
Top Tip
Some brakes like Shimano use a mineral oil, whereas others use a DOT fluid, so check which your system requires before carrying out a bleed.
Step 12
Refit pads and wheels
Now that the system has been bled, it is time to fit the brake pads and wheels back onto the bike. After a brake bleed the brake pistons will take a few pumps to self adjust back to where they need to be. Once the feeling has come back in the lever, ensure the calipers are still aligned and are not rubbing.
Step 13
Fit any accessory mounts
Any of the mounts for lights, computers or cameras can now be refitted to the bars. Make sure they are torqued to the recommended limit.
Step 14
Centre the bars
Now that everything is fitted and set up to your liking, ensure that the bars are centred and in line with the front wheel. This is easier to do with your bike off the work stand as you can get a better eye on the alignment of the bars when the bike is on the ground. When you are happy, tighten the stem bolts to the manufacturer's recommended torque limit. Take turns to tighten each bolt a small amount, trying to do both bolts up in equal increments.
Step 15
Wrap the bars
With everything complete but the bar tape, take one last check of the lever position and make sure it is comfortable and equal on each side. Once the bars are wrapped, it is very difficult to adjust the levers so ensuring it is correct now will save a lot of pain later. If you have not wrapped bar tape before, we have a dedicated guide to wrapping handlebars that covers everything you need to know.

Related Content
How to fit and adjust a headset on a road bike
Your headset is the set of bearings that allow the steerer tube to turn in the frame. Here's how to remove, install and adjust them
How to wrap handlebar tape on a drop bar bike
Ollie Bridgewood goes through all the tips and tricks to get the perfect bar tape

Beginner indoor training session: 20-minute sweet spot indoor cycling workout
If you're new to indoor training, this is a good session to start with. No super hard efforts or high cadences, just a good, entry-level session that will burn calories

How to change the stem on a road bike
A new stem can transform the fit and feel of a bike. Here’s how to replace a stem on a road bike