Difficulty
Easy
How to change the stem on a road bike
A new stem can transform the fit and feel of a bike. Here’s how to replace a stem on a road bike
Tom Hallam-Gravells
Online Production Editor


The humble stem is one of the simplest but most important components on a bike. While it doesn’t help to propel a bike forward, it’s important for comfort, and changing to a shorter or longer stem can completely transform the fit of a bike.
The below guide will take you through the process of swapping to a new stem with externally routed cables, but the process is slightly more complicated if yours are internally routed. It’s a fairly simple job but one that needs to be done correctly otherwise the handling and safety of your bike could be compromised.
All you’ll need for the job is an allen or torx key, depending on the bolts on your bike, plus a torque wrench.
Before starting, double check the length of your gear and brake cables as, if you’re swapping to a longer stem, they may not be long enough to accommodate it.
- Read more: How to change integrated handlebars
Tools Needed

Step 1
Check the headset bearings
Check the headset bearings before replacing the stem - it’s a good idea to service them while working on the stem, should it be required.
Turn the handlebars from side to side to see if there is any resistance or unwanted noises. If there is, the bearings may need servicing. You can learn how to do that here.

Step 2
Remove the handlebars
It will be easier to complete these steps if the bike is in a bike stand.
Remove the bolts that clamp the handlebars to the stem using an allen key or torx key, depending on the type of bolt. Unscrew each one a little at a time rather than doing them individually.
Once loose, carefully lower the handlebar until it is hanging by the cables.
Top Tip
Keep the faceplate and bolts together in one place so that you don’t lose them.

Step 3
Remove the stem
Take the bike out of the stand and place it on the floor – this will prevent the fork from falling out.
Undo the top cap bolt. Then loosen the stem clamping bolts until it is possible to pull the stem off the steerer tube.
Top Tip
If the headset bearings need servicing, now is the time to do it.

Step 4
Prepare the steerer tube
Salt residue and grime can sometimes build up between the steerer tube and the stem, so give the tube a quick clean.
Once it’s ready, apply some carbon assembly paste to the tube (only if both the steerer tube and stem are carbon).
Top Tip
Don’t apply grease to the steerer tube or the stem as this could cause it to slip once attached to the bike.

Step 5
Attach the new stem
Make sure you have the correct amount of spacers. Then slide the new stem onto the steerer tube. You may need to loosen the clamping bolts first.

Step 6
Attach the top cap
Place the required spacers on top of the stem and then screw the top cap back into place – it only needs to be finger tight for now.

Step 7
Install the bars
Secure the handlebar back in place using the faceplate and the bolts, making sure the bolts are tightened to the correct torque limit. The faceplate needs to be centred in the middle of the handlebars.
Top Tip
Apply anti-seize paste to the bolts – it’ll make it easier to remove them in the future.

Step 8
Secure the headset
Tighten the top cap to secure the headset. This only needs to be done in small increments. Once done, the handlebars should move freely but there shouldn’t be any excess play. Make sure you don’t exceed the recommended torque limit.

Step 9
Secure the stem
Make sure the stem is in line with the front wheel, then tighten the stem clamping bolts. Tighten each of them a little at a time and then finish the job with a torque wrench to ensure you don’t exceed the torque limit.
.jpg?w=600&auto=format)
Related Content
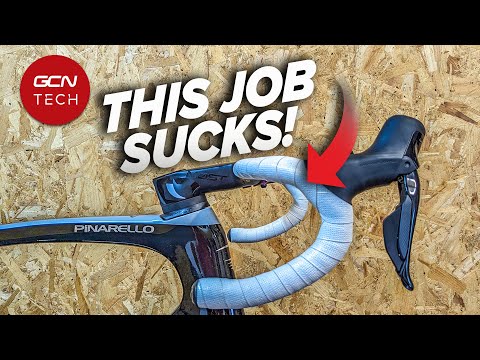
How to change integrated handlebars
Alex heads down to the Pinarello store in London to get his integrated bars and stem changed, showing you all the steps so you can complete the job too
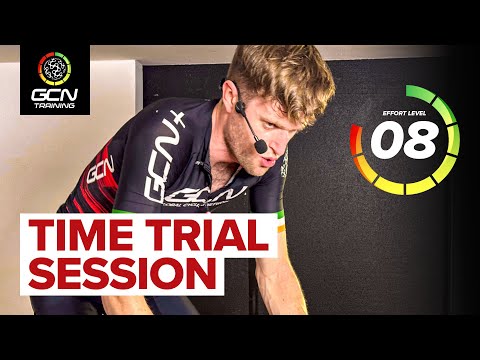
Team time trial: 20-minute HIIT indoor cycling workout
This HIIT spin bike workout replicates the varied intensities of a team time trial effort

The full pyramid: 30-minute HIIT indoor cycling workout from GCN
A 30-minute HIIT workout for developing anaerobic fitness, led by Manon Lloyd

How to replace a gear cable on a road bike
A new gear cable can reduce friction and improve shifting. Here’s how to change a gear cable on a road bike