Difficulty
Easy
How to wash your bike like a pro mechanic
Mike Jenner from Women's WorldTour team Uno-X Mobility shows us how he keeps the team's bikes in pristine condition
Alex Hunt
Junior Tech Writer

Manon Lloyd
GCN Tech Presenter
The youngest, most successful and by far the coolest presenter
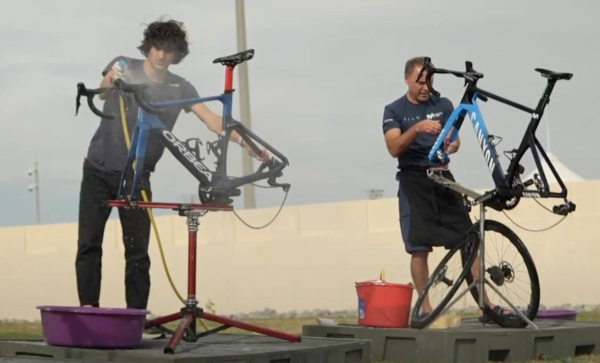
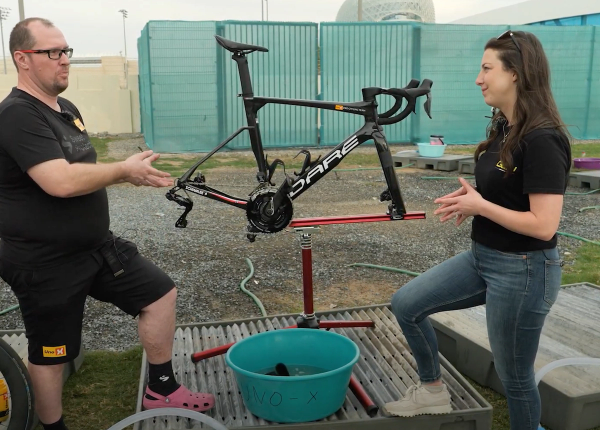
A pro cyclist would never take to the start of a race with a dirty bike. The pristine bar tape and gleaming drivetrains are part of what makes a pro bike so special and ensure a competitive advantage is optimised. A pro mechanic's cleaning process is meticulous in ensuring the bikes are in the best possible condition, so what can we learn from their procedures? While at the UAE Tour Women, Manon Lloyd caught up with Uno-X Mobility's Mike Jenner to find out.
He explained that in this instance they don’t have access to their regular mechanic's trucks as what they have is flown out to the race, rather than drive, so the mechanics have to make do with less kit than normal. However, due to the race conditions being so dry at UAE this is not too much of an issue.
Tools Needed

Step 1
The Basic Pro Wash
If the bike is not in too bad a condition a light wash to keep it sparkling and everything in order is probably all it needs. For this you'll need a bucket of water, an assortment of brushes, a sponge, degreaser and a pot to put the degreaser in.
Top Tip
Unless there is any specific reason to remove your rear wheel, keeping it in for a basic wash is encouraged as it removes the potential for braking issues or calliper misalignment that can happen when working on a bike with no rear wheel fitted.
Step 2
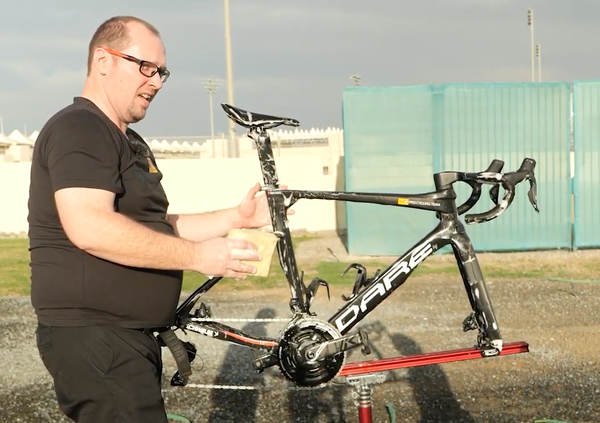
The Full Pro Treatment
Ahead of every race, team bikes get a thorough clean and check to make sure that everything is in fine working order. This not only keeps the bike looking box fresh but also ensures any potential issues are caught ahead of the upcoming race. For a full wash, the rear wheel is removed to give better access to the frame, chain and cassette. The rear axle is reinstalled in the frame to hold the chain in place for better cleaning.
Step 3
Start with the dirtiest areas
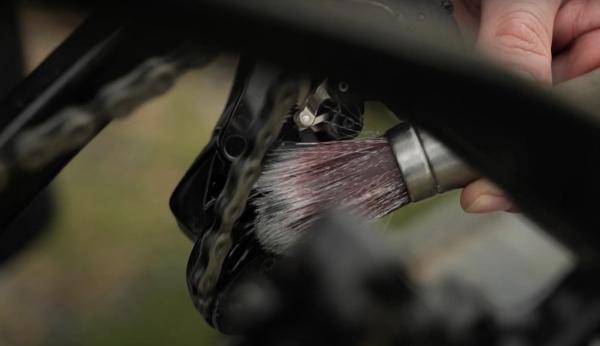
During the cleaning process dirt, grime or grease can fall onto the frame or other areas of the bike, so it is best to start with the dirtiest part of the bike and work to the cleaner areas. This typically means starting with degreasing the drivetrain.
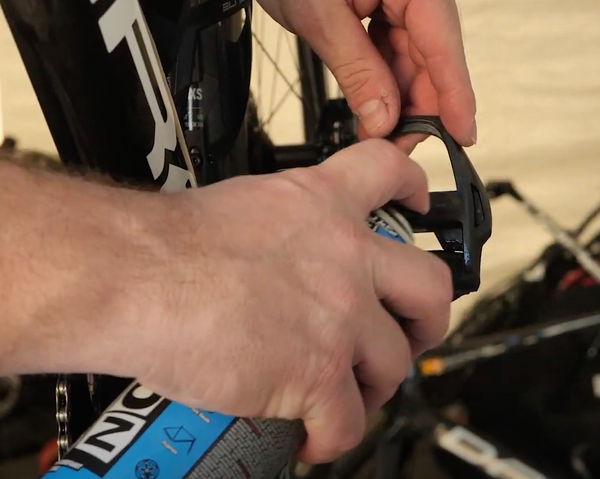
With a small brush apply degreaser to the drivetrain and pedals to loosen and remove any dirt from these areas. Spend time to ensure that even the harder-to-reach areas like the pulley wheels or inner chainring get a good cleaning.
Top Tip
If you don't have a specific cleaning brush, a small paint brush like Mike uses can work well here.
Step 4
Attention to detail
The small things can make the biggest difference and having a keen eye for detail is important with a pro bike wash. Checking that every area of the drivetrain is clean will help with shifting performance. The inner surfaces of the pulley wheels can get clogged with a build-up of dirt and dried lube, so this needs to be regularly cleaned away.
Also pay close attention to the brake calliper where braking dust can gather. Cover this in some degreaser to prevent dirty marks from building on the chainstay.
Step 5
Let the degreaser do the work
Degreaser can take a bit of time to do its magic. Simply applying it and then removing it right away will not give it the chance to lift all of the dirt and grime away from the surface of the components. Depending on how dirty your bike is will depend on how long it needs to be left, however a good rule of thumb is around five to ten minutes.
Step 6
Cleaning the frame
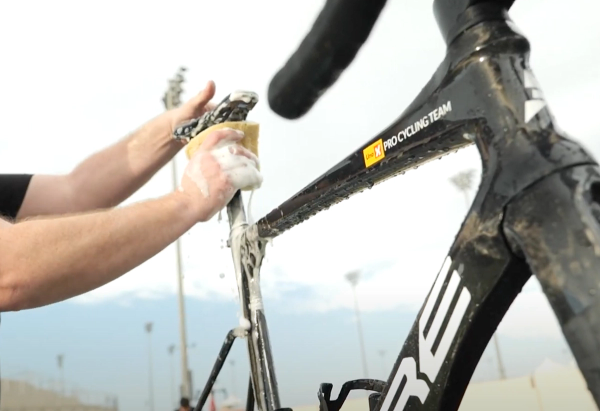
With the dirty areas of the bike clean it's important to give the bike a hose down with clean water to wash away any remaining contaminants from the drivetrain. Once this has been done the frame can be cleaned using soapy water.
Team Uno-X use a simple washing up liquid mix here to help the bikes look like new. It is also worth giving the chain another clean with soapy water and a sponge to get every last bit of dirt off it and give it a nice shine.
Step 7
Follow an order for your frame wash
Having an order in which you wash your frame is important as it ensures that you don't miss any areas. It also follows the principle of cleaning from the dirtiest to cleanest areas, so that any dirt that gets dislodged doesn’t fall onto an area that has already been cleaned. A typical pro mechanic's process is to start from top to bottom and from the back of the bike to the front.
Step 8
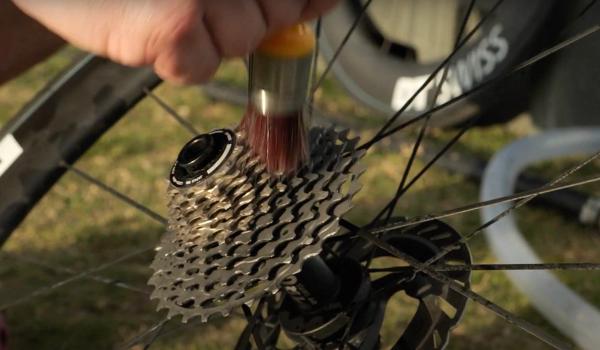
Washing your wheels
With your wheels removed it is a lot easier to have full access to everything that needs a clean including the hard-to-reach sections of the hubs. Much like with the frame the cassette should be cleaned first so that any grime that finds its way onto the rims will get washed away during the next stage of cleaning. Once the cassette is clean the rims and spokes can be cleaned using the same soapy water that was used to clean the frame of the bike.
Step 9
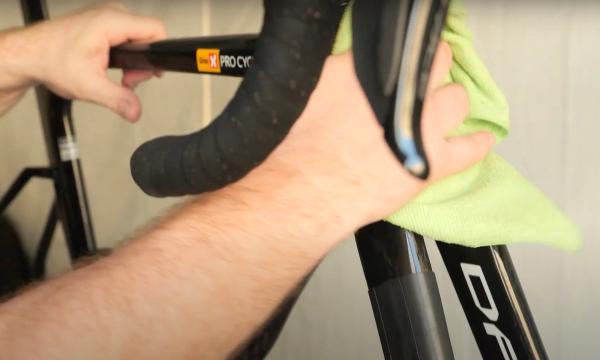
Drying the bike
Now that the bike is clean it needs to be dried. Typically a pro mechanic would use an air compressor here to blast any sitting water out of hard-to-access areas. When this isn’t an option a simple microfibre towel does the job. It is important to make sure that no dirt is picked up on the cloth that could scratch the paint on the bike.
Step 10
Finishing touches
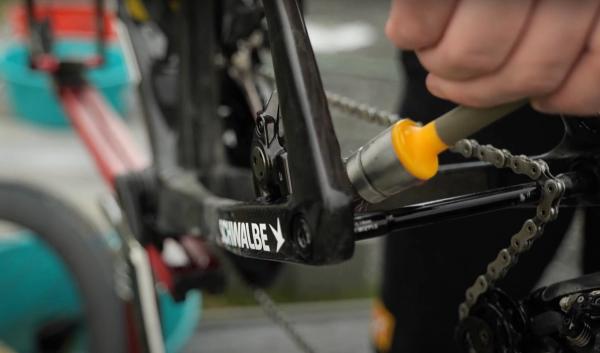
With the bike clean and dry the last remaining job is to lubricate and protect the drivetrain from corrosion. Using a light PTFE lube on the pulley wheels and pedal body can also help with the overall operation of the bike. At this point giving the bolts on the bike a torque check is worthwhile to prevent any issues from developing. Especially important for pros who could be racing the next day.
For more on bike maintenance and how to keep your bike clean make sure to check out our maintenance section of our how-to guides.
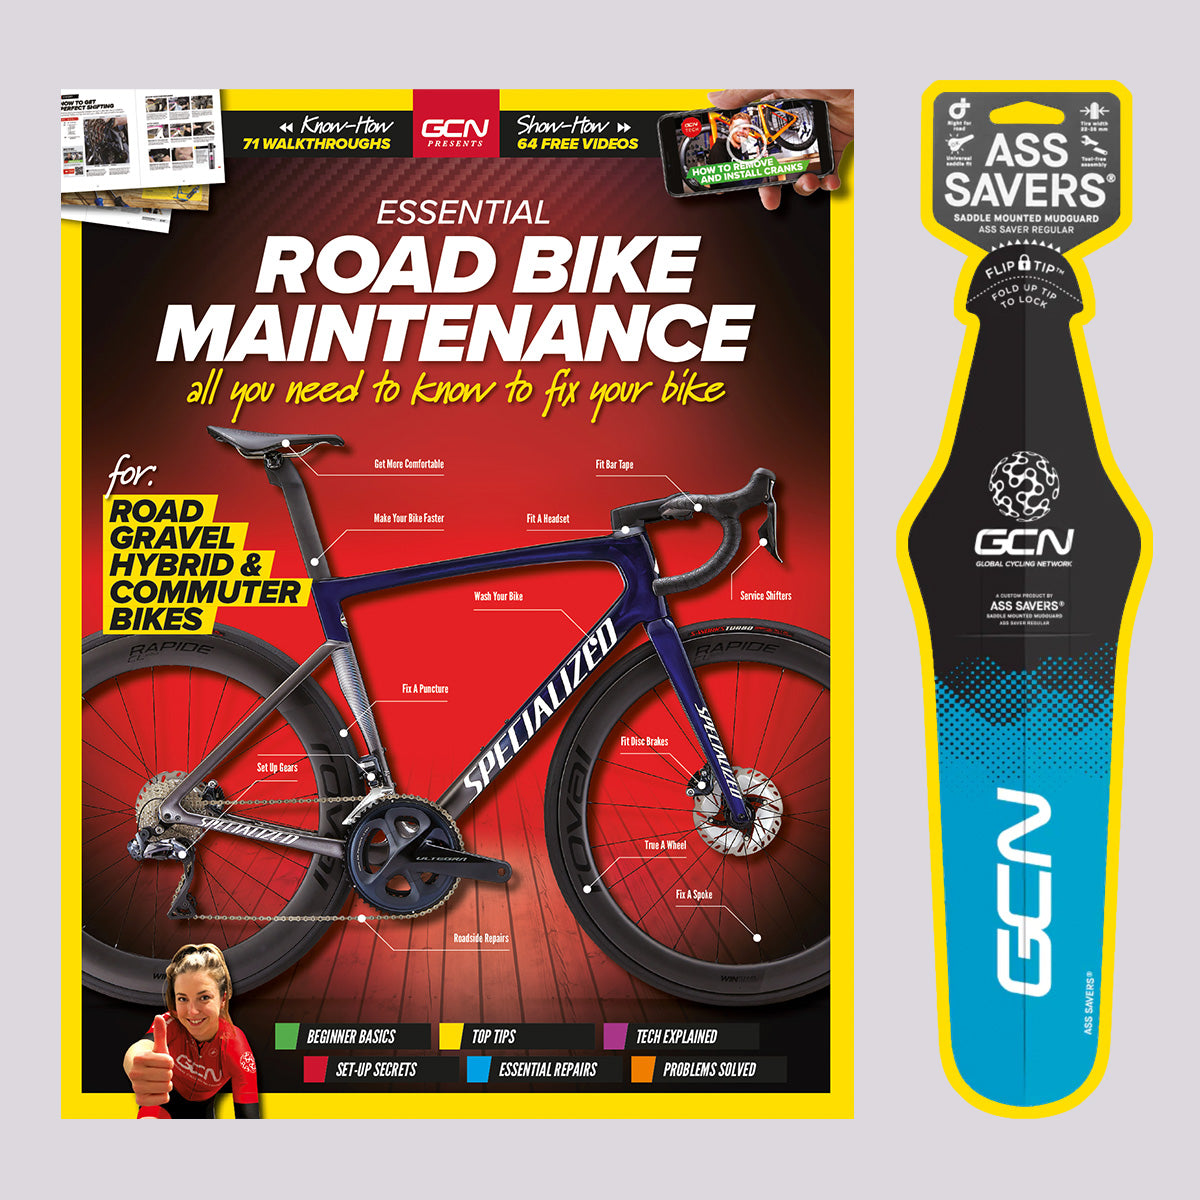
GCN's Essential Road Bike Maintenance - with FREE Ass Saver
GCN presents Essential Road Bike Maintenance: 260-pages packed full with all you need to know to fix your bike. With over 71 step-by-step walkthroughs and 64 free companion videos across every aspect of bike maintenance – including set-up, repair, bike care and problem-solving, together with top tips, tech explainers, workshop know-how, roadside hacks and fixes, and much more – Essential Road Bike Maintenance is the ultimate, accessible and practical guide for all levels of ability to help you keep your bike running perfectly. BEGINNER BASICS – TOP TIPS – SET-UP SECRETS – ESSENTIAL REPAIRS – TECH EXPLAINED – PROBLEMS SOLVED Book Details: Pages: 260 (120sm) Size: 280mm (h) x 216mm (w) (portrait) Cover: Paperback Cover Finish: 300gsm, silk stock with anti-scuff matte laminate and spot UV gloss finish Ass Savers When the seasons turn, you want Ass Saver on your side. In a design exclusive to GCN, this saddle mudguard keeps water and dirt off your butt whatever the weather brings. It's easy to fit (no tools required!) and is ideal for keeping you dry and comfortable on cold, wet rides. Designed to fit every standard rail saddle using patented FLIP-TIP™ attachment technology to securely lock the guard in place as you ride. Recommended for tire widths between 23-25mm.

Related Content

How you might be damaging your bike when you clean it
Avoid these cleaning mistakes to keep your bike in top condition and prevent any unnecessary scratches or problems

How to clean a bike in a flat or apartment
Just because you’re limited on outdoor space, it doesn’t mean that you can’t keep your bike in tip-top condition

The most efficient way to deep clean your bike chain
Removing your chain might seem like a lot of effort, but it's actually a time saver
How to replace a bike chain
If your chain is worn out, here's how to swap it for a new one