Difficulty
Medium
How to shorten Shimano hydraulic disc brake hoses
Trimming your brake hoses can transform the aesthetics of your bike, keeping things neat and tidy
Alex Hunt
Junior Tech Writer


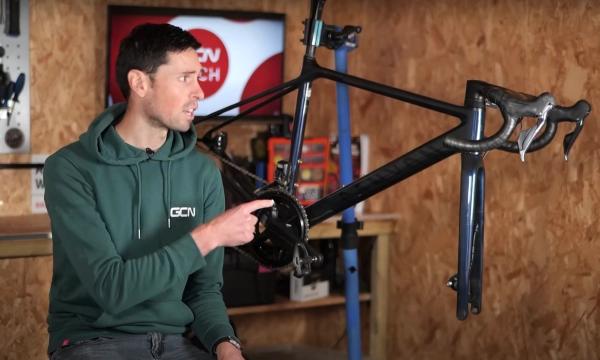
If you have bought a set of after-market hydraulic disc brakes or if your bike arrived with excess hose, trimming the hose down will make your bike look cleaner and tidier. Typically new bikes come with excess hose so that you can tailor your bike's fit, without the need to completely re-hose your bike.
It can be intimidating working with hydraulic disc brakes but the process of trimming hoses is relatively straightforward so long as you have the right tools for the job. As with anything hydraulic, you need to ensure that no hydraulic fluid gets onto any components that it could contaminate such as brake rotors or pads, so being extra careful around these areas is important.
Before getting started, it is essential to know which brake hose and fittings you have. For Shimano brakes, this is typically written on the hose itself and will either be the BH90 or B59 standard. These will have corresponding barbs and compression fittings, so it is important to make sure you have the correct ones.
Tools Needed
Step 1
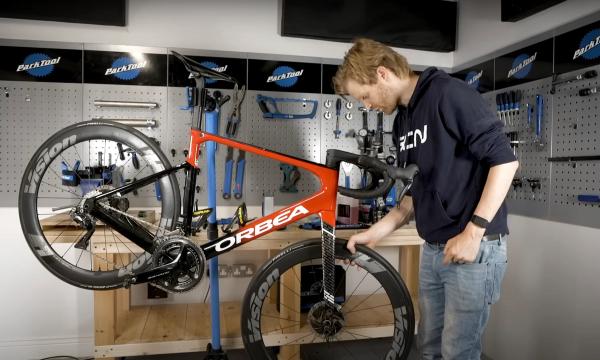
Prepare the bike for the job
Start by mounting your bike in a bike stand. Make sure to clamp around the seatpost rather than the frame itself. When you are happy with the working height of the bike, it is time to remove both wheels and put them to one side.
.jpeg?w=600&auto=format)
Step 2
Unwrap the top section of the bar tape
Peel back the brake hoods from the base of the bar and you should see where the brake hose screws into the lever. To gain full access to the hose, you are going to need to unwrap some of the bar tape until the brake hose is exposed. Then trim any tape that is holding the hose to the bars so that it is free.
Top Tip
You do not have to completely remove the bar tape. Stop when all of the brake hose is visible, leaving the rest of the bar tape in place. This will make it easier to rewrap the bar tape once you've finished.
Step 3
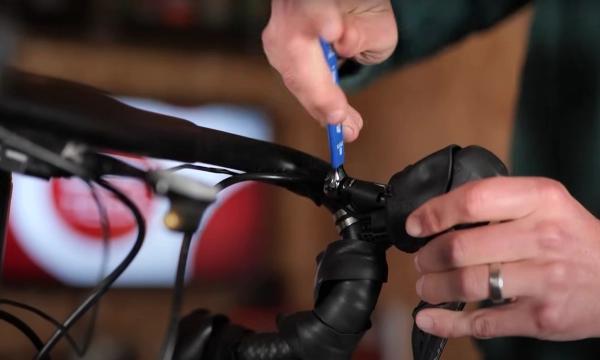
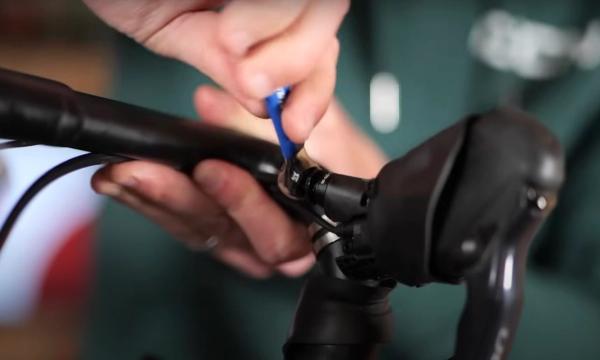
Disconnect the hose from the lever body
Now that the hoses are free, it is time to disconnect them from the lever. To do this you need to unscrew the flare nut that goes into the lever. Once this is fully unscrewed you should be able to gently separate the hose from the lever. Be careful so you don't get any hydraulic fluid on your brake calliper or pads.
Step 4
Work out how much hose to trim
With the hose disconnected, work out just how much of it needs to be trimmed. To do this, arrange the hose so it's got the amount of cable you want, and note the point that it meets the point it mounts to the lever.
Make sure that the new length doesn't obstruct steering at all, and make sure it'll be correct once the bars are rewrapped. You don't want any kinks or points that it'll stretch.
Once you've found the right length, either mark it, or keep a finger on the point that you want to cut the hose.
Top Tip
This is one of those jobs where you don’t need to trim all that much to make a noticeable difference.
Step 5
Cutting the hose
Having determined how much you need to lose, it is time to cut it. To do this you need a specific hydraulic hose cutting tool. You need to make sure that you do not crush or damage the inner section of the hose as this can result in poor fluid flow and can affect braking performance.
Step 6
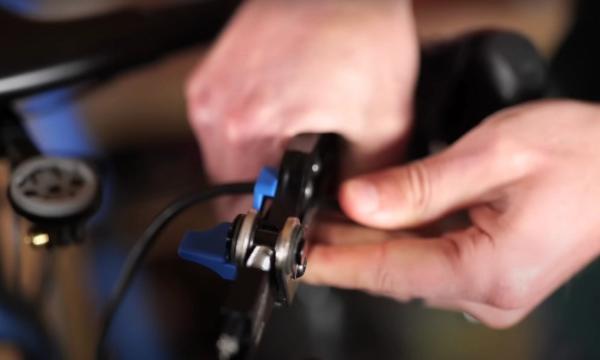
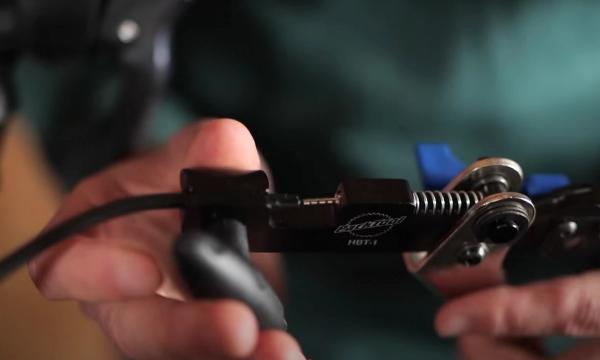
Insert new barb and compression fitting
Before you insert the barb into the end of the hose, you first need to double-check that the flare nut that screws into the lever is still on the hose. It is possible for this to come off once the hose has been cut. Once this has been checked, you are ready to insert the barb into the end of the hose.
To do this you will need a barb insertion tool that clamps onto the hose and presses the barb in. It is key to make sure that the barb is fully inserted so that it sits flush with the end of the hose. Once this is on, slide the compression fitting (or 'olive') over the top so that it sits on the outer surface of the hose.
Step 7
Refitting the hose
Now that everything is in order, it is time to refit the hose to the lever body by tightening the flare nut. Shimano specifies a toque limit of between 5-6Nm which we advise you follow to ensure the hose will not leak, work loose or be damaged.
Step 8
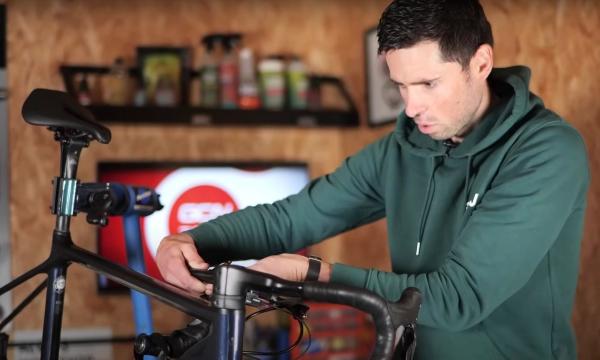
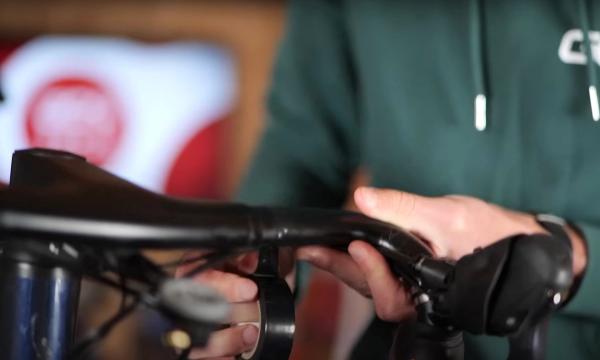
Reroute the hose
Now that the hose is connected you can feed it back the way it was originally sitting on the bars. Some bars have a small groove for the hose to sit in whereas for others it typically sits on the front bottom section of the bar.
When you are happy with the position of the hose, it is time to use some insulation tape to hold it in place.

Step 9
Refit the bar tape
With the hoses set in place, you can rewrap the bar tape along the bar. You should be able to follow where it was previously as there is likely to be some marking on the tape itself. If you find yourself struggling to get it looking as good as it did, we have plenty of videos on how to wrap bar tape that can help you.
Step 10
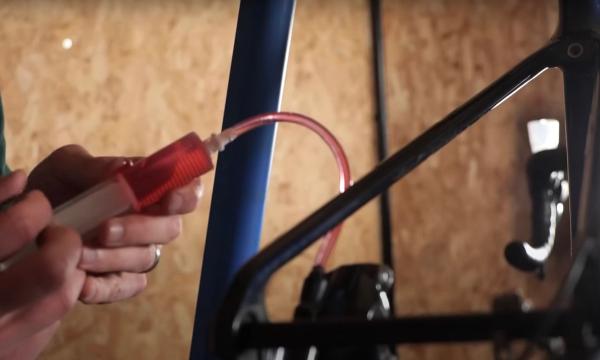
Bleeding the brakes
We have a whole how-to on how to bleed Shimano hydraulic disc brakes that will take you through each step of the process.
Step 11
Refit the wheels
With the brakes successfully bled, it is time to replace the wheels and test out the operation of the brakes and to make sure the hoses are the correct length with no issues moving the bars across their range of motion.
Jargon Buster

Related Content
How to bleed Shimano road hydraulic disc brakes
If your hydraulic disc brakes have started to feel mushy or imprecise, then you need to bleed them.

How to change the stem on a road bike
A new stem can transform the fit and feel of a bike. Here’s how to replace a stem on a road bike

Take it easy! 25-minute aerobic indoor cycling workout
A steadier workout for low-intensity days, or for building into your indoor cycling gradually

VO2 max surges: 30-minute GCN indoor training session
Hank guides you through three five-minute blocks, each with a hard VO2 Max effort sandwiched between two sweet spot efforts