Difficulty
Medium
How to remove and install a threaded bottom bracket
Having been overtaken by press-fit options, threaded bottom brackets are making a comeback. Here’s how to remove and install one
Tom Hallam-Gravells
Online Production Editor


Prior to the 21st century, threaded bottom brackets were dominant. That changed in 2000 when Cannondale became the first mainstream brand to incorporate the press-fit system onto its bikes. Unfortunately for home mechanics, press-fit bottom brackets now dominate the market, but a lot of bikes still use the older threaded version - and they’ve even started to make a comeback in recent years.
If your bike has a threaded bottom bracket, there will come a time when you may need to either service or replace it. Removing and installing a threaded bottom bracket is quick and easy. You'll need tools to remove the crank (which vary depending on whether you're using SRAM or Shimano cranks), but to get the bottom bracket in and out, you just need a bottom bracket tool.
For the guide below, GCN’s Alex Paton removed and installed an Italian standard bottom bracket from his Pinarello bike with a Shimano Ultegra crankset.
If you have SRAM cranks, check our guide for removing and installing SRAM cranks here.
Threaded bottom bracket standards
The world of bottom brackets can be a tricky place to navigate, with a bewildering number of bottom bracket standards. This is especially the case for press-fit options but things are a little simpler on the threaded side. There are just two widely used standards: BSA - also commonly known as English - or Italian.
While these standards both function in the same way, there are a couple of important differences. Firstly, they are different in size. The English standard is either 68mm or 73mm wide, while the Italian standard is 70mm.
The biggest difference, and the one that has the largest impact on this guide, is the threads. The English standard uses a reverse thread on the drive-side, which means that it needs to be tightened anti-clockwise, while the non-drive side uses a typical clockwise thread.
Italian threaded bottom brackets use standard, clockwise threads on both sides. It’s important to ensure that you tighten the cups in the correct direction otherwise you can strip the thread. In some cases this can cause so much damage that the bottom bracket cups can’t be screwed into place.
Tools Needed
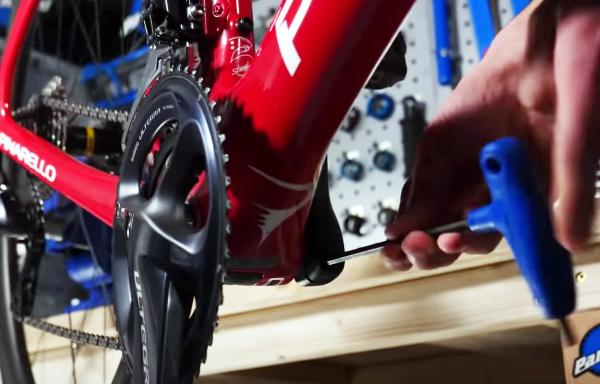
Step 1
Remove the crankset
This may vary slightly depending on your groupset. In this instance we’re removing a Shimano Ultegra crankset.
Loosen the bolts on the non-drive side crank arm using an allen key and then remove the plastic cap at the end of the spindle. Pull the crank arm off the axle.
Rest the chain on the bottom bracket and remove the remainder of the crankset from the bottom bracket.
For an in-depth guide to removing Shimano cranks, click here.
For an in-depth guide to removing SRAM cranks, click here.
Top Tip
The crankset will fit snugly into the frame so it may be difficult to remove by hand. Use a nylon hammer to gently tap it through.
Step 2
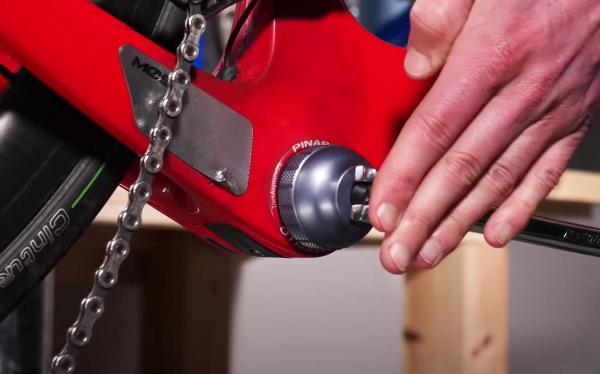
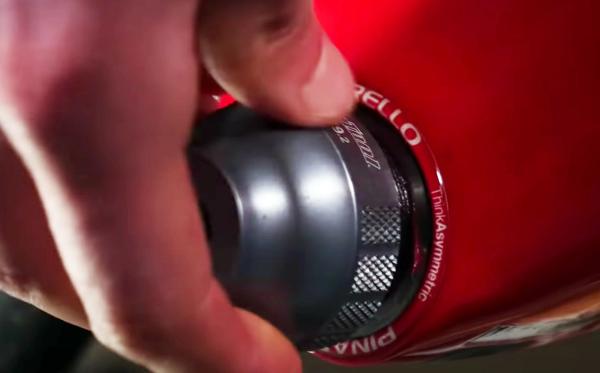
Insert bottom bracket tool
Slot the bottom bracket tool over the drive-side bottom bracket cup. Make sure it is securely attached to the cup so that it doesn’t slip.
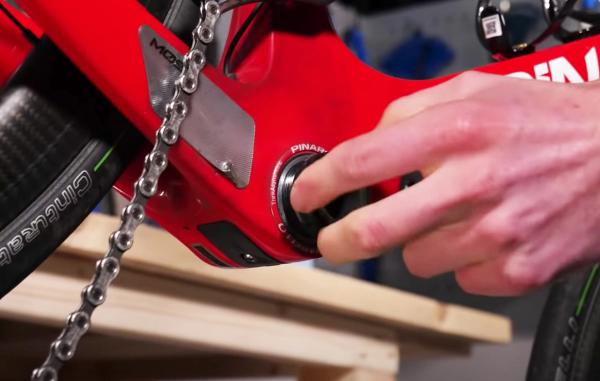
Step 3
Rotate the bottom bracket tool anti-clockwise
Rotate the tool anti-clockwise to loosen the cup. If you’re removing an English standard bottom bracket, you will need to rotate the tool clockwise. If you're not sure, check the bottom bracket for an arrow showing the tightening direction, and turn the opposite way.
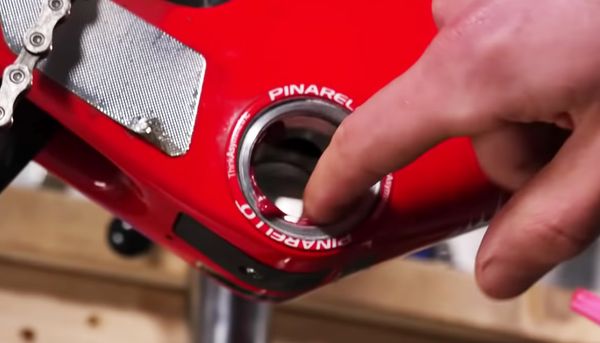
Once it’s loose, use your hands to finish unwinding it out of the frame.
Repeat the process for the non-drive side cup, which will need to be loosened anti-clockwise for both the English and Italian standards.
Step 4
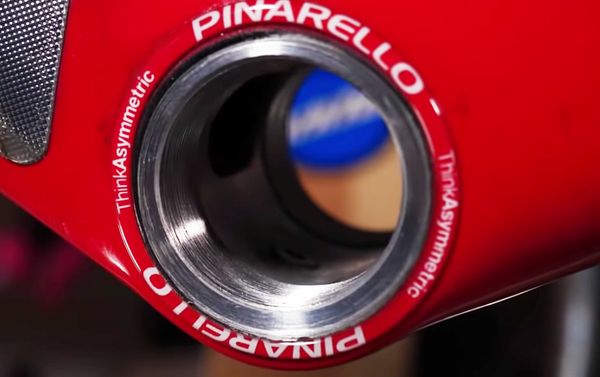
Clean the threads
Give the threads and the inside of the frame around the bottom bracket area a quick clean to remove any dirt or grime.
Step 5
Apply grease
Apply grease to the threads on the frame. This will prevent the future bottom bracket from seizing in place, which would be a nightmare when you next need to remove it.
Apply some grease to the threads on the bottom bracket too.
Step 6
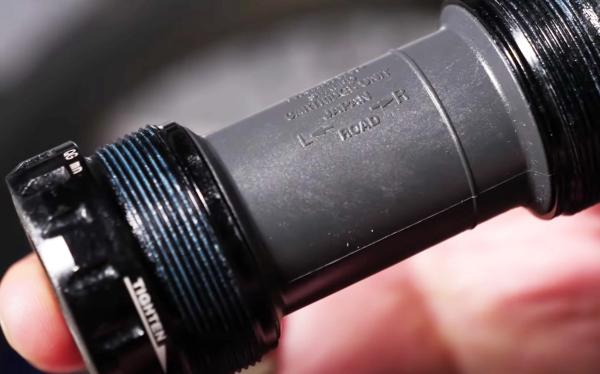
Check bottom bracket orientation
Bottom brackets have a specific left and right side, which will be denoted on the shell. Make sure you insert these into the frame the correct way around.
Step 7
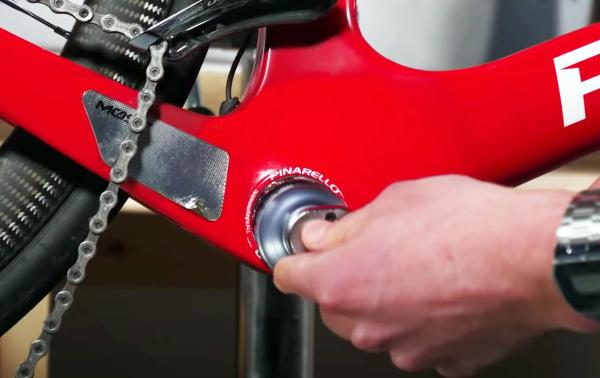
Attach the bottom bracket cups
Insert each shell into the correct side of the frame and screw it into place by hand. This will need to be clockwise for Italian standard bottom brackets.
This should be fairly easy by hand. The grease will add a certain amount of resistance, but you shouldn't have to force the bottom bracket in, nor should there be any grinding. If it's difficult to screw in by hand, stop. Take it out again and make sure you're not cross-threading the bottom bracket.
Step 8
Tighten the cups
Once it's in most of the way, use the bottom bracket tool to fully secure both sides of the bottom bracket in place. Make sure that they are torqued to the correct limits using a torque wrench. Don’t exceed this as it can damage the bottom bracket and the frame.

Step 9
Fit the crankset
Reversing the process from step 1, refit the crankset to the bike.
If you need any help, our complete guide will take you through the process, linked here.
.jpg?w=600&auto=format)
Related Content
How to remove and install Shimano cranks
Our guide for fitting and removing Shimano road cranks

How to fit a difficult bike tyre
Follow these tips to fit tricky bike tyres with minimum hassle

How to change the stem on a road bike
A new stem can transform the fit and feel of a bike. Here’s how to replace a stem on a road bike

Take it easy! 25-minute aerobic indoor cycling workout
A steadier workout for low-intensity days, or for building into your indoor cycling gradually