Difficulty
Medium
How to remove and install SRAM GXP cranks
Give your bike a nice transmission and pedalling upgrade with our step-by-step guide to removing old cranks and fitting new ones
James Howell-Jones
Junior Writer

Every so often, you might need to remove or install your bike’s crank arms. Perhaps you want to service your bottom bracket, or perhaps you need to change your chainrings.
It’s a simple enough job, except it differs depending on the type of cranks your bike has. There are lots out there but the most popular are SRAM GXP, for SRAM groupsets, and Shimano Hollowtech, for Shimano.
In the video above, GCN's Ollie Bridgewood gives instructions for both SRAM and Shimano, but in this guide, we'll focus on how to remove and install SRAM GXP cranks.
- Read more: How to remove and install Shimano cranks
What are SRAM GXP cranks?
SRAM GXP is the crank axle standard used most commonly by SRAM across its range of road groupsets. It can be found on the SRAM Apex, Rival, Force and Red groupsets, although the American brand also uses a BB30 standard, so check before following this guide.
- Read more: Complete guide to road bike groupsets 2024
Why remove SRAM GXP cranks?
There are many parts on a bike that require regular attention or maintenance but cranks usually aren’t one of them. It’s sometimes easy to forget that they’re even there.
However, every so often you will need to remove the cranks. This could be to service or replace the bottom bracket, or to swap out your chainrings. Whatever the reason may be, the process for removing and installing SRAM GXP cranks is the same and we’ll take you through all of the steps in this guide.
What tools do I need to remove and install a SRAM GXP crank?
Removing and installing a SRAM GXP crank is a simple job that only requires an 8mm allen key, a torque wrench with an 8mm adapter, and a rubber mallet, which is useful for installing the crank, but not essential.
Tools Needed

Step 1
Check the retaining ring is firmly attached
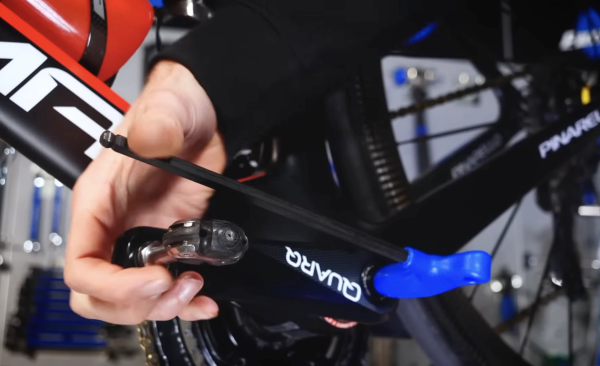
SRAM GXP cranks use a two-part system, with a self-extracting crank bolt. It uses an internal bolt that holds the non-drive side crank arm onto the spindle and an outer retaining ring. Both are Allen key fittings.
Start by ensuring that the outer retaining ring is firmly attached by tightening it with a 10mm Allen key. This ensures that when you start turning, the self-extracting bolt has a solid connection with the ring.
Step 2
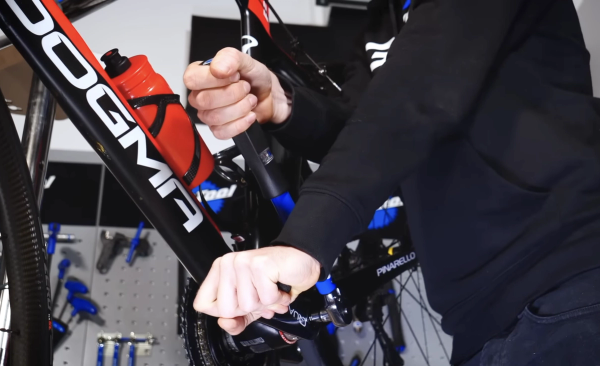
Remove the non-drive side crank
Insert the 8mm Allen key through the centre of the retaining ring on the non-drive side crank and undo it by turning it anti-clockwise until the cranks come off. Initially, it'll take a lot of force to break the seal, so use the crank arm and Allen key together to increase your leverage.
Before you remove the crank, make sure you note the placement of any washers or spacers.
Step 3
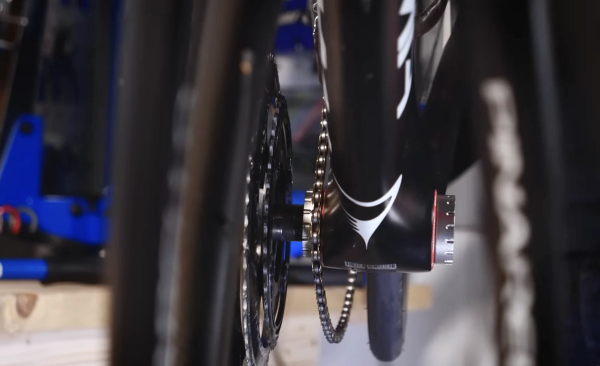
Rest the chain on the bottom bracket shell and remove the chainset
Click down the gears so your chain is on the inner chainring, then take the chain off and rest it on the bottom bracket shell. As you remove the chainset and crank arm, take note of the position and order of any washers or spacers that might be behind them. You might be able to pull it out by hand, but if not, gently tap the spindle through with your nylon hammer.
Step 4
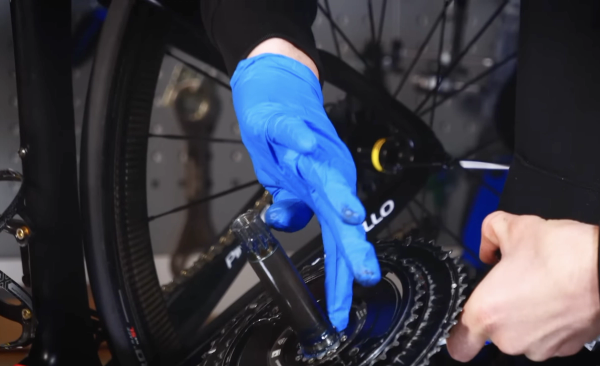
Clean and grease the spindle
Before you install the crank spindle, clean it and apply grease to the spindle. You don't need to smother it in grease, but make sure the part that sits on the bearing is lubricated.
Step 5
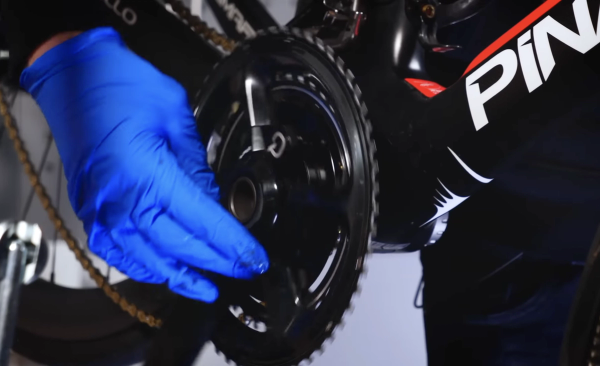
Reattach the crankset
To reassemble, grease the spindle and bolt threads. Insert the spindle through the bottom bracket, ensuring to correctly refit any spacers or washers. Replace the non-drive side arm, making sure it's 180 degrees from the drive side, and tighten the 8mm bolt into the spindle.
Step 6
Torque the bolt correctly and refit the chain
Check the cranks or look online for the correct torque rating and then finish things off with the torque wrench. Finally, ensure the outer retaining ring is secure, then fit the chain back in place.
Jargon Buster

GCN's Essential Road Bike Maintenance
For road, gravel, commuter and hybrid bikes, Essential Road Bike Maintenance is intended to be a proper bible to all those essential bike maintenance, repairs, and set-up tasks that we all need to know. Everything from basic bike set-up, how to get your wheels on and off, through setting up gears, bleeding brakes, and beyond to things like installing electronic gears, converting to a 1x transmission and more. In a nutshell, pretty much everything you would want to tackle on your bike (or bikes, plural) yourself. And then some. Like bike set up tips for taller and shorter riders; bottom bracket standards explained; common bike maintenance mistakes and how to avoid them; essential roadside fixes to keep you riding; how to make your bike more comfortable; how to puncture-proof your ride and much, much more. “A huge amount of knowledge, hacks, and know-how to help improve both your workshop skills and your ride” – Ollie Bridgewood, GCN Presenter Each chapter is structured with the tasks you’ll most likely need more of the time at the start (like how to adjust your gears, replacing brake pads, or changing a tyre), before running through to those that you’ll do much more infrequently (such as changing disc brake hoses, servicing a freehub or pedals, and so on). This also means that many of the tasks naturally ratchet up in difficulty as you go through each chapter which should also mirror your natural progression as you become more mechanically capable and confident. In short, 260 pages packed with all the essential knowledge you’ll need to confidently take on and complete pretty much any bike maintenance task. Get Some ‘Show-How’ With Your ‘Know-How’ Each walkthrough is linked to a companion video which you can watch for free from your computer, tablet or smartphone. To watch, either type in the walkthrough’s short-link URL – e.g. https://gcn.eu/GetPerfectShifting – into your browser, or scan the QR code with your smartphone or tablet so you can get the best of both worlds: know-how and show-how. Simple. All you need to know to fix your bike. Product Details: Pages: 260 (120sm) Size: 280mm (h) x 216mm (w) (portrait) Cover: Paperback Cover Finish: 300gsm, silk stock with anti-scuff matte laminate and spot UV gloss finish Please note: There may be some additional shipping charges for orders consisting of 2 or more books. However, our customer service team will contact you after you have placed the order to advise on delivery options. Click here to explore all GCN best selling books

Related Content

How to change the stem on a road bike
A new stem can transform the fit and feel of a bike. Here’s how to replace a stem on a road bike

Take it easy! 25-minute aerobic indoor cycling workout
A steadier workout for low-intensity days, or for building into your indoor cycling gradually

VO2 max surges: 30-minute GCN indoor training session
Hank guides you through three five-minute blocks, each with a hard VO2 Max effort sandwiched between two sweet spot efforts

Intense interval blast: Hank's 15-minute indoor cycling workout
A short blast of 30-second sprints for burning calories and building muscle as quickly as possible