Difficulty
Easy
How to clean a filthy bike chain
Using this method you can bring even the dirtiest chain back to life
Alex Hunt
Junior Tech Writer


If your bike has not seen some love for a while or if you’ve been on some particularly mucky rides it’s likely that your chain is going to be suffering. A build-up of dirty and contaminated lube can leave your chain hidden by a veil of black sludge that is unsightly and bad for your components. In fact, keeping your chain clean and lubricated with a high-quality lubricant can increase the lifespan of your drivetrain by 10 times!
Getting your chain really clean in these circumstances needs a little effort but it is certainly worthwhile. Once you have restored your chain to its former glory, keeping on top of it with regular cleaning will save you time and money in the long run.
Tools Needed
Step 1
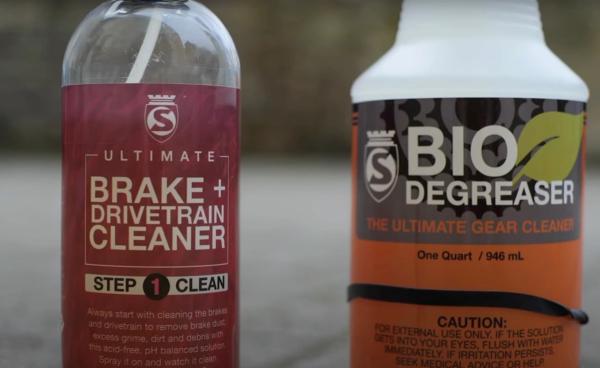
Invest in a bike-specific degreaser
A bike-specific degreaser will make cleaning the chain much easier. These are formulated specifically to break down the greases and oils used on a bicycle without damaging more delicate components that might get covered by overspray. If you are on a tight budget you could use something like WD-40 or isopropyl alcohol, but a word of caution: these will take more considered use. Keep them away from your brake pads and rotors if applied directly from an aerosol.
Step 2
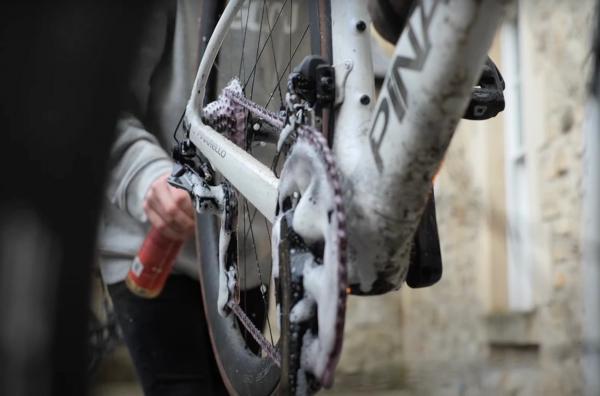
Completely cover the chain in degreaser
Mount your bike in a bike stand if possible as this will make it easier to access the chain and allow you the freedom to pedal both forward and backward. If you don’t have one carefully lean the bike against something soft to protect your bars and gear levers. When you apply the degreaser slowly pedal the chain to ensure full and equal coverage. You are looking to get every surface of the chain covered including inside the links and rollers.
Step 3
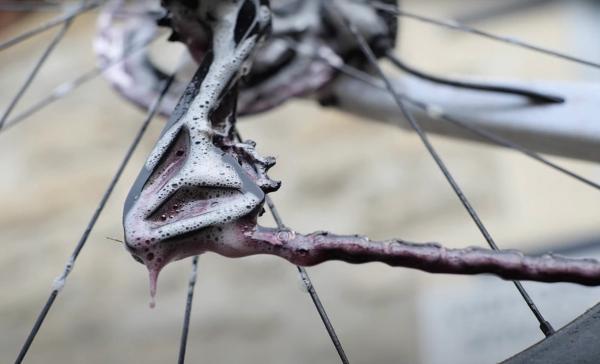
Let the degreaser sit for a few minutes
To get the best results leave the degreaser on the chain for a few minutes to lift off the grime and contaminants. If your chain is particularly dirty you may need to repeat this process repeating a few times.
.jpeg?w=600&auto=format)
Step 4
Brush the chain
After a few minutes brush the chain with a firm brush to help lift off the persistent dirt. It is worth paying close attention to the internal surfaces of the chain where it interacts with the cassette and chainrings as the dirt there can cause accelerated drivetrain wear.
Step 5
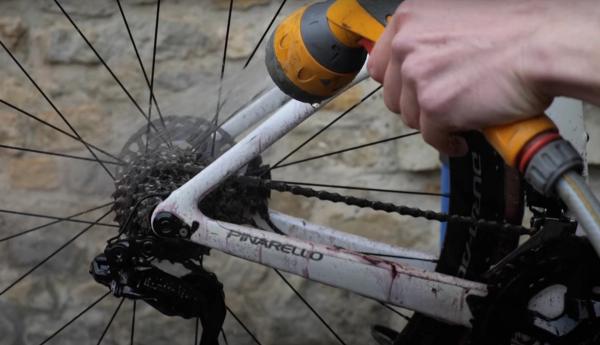
Wash the degreaser off with water
Once the chain has been brushed it is time to give it a good rinse. The best way to do this is simply with water from a hosepipe. When washing the chain, especially if it is particularly dirty, it is important to direct the flow of water straight down rather than across the bike. The degreaser solution will contain oil and dirt that can cause damage to other components, dirty your frame and contaminate your brakes.
.jpeg?w=600&auto=format)
Step 6
Drying the chain
With the chain nice and clean it is time to dry it. The best tool for this job is a clean microfibre cloth. This can help to pick up and draw out dirt that still remains on the chain in harder-to-reach areas. When the chain is completely dry it is time to lubricate it using a high-quality premium lubricant.
Step 7
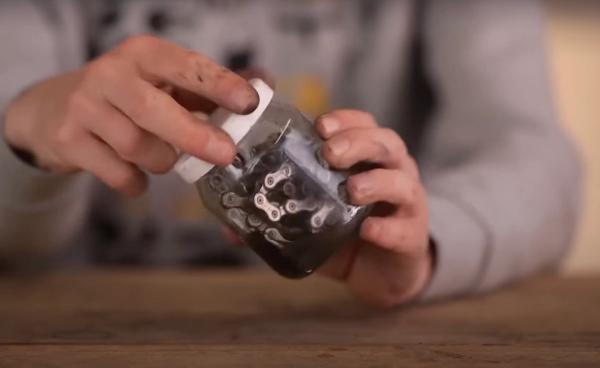
An even deeper clean
If you want to go one step further and really bring it back to looking packet fresh you will need to remove the chain from the bike before cleaning. This way you can put the entire chain in a cleaning bath and fully submerge it in a cleaning solution.
Putting the chain in a small jar or tub with warm soapy water is a good first step to prewash the chain. With the chain and the soapy water in the jar, refit the lid and shake it to agitate the dirt. Once this is done repeat the same again with degreaser. This step can be repeated as many times as necessary with the chain being brushed or wiped down with a cloth in between each cleaning cycle.

Related Content

How to change the stem on a road bike
A new stem can transform the fit and feel of a bike. Here’s how to replace a stem on a road bike

Take it easy! 25-minute aerobic indoor cycling workout
A steadier workout for low-intensity days, or for building into your indoor cycling gradually

VO2 max surges: 30-minute GCN indoor training session
Hank guides you through three five-minute blocks, each with a hard VO2 Max effort sandwiched between two sweet spot efforts

Intense interval blast: Hank's 15-minute indoor cycling workout
A short blast of 30-second sprints for burning calories and building muscle as quickly as possible