Beginners' guide to bikepacking
Everything you ever needed to know about bikepacking. Find out what it's all about, and how can you get started on your first adventure
James Howell-Jones
Junior Writer

© GCN
Our complete guide to bikepacking
Bikepacking as we know it has only really been a thing since 2010, but since then it’s become one of the biggest and most exciting areas of cycling. It’s a combination of backpacking and cycling: riders load up their bikes with the bare minimum amount of camping gear, and food, and head off for epic multi-day rides.
It’s separated from cycle touring largely by its approach. Cycle tourers want to travel – the bike is simply the best way to move through the world. Bikepackers on the other hand want to ride bikes – camping each night is simply the best way of extending the ride.
So, unlike the heavily laden tourers of old, plodding along on heavy, dull bikes, bikepackers ride normal bikes, whether that’s of the road, gravel or mountain variety. And they take no more than the bare essentials so they keep the riding fun and fast.
With the right gear and a few pointers, anyone can get into bikepacking. And once you’re set up, the whole world opens up to you. With just your bike and a few litres of gear, you can turn any dull weekend into a micro-adventure.
As you read this guide, you’re probably going to start thinking, ‘wow there’s a lot of stuff to buy’. And, well, yes there are a fair few bits and bobs. But start with what you’ve got. Borrow from friends and family. Look online for second hand gear and good deals. Over the years, your perfect bikepacking setup will begin to form. There really is no need to have top notch gear from day one.
Part 1: Equipment
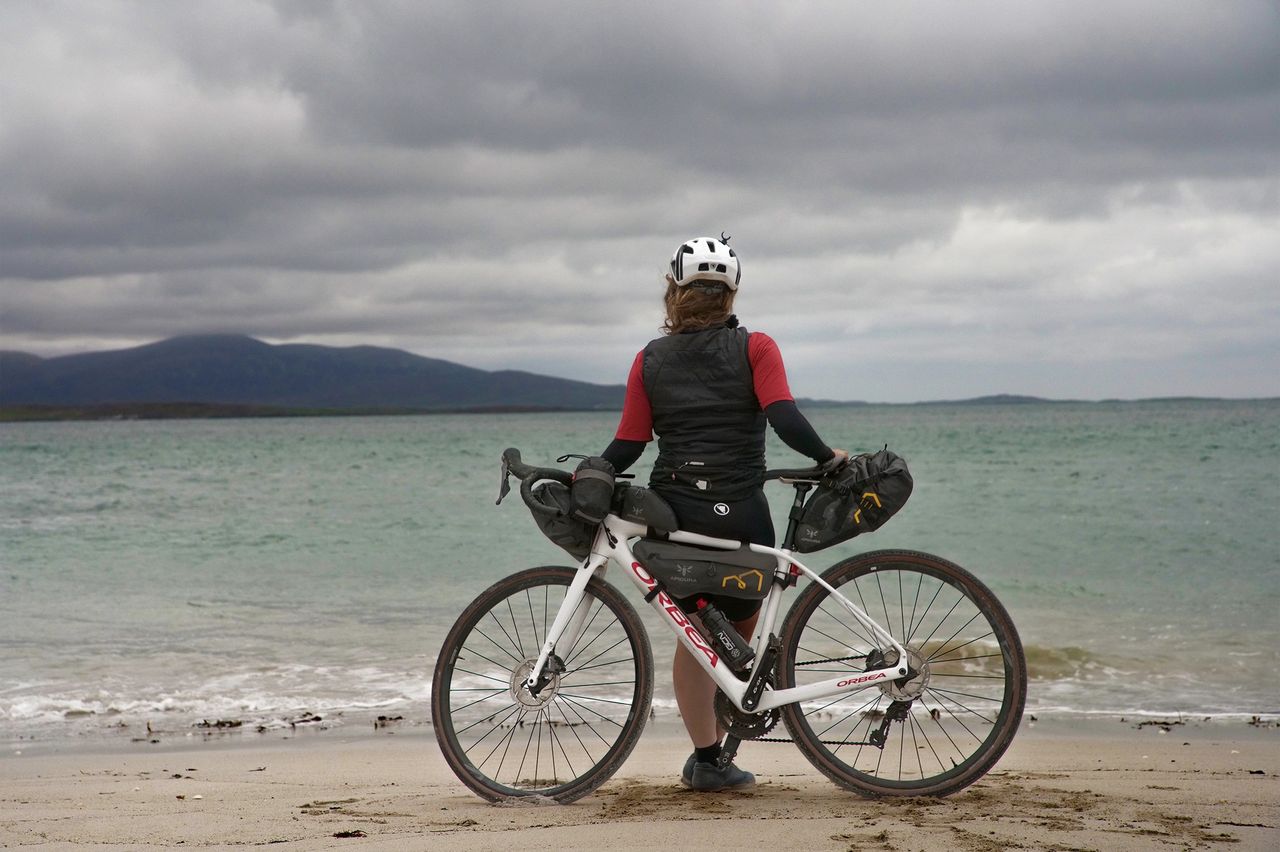
What kind of bike do I need?
© GCN
Gravel bike, road bike or mountain bike: they all work for bikepacking
The best bike for bikepacking, as the cliché goes, is the bike you already have. Bikepacking bags don’t need special mounting points or bosses to attach to your frame – they just strap right on to the tubes – so there’s no need to have a specially designed machine.
Of course, the type of bike you have will determine what kind of routes you can do. If you’ve got a race-ready road bike, you’ll probably have to plan a route on tarmac. If you’ve got a full-suspension trail bike, you’ll probably have a better time if you keep your route off-road as much as possible.
But most bikepacking routes are somewhere in between, with off-road sections linked together with on-road sections. For routes like this, a gravel bike is ideal – the drop bars and road position will make pedalling on smooth surfaces a joy, but the wider, grippier tyres will make it far more capable off road.
Lots of gravel bikes are designed with bikepacking specifically in mind. They’ll have extra mounting points for water, luggage and racks, allowing riders to carry more gear, or carry their gear in better ways.
Whatever kind of bike you take, make sure it’s in good condition before you set off. Check the tyres have plenty of life in them, the chain isn’t stretched, and the gears and bearings are all working properly. If there are any issues with your bike, they’re sure to surface on a multi-day ride.
If you've got a road bike, have a look at our guide for setting up a road bike for adventure.
What Kind of Bags Do I Need?
There are a few different options for carrying all that camping gear:
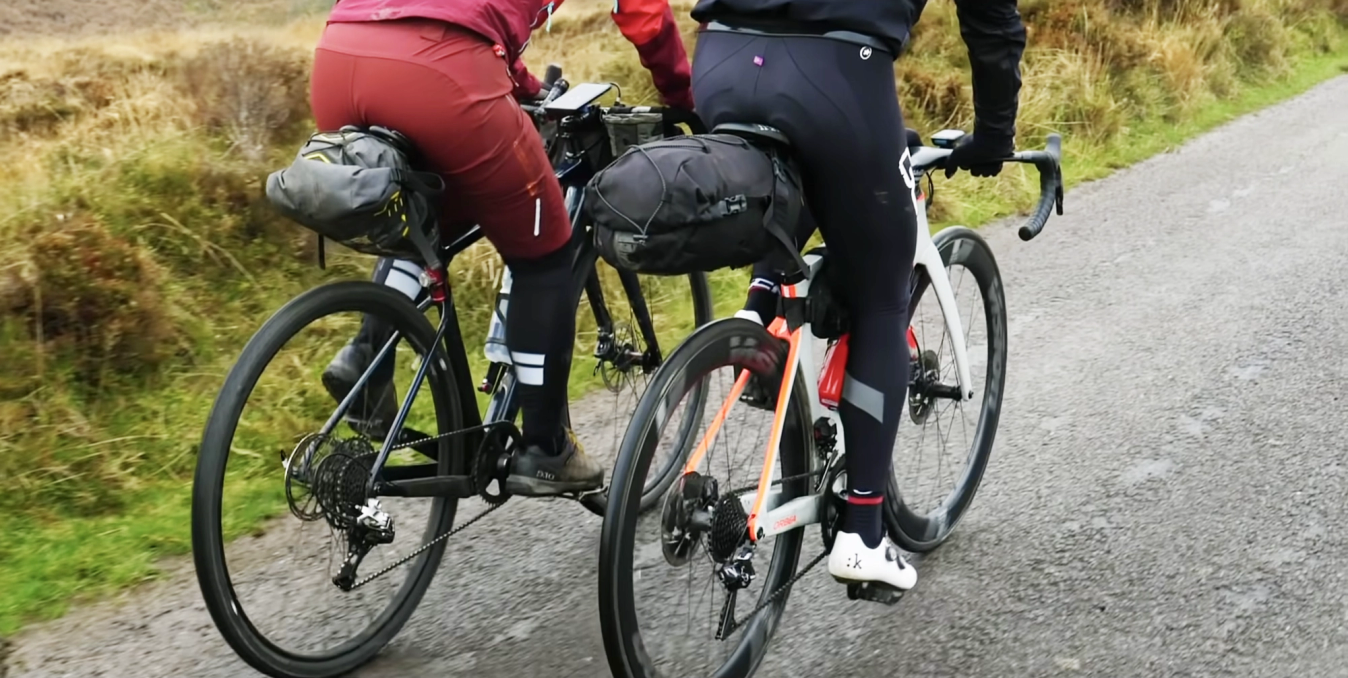
Option 1: Bikepacking bags
Typically, bikepackers use bikepacking bags, which strap onto the seatpost, handlebars and frame. In addition to that, some more heavily-laden bikepackers use bags that strap to the fork legs.
These specially designed bags are great, because (apart from fork leg mounted bags), they don’t need any special frame mounting points. Instead, they use webbing straps to attach to the frame. The other benefit of these soft-mounted bags is that they are pretty resilient to bumps, knocks and vibrations. Instead of being bolted hard and fast to the bike, they have a certain level of flexibility to them, so they absorb shocks and are less likely to break off.
Option 2: DIY setup
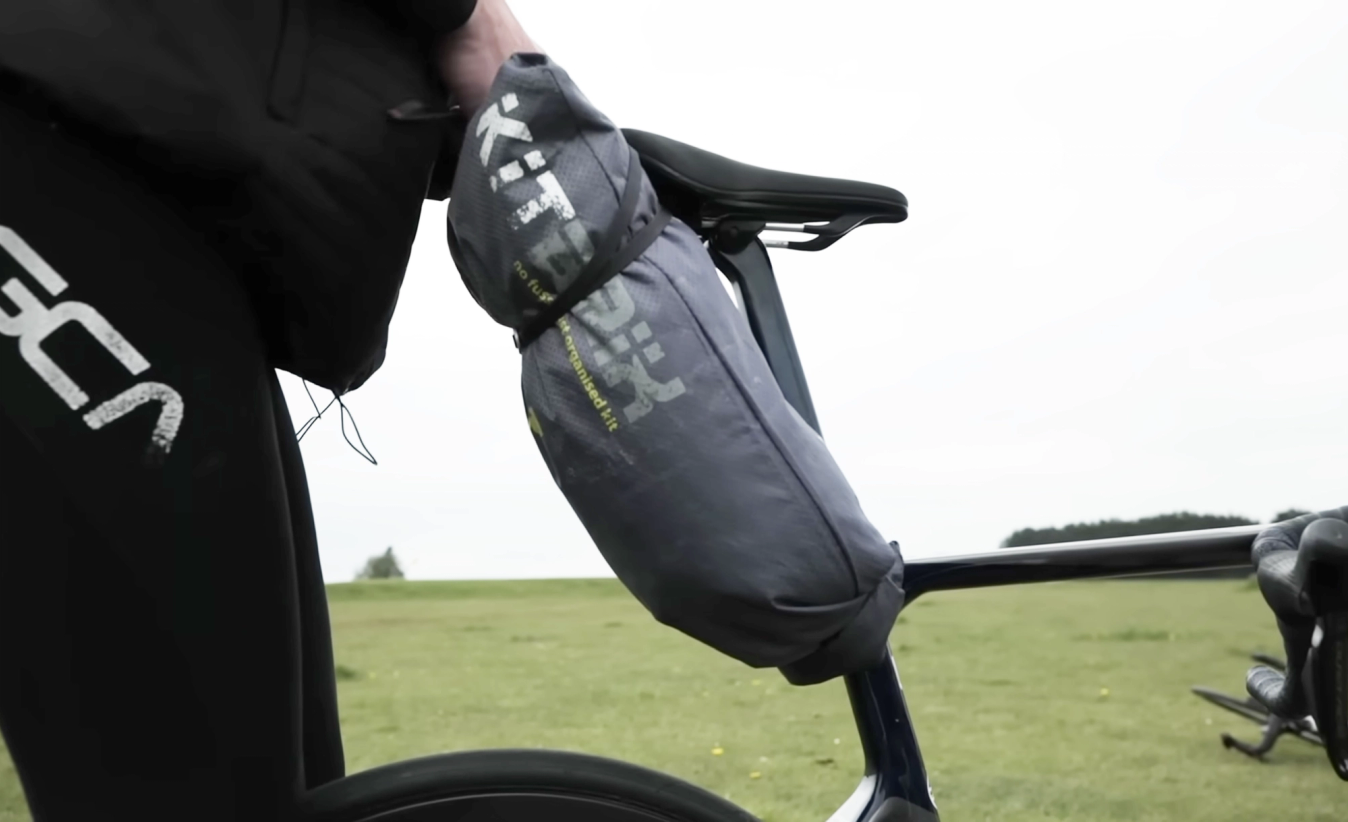
© GCN
A cheap drybag and some straps is enough to get you started bikepacking
All that said, you don’t have to use bikepacking bags. The cheapest way to load up your bike with everything you need is to get creative with dry bags and bungee cords. With a bag slung below your top tube and a bag strapped to your bars, you can carry a surprising amount of gear. Add to that a cheap pannier rack with another dry bag on top, and you’ll have plenty of room for camping gear.
If you’re still struggling for space, use electrical tape to attach to your frame those things that you need to bring, but hope not to use (tools, tubes, pumps etc).
Option 3: Panniers
Finally, there’s the classic cycle tourer option of a pannier rack and panniers. These have a couple of drawbacks for bikepacking. Firstly, unlike the bikepacking bags that flex to absorb impacts, there’s a chance that rigid pannier racks will shear, loosen or crack due to an impact or bump.
Secondly, there’s the weight issue. Not only are the panniers themselves heavy, but with two hefty pannier bags on the back, it’s far too tempting to chuck in everything plus the kitchen sink. Remember, bikepacking is all about the riding – to keep the bike feeling lively, you need to take the bare minimum.
What should I wear?
Some bikepackers wear lycra, some wear mountain bike baggies, some wear technical outdoorsy clothes. Basically, as long as you’re not wearing anything too heavy or impractical, you’re good.
Whatever you choose to wear, the main thing is to be strict with yourself in terms of how much to take. When bikepacking, it’s perfectly normal to wear the same riding clothes a number of days in a row – it sounds a little gross, but it’s worth it for a light load on the bike. Generally speaking, one set of riding clothes and one set of non-riding clothes will see you through most trips.
Whatever option you go for, a few different layers and a waterproof jacket are a good idea. When you’re out all day, you’ll experience all kinds of weather and temperatures, so be prepared.
Option 1: Lycra
Lycra has its benefits. It’ll probably be the most comfortable option, and it will definitely be the most aerodynamic, so for really long days on the bike, lycra is probably the best bet. But lycra has its drawbacks: when bikepacking, you often find yourself mixing with regular people, and it can be slightly embarrassing traipsing around a supermarket or sitting in a restaurant in your skin-tights. Also, lycra isn’t particularly resilient, and bikepacking will wear out your gear much quicker than normal riding – you’d be surprised how much time you end up spending sitting on the ground on a bikepacking trip.
Option 2: Mountain bike baggies
Mountain bike baggies are great, because they’re designed with riding in mind, but are hardier and less conspicuous than lycra. You’ll lose the aerodynamic benefit of lycra, and they’ll probably be a touch less comfortable if you’re riding for hours and hours, but if your trip is about enjoying the ride not setting the best time, mountain bike clothes can be perfect.
Option 3: Technical clothing
Technical outdoorsy clothes are great too. With clever fabrics and comfortable designs, they will be really comfortable and adaptable to different weather conditions. The one thing to be aware of when choosing your clothes to ride in, though, is the seam placement. Clothes that are super comfy to walk in might not be perfect when sitting on a saddle, because the seams of the crotch might be placed in an irritating place. If you’d rather not ‘look like a cyclist’, mix outdoorsy clothes with a pair of mountain biking shorts or trousers, just to make sure you’re comfortable.
What camping gear do I need?
© GCN
Tents are great for keeping out bad weather or mosquitos
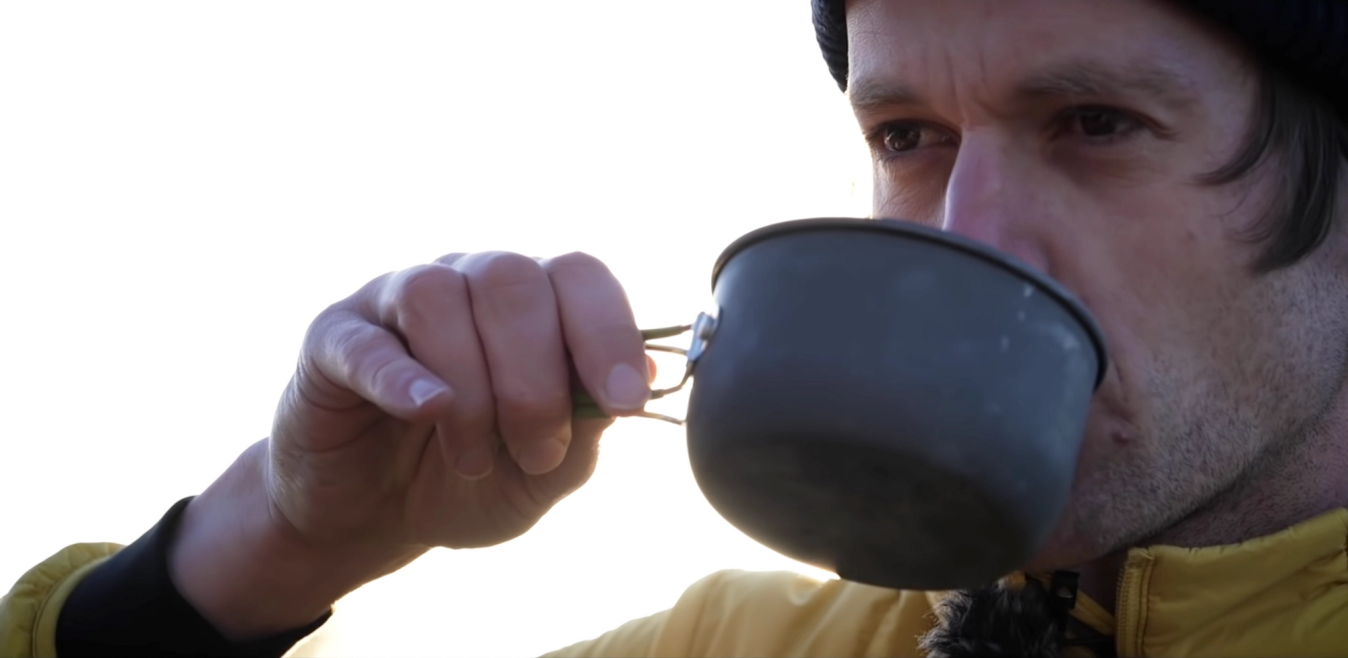
Cooking gear
For preparing food, the kit you need will depend on what you want to eat, but the standard setup is a small gas canister, a stove that screws onto it, a pot (for cooking, boiling water, and eating from), and a utensil for cooking and eating with. Plus something to light the stove with, of course. A striker is the most reliable option.
If you’re happy with cold food, or want to stop at restaurants and cafes for food, you can leave this kit at home.
Equally, if you want to cook up a storm, you’ll probably need a few extra things – maybe a bowl, a little pot of cooking oil, a knife for prepping, some herbs or salt and pepper. But with a few extra bits and pieces you can cook surprisingly good meals on camping stoves.
Sleeping gear
Whatever kind of shelter you decide on, you’ll need a sleeping bag and a sleeping pad. These are both essential for keeping you warm in the night – it doesn’t matter how good your bag is, if you don’t have a sleeping pad you’re going to be cold, and vice versa.
Make sure your bag and pad are comfort-rated for the temperatures you’ll be camping in. The temperature rating is usually written somewhere on the kit, so check that out, then check the weather forecast for your trip.
If the forecast is looking a bit cooler than your bag or pad is designed for, take extra layers. We’ve found that a hooded down jacket is surprisingly nice to sleep in when camping on those slightly cooler nights.
So now you’re properly insulated, you can choose what kind of shelter to opt for. On this front, there are three main camps (figuratively speaking…).
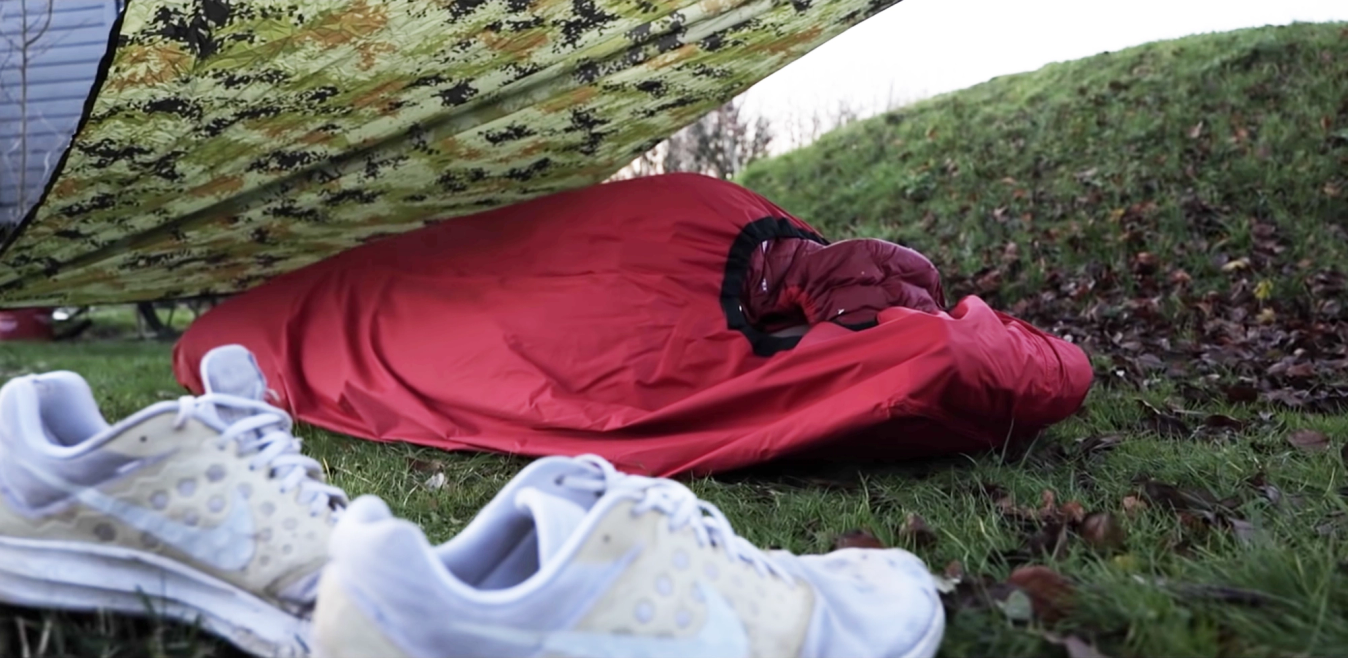
Option 1: Bivvy bag
First of all, for the hardier bikepackers, there’s the bivvy bag option. Bivvy bags are essentially large waterproof bags. Their setups are small, lightweight and incredibly simple, but not particularly comfortable. A simple one will set you back about £20 and pack to the size of a tin of baked beans. The more you spend, the smaller and lighter they get.
Paired with a sleeping bag and a sleeping pad, a bivvy bag will keep you warm and dry for the night, and give you something dry to sit on in the mornings and evenings.
The drawbacks? Well, bivvy bags are claustrophobic – you sleep sealed inside a bag, which isn’t everyone’s idea of a holiday. And you’ve got no shelter for the mornings or evenings, which is rubbish if it’s raining. Being outside for 24 hours a day can really wear you down, so even having something as simple as a tent to retreat to can help your energy (and morale) levels.
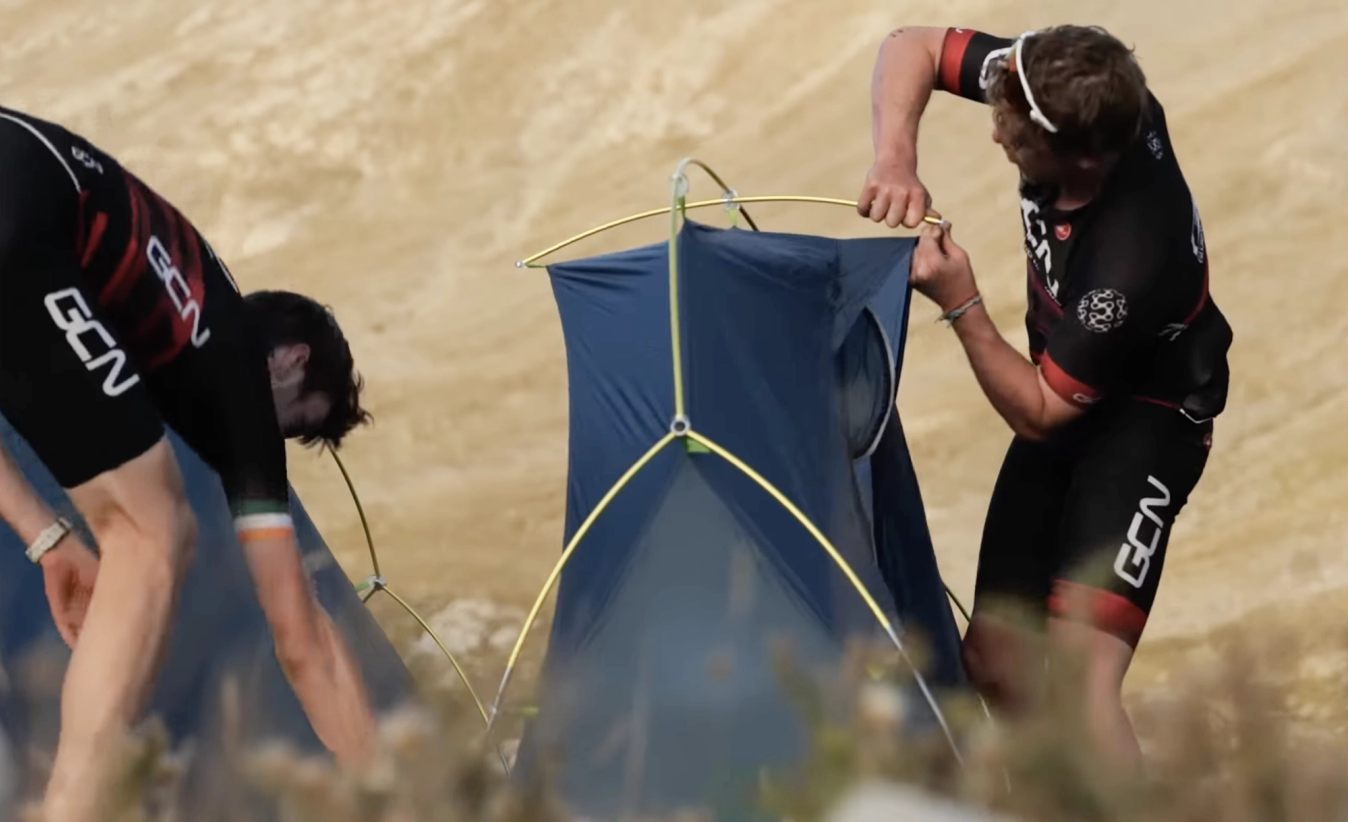
Option 2: Tent
For the less hardcore (but maybe more sensible), there’s the tent. Small tents can be incredibly lightweight and easy to put up, although they can be pretty pricey. They’ll never be as small, lightweight or simple as a bivvy bag, but the extra weight and faff is probably worth it for a better night’s sleep.
If you’re travelling with someone who’s willing to share with you, the weight per person goes down dramatically. In fact, a lightweight tent can weigh in at only a few hundred grams more than two bivvy bags.
Option 3: Tarpaulin
Perhaps the happy medium between the bivvy bag and the tent, tarpaulins offer a lightweight setup while eliminating the possibility of being rained on all night. A tarpaulin or ‘tarp’ can provide a basic shelter for only a few hundred grams, and an upside down bike can make the perfect structure to attach it to. In dryer weather, this can be used instead of a bivvy bag, especially if used in conjunction with a lightweight groundsheet. In wetter conditions (read: British conditions), the bivvy bag is still necessary.
© GCN
Every item has to be multifunctional when you're travelling light
Camp clothes
It’s nice to have something to change into after a long day on the bike. But what should you pack? The clothes you take to wear at camp need to be lightweight, low volume and extremely versatile – chances are you’ll have to cook, eat and sleep in the same clothes.
Of course, pack for the weather conditions, but even in summer, something with long legs and long sleeves is advisable – you might find yourself camping in an area prone to ticks or mosquitos, or you might be surprised at how low the temperature gets in the night. Either way, it’s good to have the ability to cover up.
For warmth, lightweight and packability, you can’t beat a down jacket, although modern synthetics are also very good. A down jacket might seem like overkill in the middle of summer, but taking this one item means you can pretty much rule out the possibility that you’ll be too cold (in summer, at least). Even if it lives in your bag the whole time, it’s worth taking.
Pro tip: a neck gaiter is surprisingly versatile and worth bringing. It can keep you warm, it can cover your neck and head if the mozzies are out, and it can act as a blindfold if the sun’s waking you up at the crack of dawn.
What else do I need to take?
Battery pack
Bike lights, GPS head units and mobile phones all need charging. A battery pack with enough charge for your trip is a good idea to make sure you don’t get caught out.
Bike lights
Even if you’re going on a trip in the middle of summer, take bike lights. These days, lots of riders choose to run a rear light at all times, but even if you’re happy without daytime lights, they’re good to have with you for the mornings and evenings. They’re also pretty handy if you need to find your way through your campsite at night.
First aid
A first aid kit is advisable on any bike ride, but on a bikepacking trip, when you’ll likely be further from home than usual, it’s essential. To make your first aid kit as compact as possible, gear it towards the kind of injuries that are more likely on a bike, namely impact-related injuries like grazes, cuts and fractures.
Tools and spares
Similarly, first aid for your bike is a good idea. Don’t let a mechanical scupper your weekend – bring a really good multitool with a chain tool. A pump and set of tyre levers are vital too.
When it comes to spares, we’d take a spare chain link, some oil for your chain, some sealant for your tyres (if you’ve got tubeless tyres), a few spare tubes and a puncture repair kit. Finally, some zip ties and electrical tape are worth bringing too.
Toothbrush and toothpaste
You might be roughing it, but this is one thing from your toiletries set that is worth bringing along.
Trowel
When wild camping (more on that later), you need to follow the wild camping code, known as ‘Leave No Trace’. That means no rubbish, no banana skins, no fires. It also means that if you need to ‘go’, you need to dig a hole first. Enter: the trowel. It might seem over the top, but this is an essential that someone in your group must carry. Some toilet roll is probably a good idea too.
Part 2: Planning
© GCN
Established trails or long distance routes are a great start for a bikepacking adventure
How far and how many nights?
Wherever you go, the key is to start small. Initially, one or two nights away will be enough. If you’ve got a grand route idea in mind, plan a local weekend trip first to get a sense of what to expect, what to pack, and how far you can ride.
Your average speed will suffer under the weight of your camping gear. Expect to travel about 5-10kph slower than you normally would, so lower your expectations for mileage.
Where should I go?
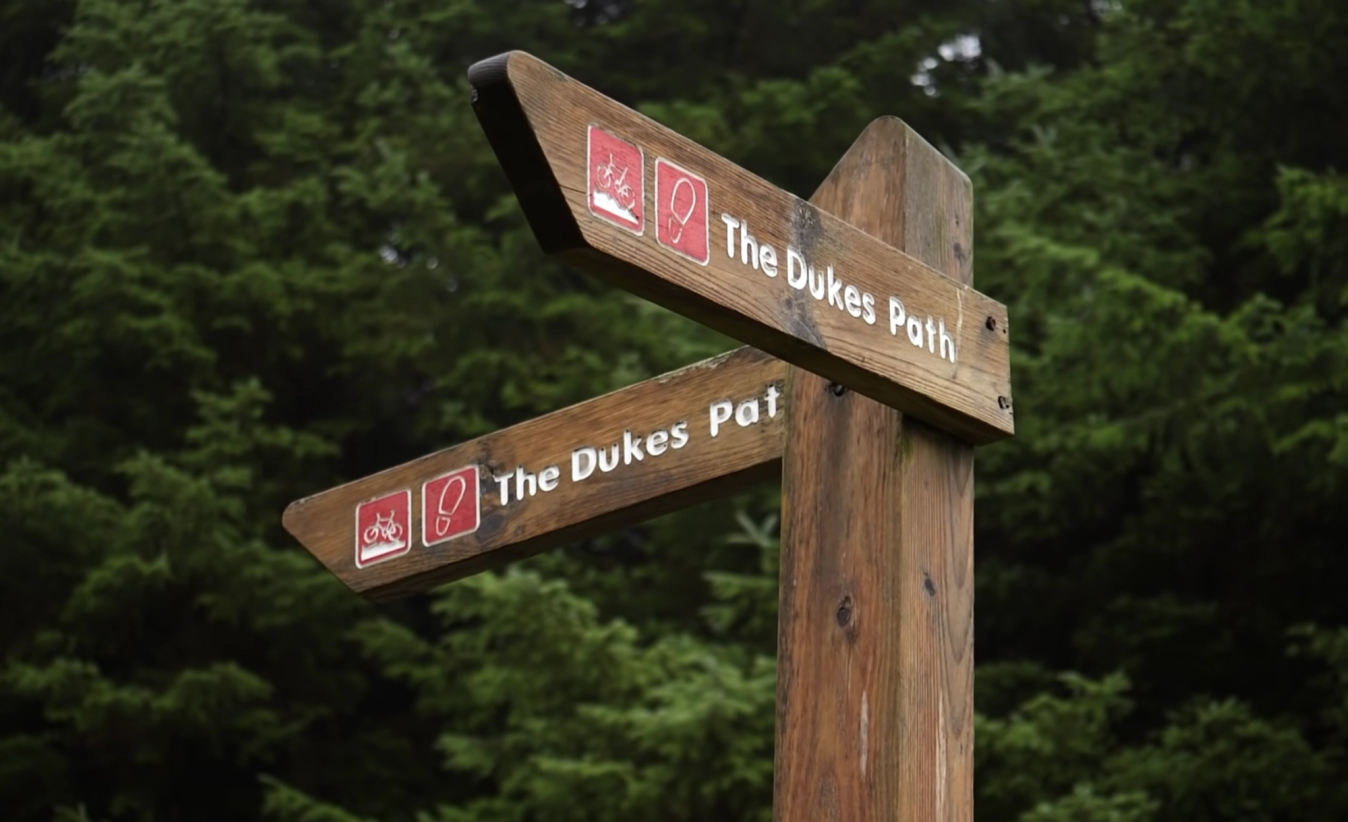
For your first trip, it’s sensible to stay within reach of civilisation. You might find you have unexpected issues with your bike or your gear, and being able to dart into a bike shop for a new chain link, or into a hardware shop for some new straps for your bags can be a trip-saver. Once your bikepacking rig is road-tested, you can head further afield.
There are plenty of existing bikepacking routes all over the world, but it can be fun to make up your own route too. If you’re struggling for ideas, get inspired by the following prompts:
- Link up two cities
- Take the train somewhere then ride home
- Find an adventure in the boundaries of your hometown
- Make a themed route. For example, you could plan to link up as many castles or breweries as you can, or follow a historic route.
The simplest way to plan a route is to plot it digitally, then follow it on a GPS head unit as you ride. This means you’ll be able to ride without messing around with maps or phones. Download the route onto your device before you set off, so you don’t need to worry about connecting your device to your phone as you go.
Once you’ve got your route on your GPS head unit, turn off the bluetooth and backlight to prolong the battery life of your device.
Where should I sleep?
© GCN
Combined with a tarp, a bivvy bag can be surprisingly comfortable
Camping is part of the bikepacking DNA. Some riders prefer to stay in a hostel or Airbnb, but the thorough-bred bikepacking experience involves sleeping on the ground.
Option 1: Proper campsite
If you’d rather stay in a campsite, with toilets, showers, washing up facilities and a shop selling sweet treats, frisbees and dog treats, make sure you plan to pass a campsite on your route. It’s worth booking ahead of time, but often, with just your tiny tent or bivy bag setup, campsite owners will be able to squeeze you in at the last minute.
Option 2: Wild camping
Wild camping, which is when you camp outside of a proper campsite, is popular among bikepackers – it offers greater freedom for riding routes, it doesn’t cost anything, and it gives a greater sense of exploration and adventure.
But before you pitch your tent on any old grassy knoll, you need to check the legality of your camp spot. In most of Europe, wild camping is illegal, and in some countries, it comes with a hefty fine for those caught.
Despite the legal issues, wild camping is common, and some national parks even give guidance on how to camp responsibly. Even so, you shouldn’t do it if it’s illegal in the area you’re in.
If you’re in an area where wild camping is legal, be discreet, avoid farmland, and be sure to follow the ‘Leave No Trace’ principles – the spot you sleep in should be left in exactly the same state as you found it: no remnants of a fire, no rubbish, no human waste.
Part 3: Food and drink
© GCN
For multi-day trips, it's important to eat real food as well as high sugar sports nutrition
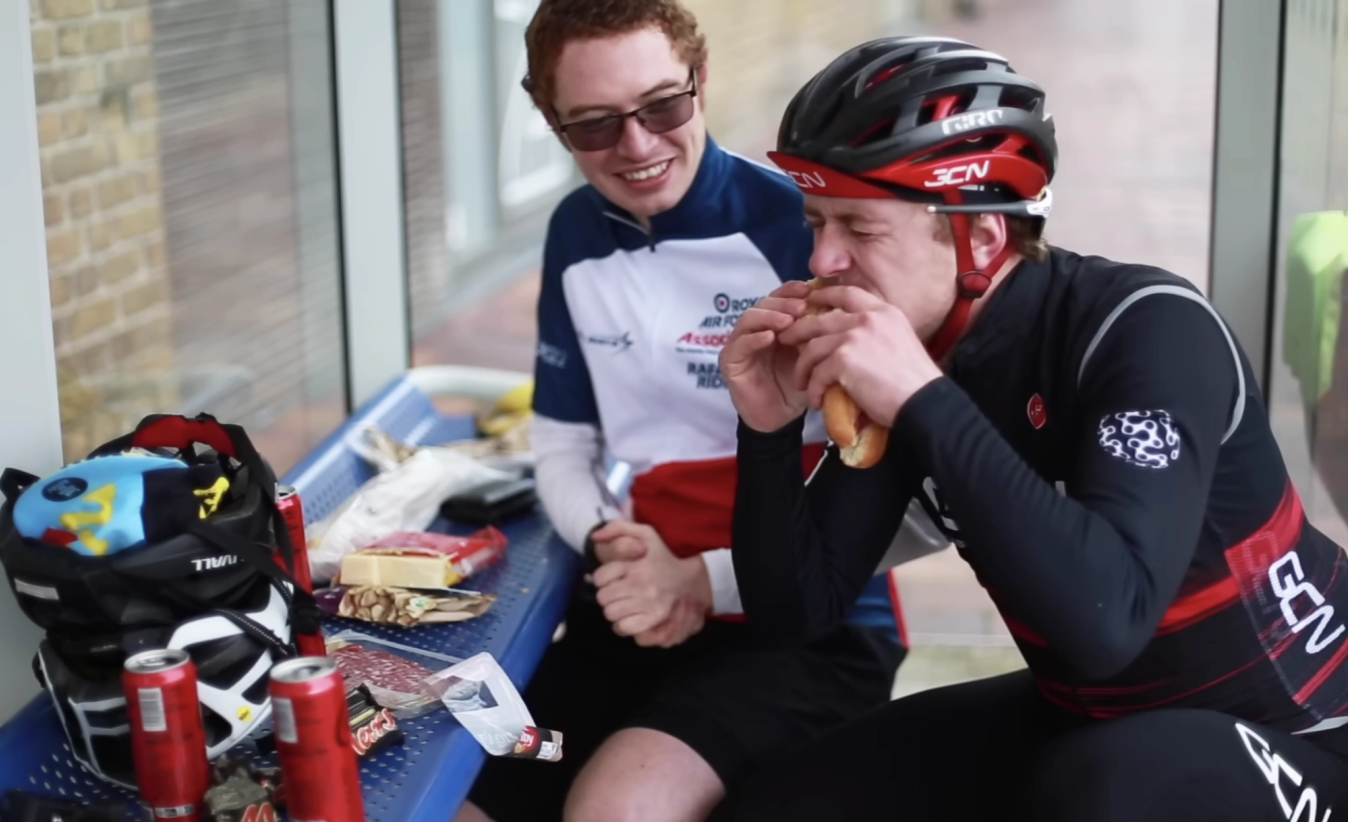
What should I eat on the bike?
Fuelling long days of riding requires a substantial stock of snacks, but remember, it’s a marathon, not a sprint. The energy gels and bars that you might usually reach for on a big day on the bike are great, but over the course of a few days, they can do strange things to our digestive system. If you’re not careful, you’re going to find yourself using the trowel more than expected.
To keep healthy over a multi-day ride, supplement the energy gels and sports science food with some real food, whether that’s cereal bars, trail mix or sandwiches.
Stocking up for camp
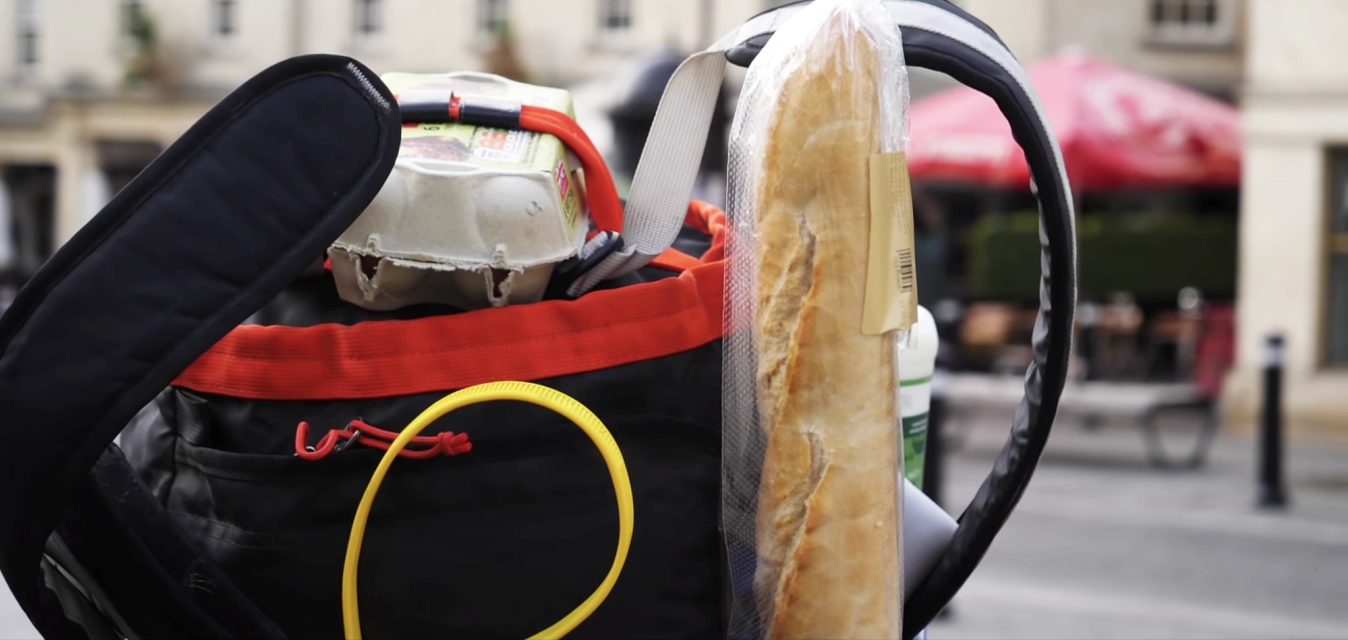
© GCN
You might find your bags bristling with supermarket goodies for the last part of your ride
When planning your route, you need to make sure you’re going to have enough chances to stock up on food and water. Bikepacking burns serious calories – not only will you be cycling all day, but you’ll be camping too, which involves a lot more effort than living in a house.
Plan to head into a town towards the end of each day so you can pick up some food for the evening and the next morning. It normally ends up weighing quite a bit, so the closer you can pick up supplies to your camp spot, the better.
Make sure you’ve got enough water. You need enough to rehydrate, enough for cooking, enough to give yourself a quick spritz in the sweatier regions, and enough to ride with the next morning. A litre per person is sensible for a comfortable evening and a well-hydrated morning ride. And if you pick up some beers to go along with your evening meal, you’re going to need even more water to counter alcohol-induced dehydration.
Got all that? Then you’re ready
Heading off for your first bikepacking trip can seem daunting, but take the plunge and you won’t look back. Bikepacking opens up new routes, gives you a real sense of adventure, and provides a totally new way of experiencing cycling. Start small, keep testing different setups and options, and you’ll be in your groove in no time.
If you enjoyed this article, you'll love our Patagonia: A Ride Into The Wild film, which is out now on GCN+. Watch on demand and explore our extensive collection of exclusive cycling films.


Related Content
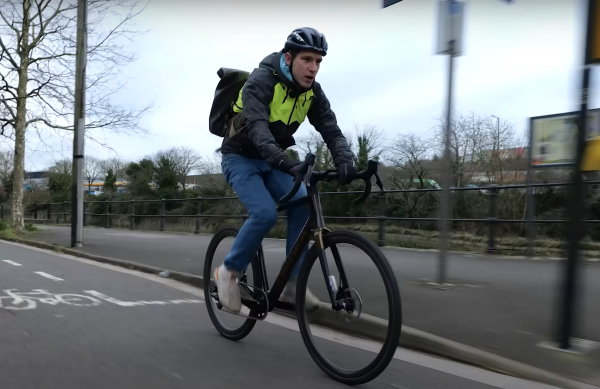
8 commuter hacks that make cycling to work easy
Follow these tips to ensure a smooth commute by bike and unlock all the benefits of riding to work
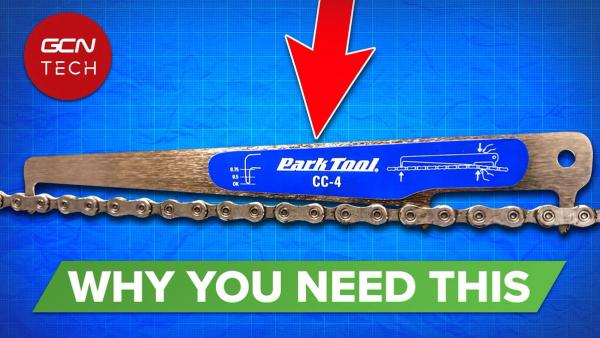
How to measure chain wear correctly
Knowing how to measure the wear to your chain and when it needs replacing can save you a considerable amount of money
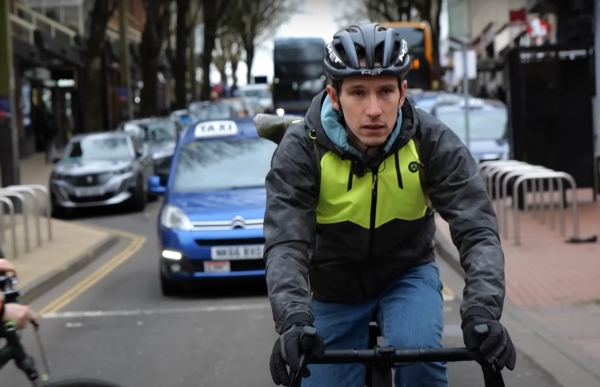
Best commuting clothing: What to wear on your ride to work
Clothing choices can make or break a ride to work, and the best clothing for commuters will be comfortable, keep you dry and help you to maintain the right temperature on rides to work
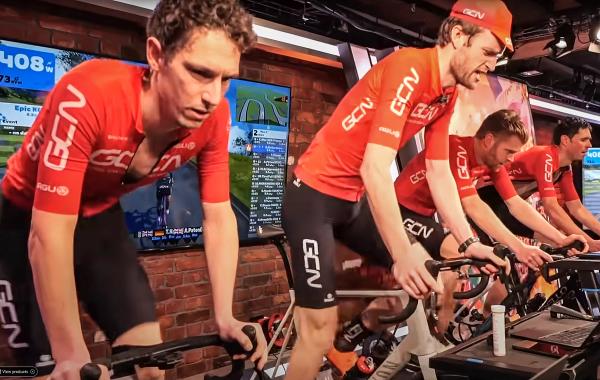
Indoor training apps all cyclists should know about
We take a look at the fitness apps that can help you get the most out of your indoor training sessions, and make them more enjoyable, too