Difficulty
Very Easy
What is threadlock and how should you use it?
Here’s why and how you should use threadlock when securing bolts on a bike
Tom Hallam-Gravells
Online Production Editor

Alex Paton
GCN Tech Presenter
Impressive sprinter - quite possibly the fastest member of the GCN team
Bikes and components are held together by multiple bolts. To ensure that everything is safe and secure, these need to be securely tightened. This is partly taken care of by following recommended torque limits, but there’s another important product that will help: threadlock.
Threadlock can be applied to the threads on bolts to prevent them from loosening over time. It essentially acts a bit like glue, but when should you use it and how exactly does it work? Here’s everything you need to know.
What is threadlock?
Most bolts and nuts on a bike have recommended torque limits and following these should ensure that they’re safe and secure. However, even when you follow these limits, bolts can still come loose due to the vibrations that reverberate around your bike as you ride.
That’s where threadlock enters the equation. It’s an adhesive that can be applied to nuts and bolts on a bike to help secure them in place. To the untrained eye it could be mistaken for glue. It works very similarly, creating a strong bond between a bolt and the fitting it’s being screwed into.
As an added bonus, threadlock will also prevent leaks, resist corrosion and act as a lubricant as you’re fastening a bolt up.
Threadlock works through electro-chemical activity, meaning it will cure or dry once it’s applied to metal components on a bike. If a component is covered in grease or oil, it may not cure correctly, so it’s important to clean any relevant bolts and fixings before applying it.
Types of threadlock
Threadlocks have different strengths and this indicates how strong the bond between the bolt and another surface will be, which will in turn affect how hard it is to remove a bolt.
This is indicated by the colour on the label of the bottle. Purple is usually the weakest option, followed by blue and finally red, although this can vary by manufacturer, so always check a bottle before purchasing it. With a weaker option, it will only require around seven Newton metres to break the threadlock’s hold on the thread, while for the middle option it’s usually about 15.
The majority of components on a bike have fairly low torque limits, so anything beyond this level isn’t required.
- Read more: Five essential tools and spares for cyclists
Where should you use threadlock?
The bolts most at risk of becoming loose are generally ones with the lowest torque limits. As they’re not tightened to a high level, they’re more susceptible to vibrations and can worm their way loose.
The bolts used to clamp handlebars and on the stem usually fall within this range, as do ones on brake callipers.
If you’re unsure whether a bolt requires threadlock, simply unscrew it and check, as the manufacturer will have applied it before shipping the bike if necessary.
Tools Needed
Step 1
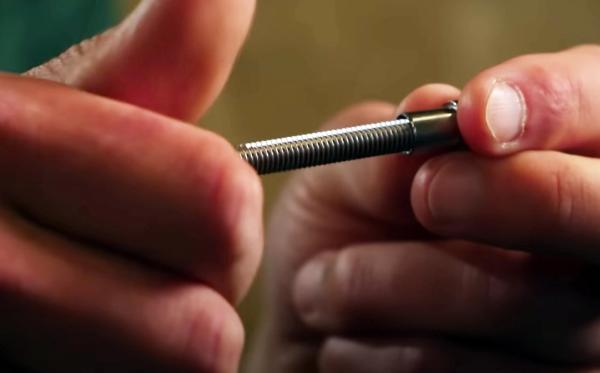
Clean the thread on the bolt
Before starting, ensure the bolt or screw is clean and doesn’t have any residual grease or oil as this will prevent the threadlock from curing. If it does, give it a quick clean and make sure it’s dry before continuing.
Step 2
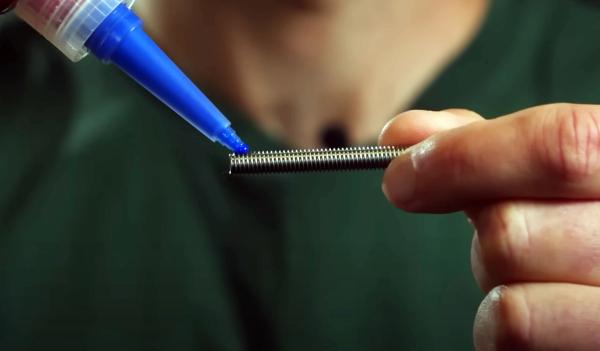
Apply threadlock to the thread
Apply a couple of drops of the threadlock to the end of the thread. You don’t need to spread it out as it will work its way up through the thread as the bolt is screwed in.
Top Tip
Some threadlocks are thick and stored in a tube, similar to a lipstick. You can wind this out the end of the tube and rub a light layer onto the thread.
Step 3
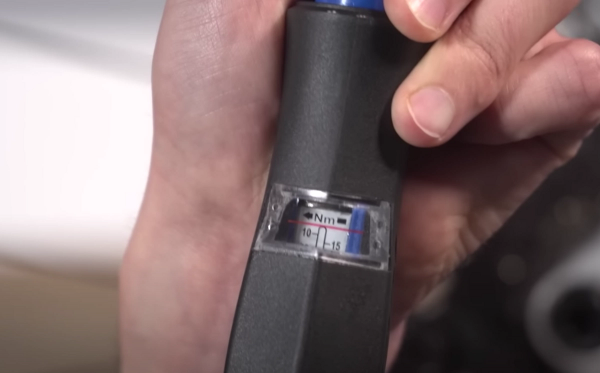
Tighten the bolt
Screw the bolt into place, making sure that it is tightened to the recommended torque limit. This will usually be displayed on the component but should also be in the owner’s handbook for your bike.
Step 4
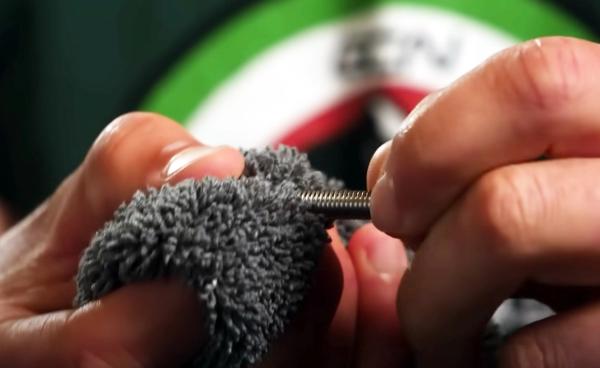
Wipe away any excess threadlock
Use a cloth to wipe away any excess threadlock that is squeezed to the outside of the bolt when it’s screwed in.
.jpg?w=600&auto=format)
Related Content

How to wax a bike chain
Waxing a chain is more complicated than applying lube but it's worth the extra effort

Beginner indoor training session: 20-minute sweet spot indoor cycling workout
If you're new to indoor training, this is a good session to start with. No super hard efforts or high cadences, just a good, entry-level session that will burn calories

How to change the stem on a road bike
A new stem can transform the fit and feel of a bike. Here’s how to replace a stem on a road bike

Take it easy! 25-minute aerobic indoor cycling workout
A steadier workout for low-intensity days, or for building into your indoor cycling gradually