Difficulty
Medium
How to swap a freehub and cassette on a turbo trainer
Learn how to easily switch between different freehubs and cassettes on a Wahoo Kickr turbo trainer
Tom Hallam-Gravells
Online Production Editor


It’s that time of the year when many cyclists head indoors for a winter of cycling. Turbo trainers are a convenient way to navigate through the colder months, but it’s not always as simple as attaching your bike and spinning away.
Most turbo trainers arrive with a freehub body and cassette, but these will need to be compatible with your bike. If they’re not, the freehub and cassette will need to be replaced with something compatible. Here’s how.
- Read more: GCN’s ultimate guide to indoor cycling
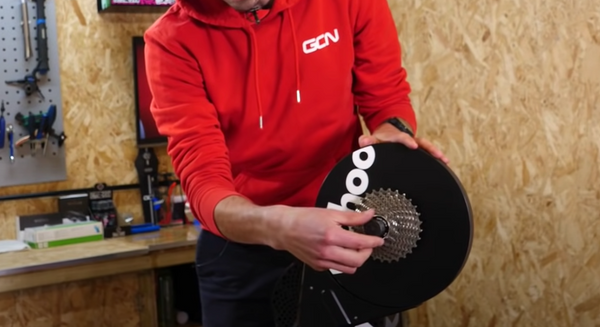
For this guide, we’ve used the Wahoo Kickr. Wahoo offers multiple variations of the Kickr but most now come as stock with a Shimano/SRAM-compatible 11-speed cassette. For this guide, GCN’s Alex Paton is changing the stock freehub for a SRAM version, but the process is the same when swapping between other freehubs and for other turbo trainers.
The parts provided with a new freehub will vary per make and model, but it’s important to use all of the fixings provided. Check the instructions that arrive with the freehub if you’re unsure.
To complete the job, Alex used a Shimano lockring tool, an adjustable spanner and a chain whip, but you may need a different lockring tool specific to your set-up.
Tools Needed
Step 1
Insert the lockring tool
Start by removing the end cap that’s covering the cassette’s lockring and then insert the lockring tool.

Step 2
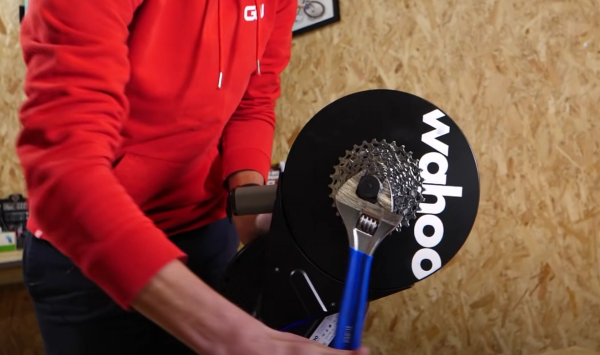
Attach the chain whip and spanner
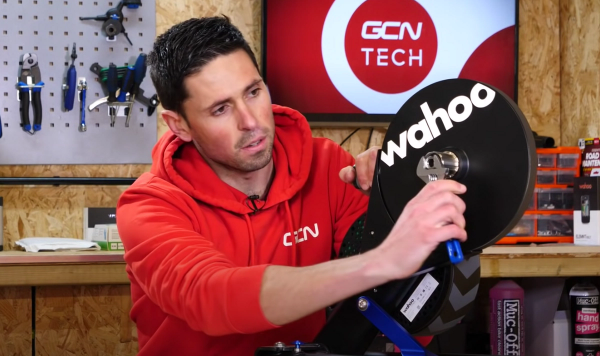
Stand behind the turbo trainer with the cassette on the opposite side and wrap the chain whip around the largest cog on the cassette (the cog with the largest diameter). Once it’s wrapped around, the handle of the chain whip should be on your left-hand side.
Attach the spanner to the lockring tool so that the handle is on your right-hand side.

Step 3
Remove the cassette
Push down with your right hand on the spanner while holding the chain whip in place with your left - this will prevent the cassette from spinning so that the spanner can loosen the lockring.
Once it’s loose, use your hands to completely remove the lockring. Take the cassette off the freehub body, making sure that the cogs are kept in the same order.
Top Tip
Stand behind the turbo trainer while removing the cassette as it’ll be easier to apply pressure to the spanner. From your perspective, the spanner should be moving clockwise - this would be anti-clockwise if you were looking directly at the cassette.
Step 4
Remove the freehub
Use either a 16mm or adjustable spanner to loosen the freehub lock nut. Once loose, use your hands to completely remove it. You should then be able to simply pull the freehub off the turbo trainer.
Top Tip
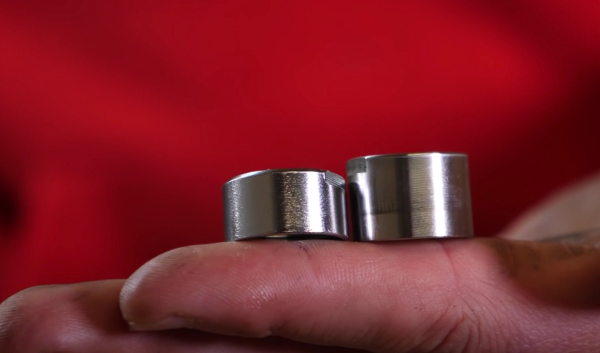
There will be a spacer left on the axle once the freehub is removed. This sits between the bearings and the freehub. Leave it in place as it should be compatible with the new freehub.
Step 5
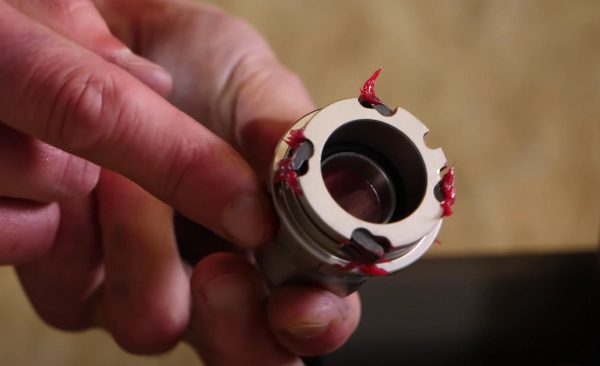
Apply grease to the new freehub
Before attaching it to the turbo trainer, apply some grease to both the pawls and the thread on the new freehub. This will help the freehub to run smoothly and will prevent it from seizing up - something you’ll appreciate if you ever have to change the freehub again!
Step 6
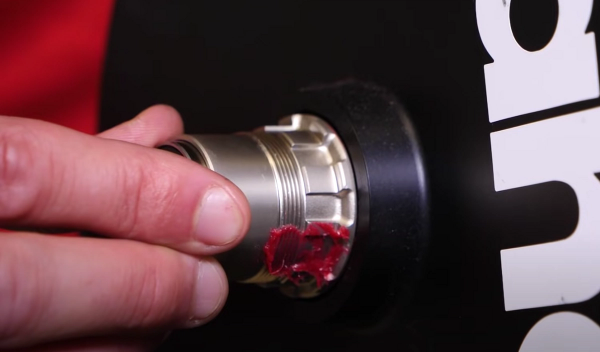
Place the new freehub on the turbo trainer
Slide the new freehub onto the axle. Once it’s gone as far as it can, rotate the freehub anti-clockwise until the pawls lock into place.
Step 7
Secure the freehub
Use the lock nut to secure the freehub in place. Start by threading it by hand before finishing the job with a 16mm or adjustable spanner - don’t over-tighten the nut otherwise it can be a nightmare to remove.
Top Tip
Don’t use the same lock nut that you removed to secure the new freehub. A new freehub should arrive with a compatible lock nut for that specific system.
Step 8
Fit the cassette to the turbo trainer
Slide the cassette onto the freehub body and secure it in place using the lockring. Screw this on by hand and then use an adjustable spanner to tighten it to the correct torque limit.
Finish by covering the lockring with the end cap. These are double sided; one side is compatible with thru axles and the other with quick-release skewers, so make sure it is the correct way round.
.jpg?w=600&auto=format)
Related Content

Essential guide to indoor cycling 2024
Everything you need to know about cycling indoors, including smart trainer workouts, the best fitness apps for cyclists, indoor training accessories and equipment, plus indoor bike and pain cave set-up

How to protect your bike while turbo training
From sweat to worn tyres, turbo training can cause damage or wear to your bike

Essential turbo training equipment: Everything you need to start training indoors
From turbo trainers to fans, prepare for indoor cycling season with these must-have accessories

How to change the stem on a road bike
A new stem can transform the fit and feel of a bike. Here’s how to replace a stem on a road bike