Difficulty
Easy
How to fit new chainrings on your road bike
Worn or damaged chainrings will give you poor shifting and possibly damage your bike. Here’s how to tell if your chainrings need changing and how to change them
Tom Hallam-Gravells
Online Production Editor
.png?w=600&auto=format)

How to know when your bike needs new chainrings
Generally, if the teeth on a chainring are sharp and narrow, like a shark’s tooth, it needs replacing. When examining your chainring for worn teeth, be aware that your biggest chainring is designed with some teeth that have a different shape from the others – don’t mistake their shape with being worn. The teeth on your inner ring should be a lot more regular in shape though.
If fitting a new chain onto a worn or damaged chainring, you may be able to feel that the chain is not engaging properly with the teeth of a chainring. While this can be an indicator that it needs replacing, it could just be a bedding-in process as the chain fully meshes with your old chainring.
Tools Needed

Step 1
Choose the right chainring
If you’re happy with your current setup, it’s best to go like-for-like and choose an identical chainring to the one you’re replacing. If you’d like to make some adjustments to your gearing, you could opt for a different sized chainring, but be sure to check it is completely compatible with your current drivetrain before trying to fit it. Most chainrings have their speed, number of teeth and BCD written on one side of them.
Top Tip
Before removing your chainrings, it’s vital to note which are the inner and outer faces before you remove them. This will help to ensure the new ones you’re fitting are orientated correctly. Taking some photos of your current setup while it’s still intact will help.
Step 2
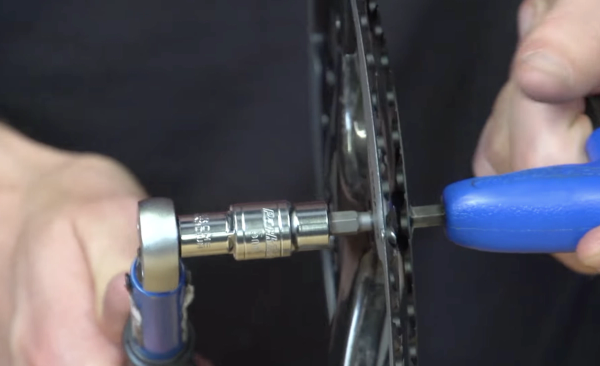
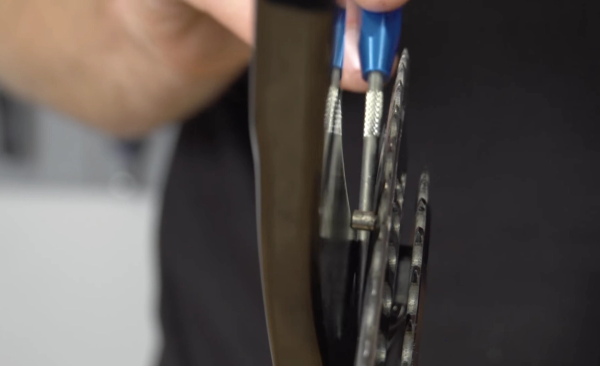
Remove the crank bolts
Remove the bolts that connect your chainring to the spider and give the bolts a thorough clean. Don’t forget to carefully keep any spacers safe with the bolts too. While we’ve removed the cranks from the bike to get a clearer shot for you, they don't need to come off when changing your chainrings.
Top Tip
If using a peg spanner to loosen chainring bolts, insert the three-pronged end into the female side of the bolts (on the inside of the chainring), while you wind out the male side with a 5mm Allen key. To fit a chainring bolt, use the two-pronged end of the peg spanner while you nip it up with your Allen key, then the three-pronged end and your torque wrench to tighten it.
Step 3A
Orientate the new chainrings
Usually, on the large chainring, any writing (manufacturer, size, etc) on the outer chainring faces outwards so it can be read from the drive side of the bike.
On inner chainrings, the writing usually faces inwards so it can be read from the non-drive side.
Step 3B
Orientate the chainrings
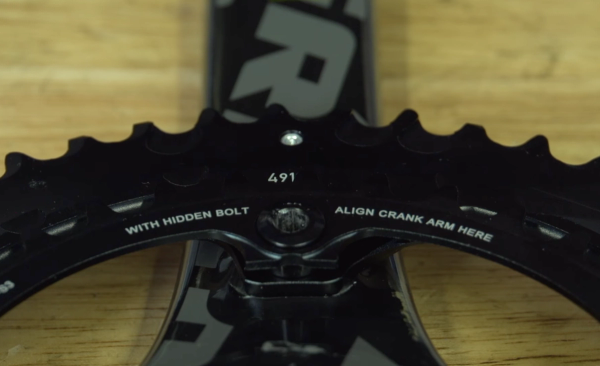
Orientate the bigger chainring so that the metal tab on the outer face lines up with the crank arm. This tab is designed to stop your chain getting wedged between the chainring and crank should it fall off.
Inner chainrings often have text indicating where to place it or an arrow which needs to be aligned with the crank arm.
Step 4
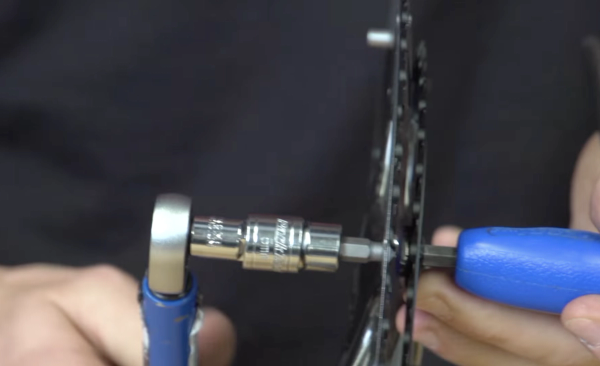
Attach the new chainrings
To fit your new chainrings, line them up on the spider. Take your chainring nuts and bolts and give each bolt a coating of grease before finger-tightening them up. Next, grab your torque wrench and tighten every other bolt up in sequence, then go around again and tighten the remaining bolts.
.jpg?w=600&auto=format)
Related Content

How to change the stem on a road bike
A new stem can transform the fit and feel of a bike. Here’s how to replace a stem on a road bike

Take it easy! 25-minute aerobic indoor cycling workout
A steadier workout for low-intensity days, or for building into your indoor cycling gradually

VO2 max surges: 30-minute GCN indoor training session
Hank guides you through three five-minute blocks, each with a hard VO2 Max effort sandwiched between two sweet spot efforts

Intense interval blast: Hank's 15-minute indoor cycling workout
A short blast of 30-second sprints for burning calories and building muscle as quickly as possible