Difficulty
Easy
How to fix a puncture on a tubeless tyre
Tubeless tyres may lower the risk of a puncture but they don’t eliminate them completely. Here’s everything you need to know about repairing a punctured tubeless tyre.
Tom Hallam-Gravells
Online Production Editor


Tubeless tyres are becoming more and more common on road bikes. Instead of using a traditional clincher tyre and an inner tube, tubeless tyres use a special air-tight tyre in conjunction with a liquid sealant. If you get a puncture on the road, the theory is that the sealant fills the hole and fixes the puncture as you ride.
However, in reality, it doesn't always work quite that smoothly. Sometimes, tubeless tyres do puncture, leaving you by the side of the road wondering what went wrong.
In this guide, we'll show you what to do if you get a tubeless puncture. Each step represents the next 'resort' – if you're lucky, you won't have to go beyond step one to get your puncture fixed!
Read more: How to set up tubeless tyres
How to Steps
Let the sealant do its job
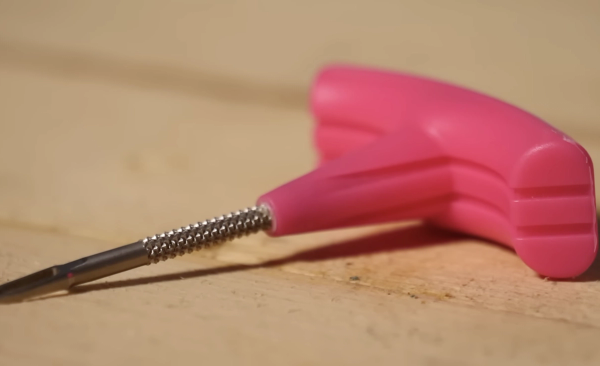
Use a tubeless plug
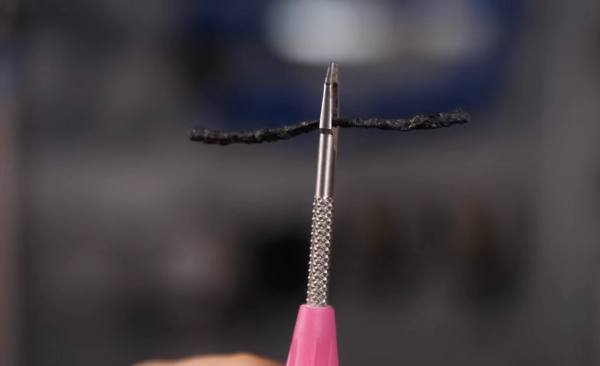
Use a tubeless plug: prepare the plug
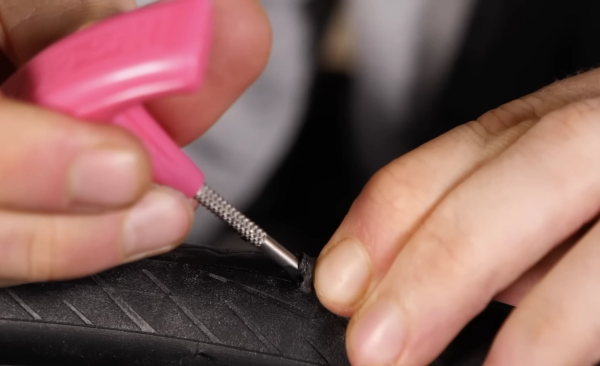
Use a tubeless plug: push in the plug
Use a tubeless plug: hold the plug in place and remove the tool
Use a tubeless plug: re-inflate the tyre
Use a tubeless plug: either remove excess or let it wear away
Insert an inner tube
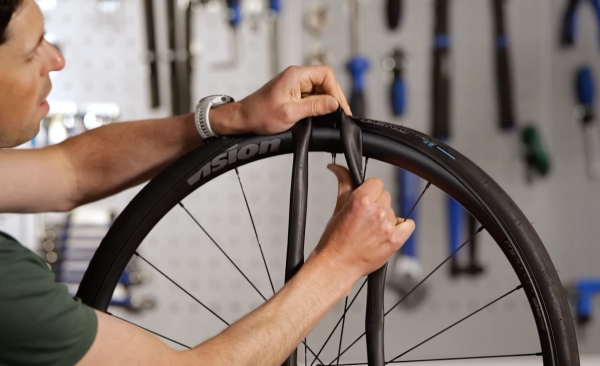
Put in an inner tube: unseat the tyre bead on one side
Put in an inner tube: check the tyre
Put in a tube: patch the tyre if it's serious damage

Step 1
Let the sealant do its job
If you use a tubeless system, there’s a good chance you’ve had punctures before without even realising. That’s because the sealant closes the punctures before the tyre loses much air.
Every now and again, though, you’ll get a puncture that the tubeless sealant struggles to seal. Before jumping into full repair mode, stop at the side of the road and spin the wheel so that the puncture is at the bottom of the tyre. That way, the sealant will move to the area around the puncture which may be enough to seal the hole.
Top Tip
Even if this works, your tyre may have lost a significant amount of pressure in which case you’ll need to inflate it with either a pump or CO2 cartridge. Be careful if using the latter as not all sealants are compatible with CO2 and it can even cause the sealant to freeze. So, double check to make sure that your sealant is compatible with a CO2 cartridge before using one.
Step 2A
Use a tubeless plug
Tubeless plugs are a quick and easy way to repair tubeless punctures. However, they’re not always suitable. If a punctured tubeless tyre has unseated from the rim, installing a plug and then trying to inflate it with a hand pump will be difficult. In this scenario, it's usually best to move onto the next step which is installing an inner tube.
Step 2B
Use a tubeless plug: prepare the plug
Insert the plug into the insertion tool. Make sure that the plug is in the middle of the tool.

Step 2C
Use a tubeless plug: push in the plug
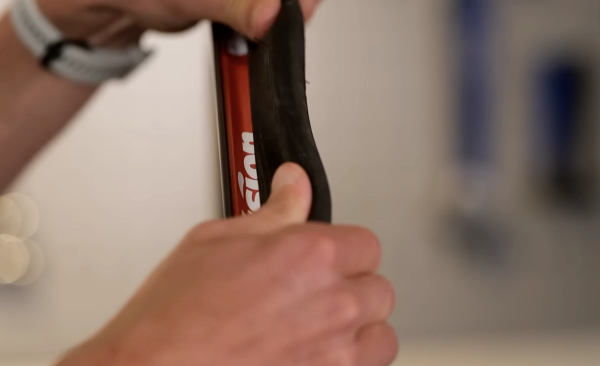
Insert the tool into the puncture hole. Push the tool in, making sure some of the plug is still exposed out of the top of the puncture. Be careful not to pierce the rim tape on the inside of the wheel as this will compromise the tubeless system.
Step 2D
Use a tubeless plug: hold the plug in place and remove the tool
Use your fingers to hold the plug in place while you gently twist and remove the tool.

Step 2E
Use a tubeless plug: re-inflate the tyre
Re-inflate the tyre. All being well, the sealant and plug should be enough to seal the puncture.

Step 2F
Use a tubeless plug: either remove excess or let it wear away
The small part of the plug that's sticking out of the now sealed puncture hole will wear away as you ride. However, you can trim it slightly if you are worried that it may rub against your frame.
Step 3A
Insert an inner tube
If you don't have a tubeless plug, or if it hasn't worked, resort to the tried-and-tested inner tube. Inserting an inner tube to a tubeless setup is slightly different to doing it in a standard clincher. Here's everything to be aware of.
Step 3B
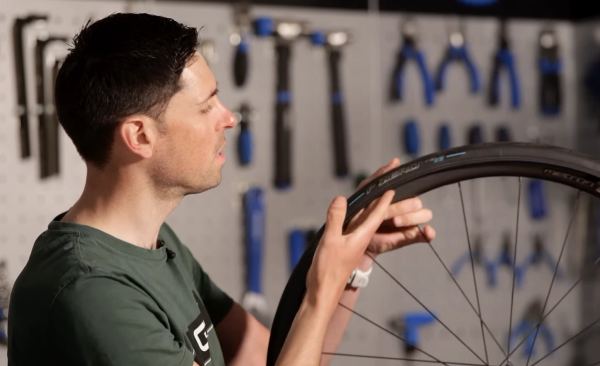
Put in an inner tube: unseat the tyre bead on one side
Start by fully unseating the tyre from the rim. Most modern tubeless tyres are very good at staying seated even when they’ve deflated so you may need to use tyre levers.
Step 3C
Put in an inner tube: check the tyre
Check the inside of the tyre by running your fingers around it, ensuring that there are no sharp objects stuck in it such as thorns or other bits of debris. If your tubeless system has done a good job, there’s a good chance you’ll have had punctures you’re unaware of and you don’t want any foreign objects immediately piercing the inner tube.
Step 3D
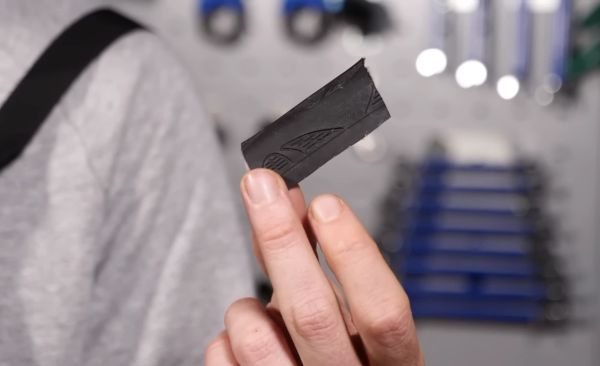
Put in a tube: patch the tyre if it's serious damage
If it’s a large puncture, you should patch it from the inside before you put in an inner tube. Failure to do so will cause the inner tube to haemorrhage through the puncture and burst. There are a few ways to do this. The simplest is to keep a piece of old tyre in your saddle bag and place this on the inside of the tyre where the puncture is. You can also use an adhesive tyre boot.
.jpg?w=600&auto=format)
Related Content

How to wax a bike chain
Waxing a chain is more complicated than applying lube but it's worth the extra effort

Beginner indoor training session: 20-minute sweet spot indoor cycling workout
If you're new to indoor training, this is a good session to start with. No super hard efforts or high cadences, just a good, entry-level session that will burn calories

How to change the stem on a road bike
A new stem can transform the fit and feel of a bike. Here’s how to replace a stem on a road bike

Take it easy! 25-minute aerobic indoor cycling workout
A steadier workout for low-intensity days, or for building into your indoor cycling gradually