Difficulty
Medium
How to set up tubeless tyres
Setting up tubeless tyres can be complicated and messy work. Thankfully, it doesn’t need to be
Tom Hallam-Gravells
Online Production Editor


For this guide, we’re going to presume that you have tubeless-ready wheels in which case they should already have rim tape installed. If you don’t, you’re going to need to install the tape and we’ve got a guide to help here.
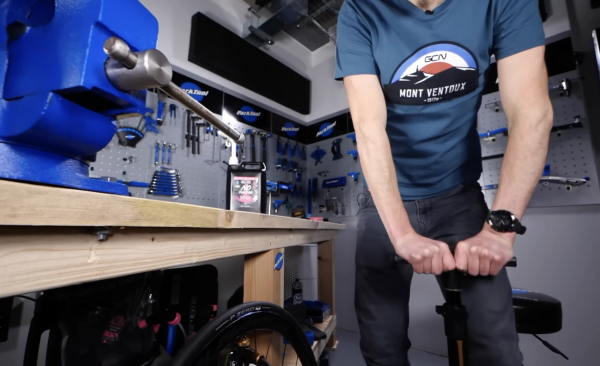
Tools Needed
Step 1
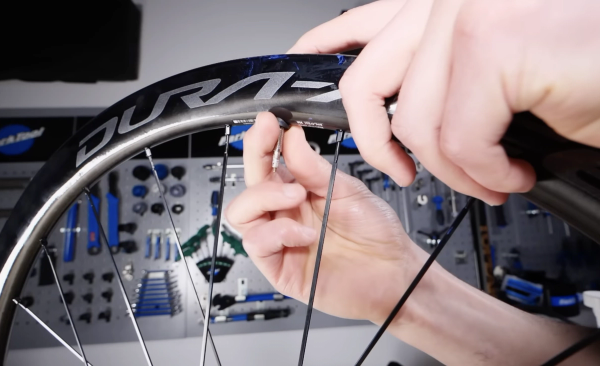
Insert tubeless valve
Insert the tubeless valve into the wheel through the valve hole. Place any washers and the lock nut over the valve, then tighten the nut to secure the valve in place. Crucially, don't over-tighten here otherwise you’ll struggle to loosen the nut in the future. Finger tight is enough.
Step 2
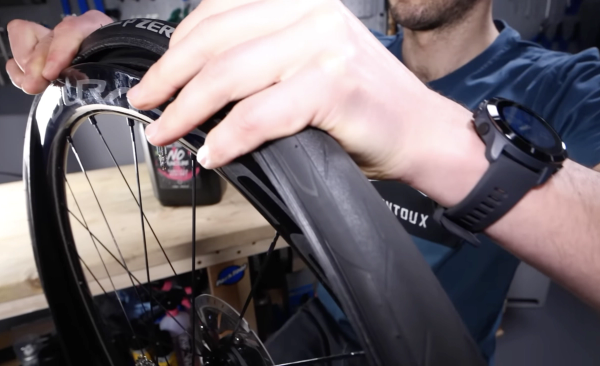
Fit one side of the tyre
Fit one side of the tyre onto the wheel. Once it’s on, push the tyre bead into the centre of the wheel. This will make it easier to fit the other side of the tyre.
Step 3
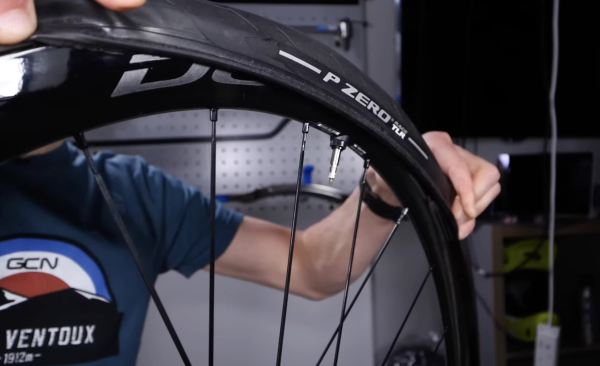
Fit the other side of the tyre
Start fitting the other side of the tyre, but don’t fit all of it. Instead, leave around 15 centimetres of the tyre off of the wheel. It will be easier if this section of tyre is also near the valve.
Step 4
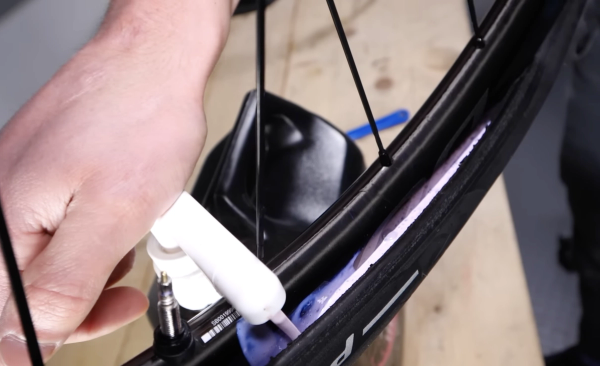
Insert the sealant
Give the bottle of sealant a shake, then rotate the wheel so that the open section where the tyre isn’t fitted is at the bottom. Carefully insert the sealant into this gap.
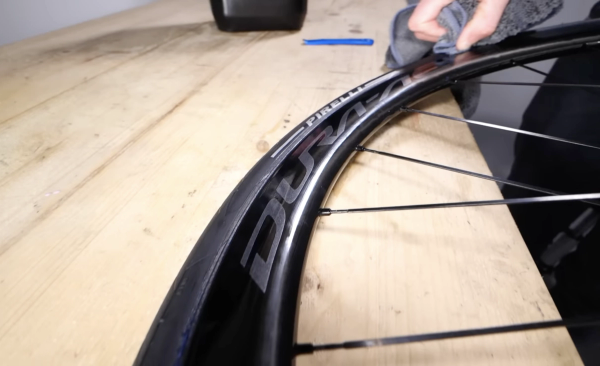
With the sealant inserted, rotate the wheel so that the open section is at the top. Push the remaining section of tyre onto the rim with your thumbs, although you can use tyre levers too if you have any difficulty. This part is usually a little messy, so it’s worth having a cloth ready to wipe away any sealant which escapes.
Top Tip
Make sure the final section of the tyre is near the valve as it’ll make it easier to fit. The bead of the tyre that you’ve already fitted to the wheel should also be pushed into the centre of the wheel as that will create more slack in the tyre.
Step 5
Inflate the tyre
Now that the tyre is fully fitted to the wheel, it’s time to inflate it. A track pump will usually be required for this, although a smaller pump may sometimes work.
Pump the tyre up to the recommended limit. As the tyre starts to seat, some sealant may escape but don’t worry about this, it can be wiped away. Once it’s inflated to the maximum recommended pressure, carefully go around both sides of the tyre, making sure it is securely seated on the rim.
Top Tip
If the tyre is loose fitting, it may be hard to seat on the wheel. To help with this, remove the valve core and then pump the tyre. This allows a greater volume of air to enter the tyre per pump which should help to seat the tyre.
Step 6
Check the tyre has seated and go for a test ride
Your tubeless tyre should now be set up and ready to go. Check they're seated properly on the rims, with no warps or bulges.
Once you’ve fitted both of the tyres, put the wheels back on your bike and then go for a short ride up the road and back, just to spread the sealant around the tyres.
Top Tip
Remember, tubeless tyres can be run at lower pressures than inner tube setups and it’s worth experimenting with pressures. We’d generally recommend starting at around 15-20 PSI lower than what you would use with inner tubes.
.jpg?w=600&auto=format)
Related Content

Beginner indoor training session: 20-minute sweet spot indoor cycling workout
If you're new to indoor training, this is a good session to start with. No super hard efforts or high cadences, just a good, entry-level session that will burn calories

How to change the stem on a road bike
A new stem can transform the fit and feel of a bike. Here’s how to replace a stem on a road bike

Take it easy! 25-minute aerobic indoor cycling workout
A steadier workout for low-intensity days, or for building into your indoor cycling gradually

VO2 max surges: 30-minute GCN indoor training session
Hank guides you through three five-minute blocks, each with a hard VO2 Max effort sandwiched between two sweet spot efforts