Difficulty
Very Easy
How to repair a latex inner tube
Getting a puncture doesn’t mean it is time to put your latex tube in the bin but it does need a different approach to a standard tube
Alex Hunt
Junior Tech Writer

Oliver Bridgewood
GCN Tech Presenter
PhD Chemist turned cycling enthusiast, bringing the lab coat to GCN Does Science
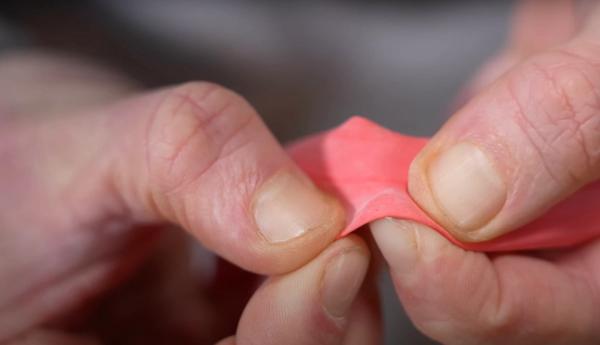
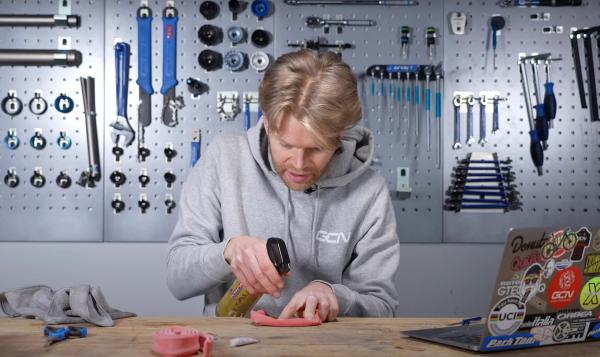
The inner tubes you use can have a significant impact on the performance of your bike. Latex inner tubes offer the best rolling resistance of all inner tube types and they can save a significant amount of weight over typical butyl tubes. If you have handled a latex tube you will know that it is very supple and stretchy. This means that when it comes to repairing a puncture a fresh strategy is required.
Ollie Bridgewood is a fan of latex tubes because of their performance characteristics but if you're new to using them bear in mind that they are porous. What this means is that over time a latex inner tube will gradually lose air naturally. Over the course of a few days, you will need to pump them back up. This is typical and unlike with a butyl inner tube, doesn't represent a slow puncture.
Before we look at repairing them it is important to note that one of the downsides with using latex tubes is that they can be very fragile. Firstly they are a lot thinner than a butyl tube which also means that they can tear when being installed. For this reason, it is important to make sure that they don’t get pinched by a tyre lever or the bead of the tyre when fitting them.
Step 1
Identifying the type of puncture
Much the same as with a traditional inner tube, not all punctures can be repaired. If you have suffered a big instantaneous blowout that has torn the tube it is unlikely that this can be repaired. A smaller hole is a simple puncture point, where a thorn or other debris has damaged the tube, and this will be suitable for repair.
Step 2
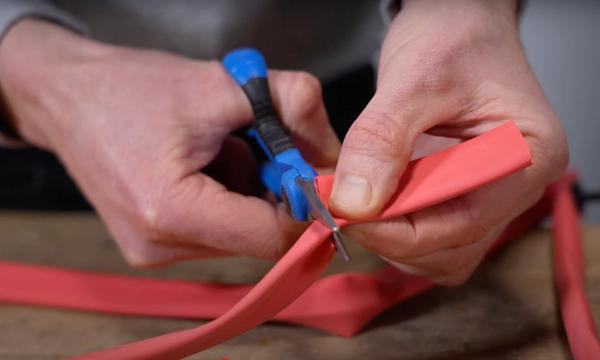
Making the patches
It is possible to use standard repair patches on a latex inner tube, however, using these will compromise the performance of that area of the tube. As an alternative, it is possible to make your own patches from an old latex inner tube. To do this simply cut some sections into small squares large enough to sufficiently cover a puncture hole. Using these will retain the tube's supple character the whole way around.
Step 3
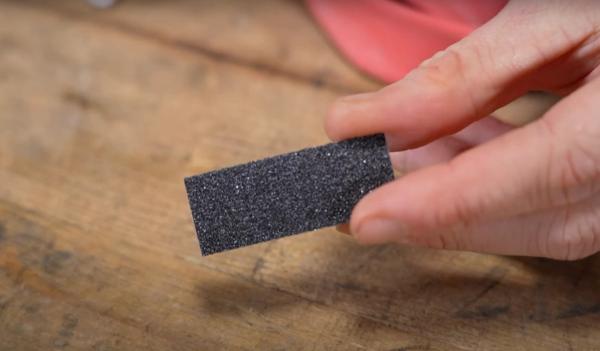
Do not sand the inner tube
This is where things start to differ between a typical repair and a latex repair. Unlike a butyl repair, a latex tube doesn’t need to be sanded down for the patch to stick. Sanding a latex tube can be difficult due to the stretch of the material but it can also cause damage to the tube and make the punctured area harder to repair.
Step 4
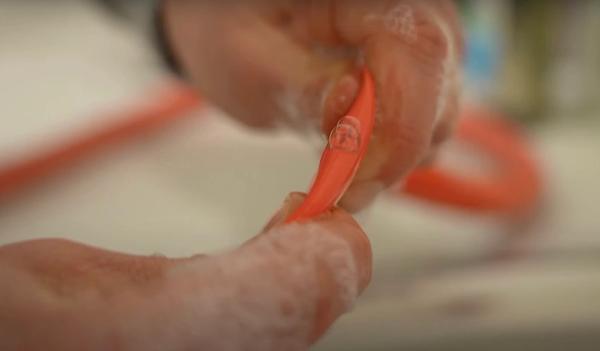
Finding the puncture
Finding the actual puncture point on a latex inner tube can be tough as punctures are often small and the material stretch can make it difficult. The easiest way to find a puncture is to use a bucket of soapy water. Place a section of the tube in the bucket and slowly rotate the tube until you find where air, in the from of bubbles, is escaping from. With a soft marker pen, you can draw around the punctured area so that it is easy to find with the repair patch.
Step 5
Decontaminate the area
Instead of sanding the area around the puncture, it is better to decontaminate the area with isopropyl alcohol. This will strip away any oils that would prevent a good adhesion between the tube and tube patch.
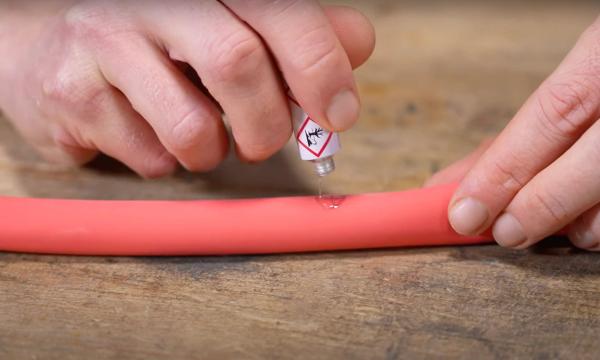
Step 6
Apply the adhesive
This stage follows the same process as a regular puncture repair as well as the same adhesive. Apply a small amount to the area around the puncture and allow it to set for two minutes.
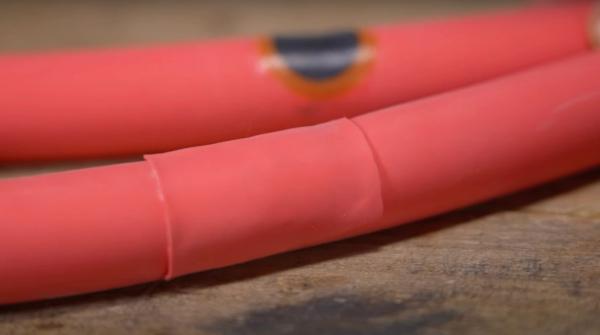
Step 7
Apply the repair patch
Once the adhesive has gone tacky it is time to apply the repair patch. Regardless of which type of patch you are using it should be fitted with enough pressure to remove any air trapped under the surface. If you are using a traditional repair patch, wait a few minutes before removing the plastic backing sheet.
Top Tip
If you are using a latex repair patch it can be easier to apply the adhesive to the patch itself as this way you can ensure full coverage on the patch without covering too much of the tube.

Related Content

Intense interval blast: Hank's 15-minute indoor cycling workout
A short blast of 30-second sprints for burning calories and building muscle as quickly as possible

How to prevent numb hands when cycling
If you’ve ever felt your hands go numb while riding your bike, follow these simple tips to prevent it from happening

Quick but brutal 15-minute HIIT indoor cycling workout
A short, tough sprint session that is easy to squeeze in for time-strapped cyclists

Sweet spot endurance training: 30-minute indoor cycling workout
Manon Lloyd leads the way in this half-hour HIIT workout, designed to work the sweet spot training zone with some sprint intervals included at the end