Difficulty
Easy
How to re-wax a bike chain
Is it time to re-wax your bike’s chain? Learn how to do it in this simple guide
Tom Hallam-Gravells
Online Production Editor


Waxing your bike’s chain will improve its longevity and efficiency, which is why it is becoming an increasingly popular option instead of traditional oil-based lube.
However, after around 300 to 500km of riding, the wax coating will start to wear off, at which point you’ll need to re-apply a new layer. You can do this either by using a drip-on wax, which is the quicker method, or via a hot-wax treatment, which leads to better efficiency and longevity.
The steps below will guide you through the process for applying a new hot wax treatment. To carry out the job, you’ll need a wax heater and wax - this will need to be a dedicated product designed for bike chains.
- Read more: How to replace a bike chain

Step 1
Prepare the wax
Place your wax inside the heater and set it to somewhere between 65 to 70 degrees Celsius.

Step 2
Wipe down the chain
Use a microfiber cloth to wipe down the chain. This will remove any old wax and dirt, ensuring that you’re applying wax on top of good wax.
If you want to do a more thorough job, you can also pour boiling water onto the chain. This will melt the wax away. Just make sure it’s dry before applying any more wax.

Step 3
Remove the chain from the bike
Use dedicated pliers, like the Park Tool MLP-1.2, to squeeze the quick link on the chain. Once it’s loose, you should be able to disconnect the two ends of the chain and wind it off your chainset.
If your chain doesn’t have a quick link, use a chain tool to drive out the joining pin. You can then use a quick link when joining the chain back together
Top Tip
Some quick links are designed to be single use but, from our experience, you can usually detach and reattach them between three and five times.

Step 4
Apply the wax
Once ready, the wax should be runny. If it isn’t, leave it a little longer.
Lower the chain into the wax, making sure that it is all submerged - just be careful not to burn yourself as the wax will be hot!
Leave the chain submerged for around five minutes so that the wax has time to work its way deep into the links.
Top Tip
Using a screwdriver or something similar, give the chain a stir part way through. Shifting it around will ensure that the wax has a chance to penetrate all of the links.

Step 5
Remove the chain
After five minutes, turn the wax heater off and then leave the chain for an extra couple of minutes, allowing a small film of wax to form at the top.
Use a pick or screwdriver to fish the chain out of the wax and then hang it somewhere to dry.

Step 6
Manipulate the links
The links will be stiff once the wax has dried and you will need to manually manipulate each of these by hand. Simply work your way across the chain, using your hands to bend each individual link.
Top Tip
Wax will flake off while doing it so you may want to head outdoors for this step.

Step 7
Attach the chain to the bike
Thread the chain back onto the chainset, making sure that it is routed correctly around the derailleur. Double check before continuing as you don’t want to find out it’s wrong after the chain is fully connected!Attach quick links to both ends of the chain and then join the ends together, before using pliers to squeeze the quick link until it’s secure.
Top Tip
If your bike originally had a master link, you can still use quick links. You’ll just need to make sure that both ends of the chain are inner links. If not, you will need to remove the outer links at the end of the chain.

Step 8
Bed the chain
The new chain will take around 15 minutes of riding to bed in. If you do this indoors, it will create a bit of mess as the wax flakes away.
.jpg?w=600&auto=format)
Related Content
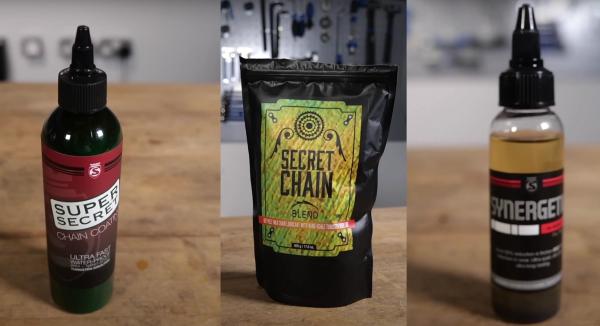
Silca CEO shares his secrets on the best ways to wax your chain
Josh Poertner also talks us through his predictions for the future of bike design, marginal gains, and where he sees the industry heading in the next 12 months
How to pick the right chain lube: Expert tips from Silca’s Josh Poertner
Chain lube has a huge impact on performance, so it’s important to pick the correct one

Team time trial: 20-minute HIIT indoor cycling workout
This HIIT spin bike workout replicates the varied intensities of a team time trial effort

The full pyramid: 30-minute HIIT indoor cycling workout from GCN
A 30-minute HIIT workout for developing anaerobic fitness, led by Manon Lloyd