Difficulty
Easy
How to index Shimano Di2 gears
Adjust the derailleurs on a Shimano Di2 groupset with the help of these simple steps
Tom Hallam-Gravells
Online Production Editor


If your gears are jumping, struggling to shift or making a noise, it usually means that the derailleurs need adjusting. This can be a fiddly job if you have a mechanical set-up but is much simpler for electronic groupsets.
In this guide, we’ll take you through the process for the latest Shimano Di2 options, including Dura-Ace R9200, Ultegra R8100 and 105 R7150. You won’t need any tools for the job.
How to Steps
Adjusting the rear derailleur
Enter adjustment mode
Adjust the derailleur using gear levers
Exit adjustment mode
Adjusting the front derailleur
Enter into adjustment mode
Using gear levers to adjust derailleur position
Adjust the inner plate of the derailleur
Adjust the derailleur in the small chainring
Check the shifting

Step 1A
Adjusting the rear derailleur
If gears are jumping on the cassette or making a noise, it usually means that the derailleur is unaligned with the cogs and needs adjusting.
Start by shifting into the fifth largest sprocket, which is the fifth one down from the top.

Step 1B
Enter adjustment mode
Press and hold the function button on the rear derailleur until the LED light on the derailleur turns yellow. This indicates that the system is in its adjustment mode.

Step 1C
Adjust the derailleur using gear levers
The derailleur now needs moving to align it with the cog on the cassette. You can do this by pressing the gear levers. The gear lever that shifts into a harder/smaller cog will move the derailleurs outwards, away from the wheel. Clicking the gear lever that shifts to an easier gear will move it inwards towards the wheel.
Pedal the bike as you’re doing this and keep adjusting it until everything is running smoothly and there are no unwanted noises.

Step 1D
Exit adjustment mode
Hold the button on the rear derailleur once more to exit adjustment mode.
Test to make sure everything is running smoothly. If it isn’t, you’ll need to repeat the process and make more adjustments to the derailleur.

Step 2A
Adjusting the front derailleur
If you’re struggling to shift between the small and large chainrings or vice versa, or the chain is rubbing against the front derailleur, it will need adjusting.
To do this, start by shifting into the largest chainring and the smallest cog on the cassette.

Step 2B
Enter into adjustment mode
Press and hold the button on the rear derailleur until it turns yellow. This signals that it is in adjustment mode (when in adjustment mode, both of the derailleurs can be adjusted).

Step 2C
Using gear levers to adjust derailleur position
Use the gear levers to adjust the position of the derailleur. The lever that switches to the large chainring will move it outwards, and the one that switches to the small chainring will move it inwards.
To start, adjust the derailleur so that the outer plate isn’t touching the chain. There should be a roughly 1mm gap.

Step 2D
Adjust the inner plate of the derailleur
Exit adjustment mode by holding onto the button on the rear derailleur and then shift to the largest cog on the cassette.
Enter adjustment mode once again and then use the levers to adjust the derailleur so that the inner plate of the derailleur is roughly 1mm away from the chain.

Step 2E
Adjust the derailleur in the small chainring
Repeat the process by exiting adjustment mode and shifting to the small chainring and the largest cog on the cassette.
Then use the lever to adjust the derailleur so the inner plate is around 1mm from the chain.

Step 2F
Check the shifting
Exit adjustment mode for one final time and then run through the different gear combinations on the bike, making sure everything is running smoothly.
.jpg?w=600&auto=format)
Related Content
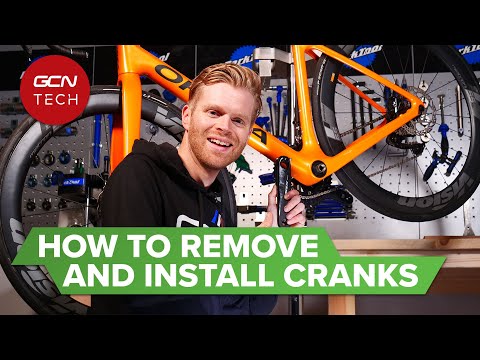
How to remove and install Shimano cranks
Our guide for fitting and removing Shimano road cranks
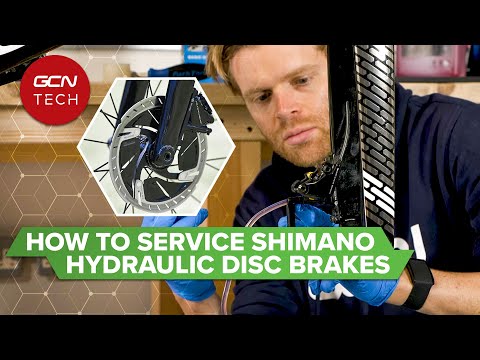
How to bleed Shimano road hydraulic disc brakes
If your hydraulic disc brakes have started to feel mushy or imprecise, then you need to bleed them.

How to wax a bike chain
Waxing a chain is more complicated than applying lube but it's worth the extra effort

Beginner indoor training session: 20-minute sweet spot indoor cycling workout
If you're new to indoor training, this is a good session to start with. No super hard efforts or high cadences, just a good, entry-level session that will burn calories