Difficulty
Medium
How to fit clip-on mudguards to almost any bike
Even if your bike doesn't have mounting points for mudguards, there is a way you can fit them
Alex Hunt
Junior Tech Writer

One of the best ways that you can protect your bike whilst riding in winter is by fitting a set of mudguards, or fenders. These will shield your bike from the worst of the spray from your tyres. A good set of mudguards will prolong the life of your bearings and drivetrain by keeping much of the grit and grime away.
There are two types of mudguards out there: fixed and clip-on. Fixed mudguards are great, but they need specific mounting points on your frame.
- Read more: How to fit fixed mudguards
If your bike doesn't have the traditional mounting points, fear not. You don't have to go without. This guide will walk you through the process of fitting mudguards to almost any bike, by using clip-on mudguards.
The beauty of clip-ons is their ease of use and versatility. The fact that they are not fixed to the bike with bolts or screws means they're easy to fit and remove, making them ideal if you want to transfer them from bike to bike. They also work with both rim and disc brake frames and will fit nearly all frame designs out there.
Before we take a look at how to fit them, you'll need your clip-on mudguards to hand along with some protective tape to act as a barrier between the frame and the mudguard.
Additionally, a Sharpie pen to help with alignment, and a small hex key, depending on the design of the specific mudguard you are fitting, can come in handy. A small hacksaw is also useful in case anything needs trimming down to make it fit.
Tools Needed
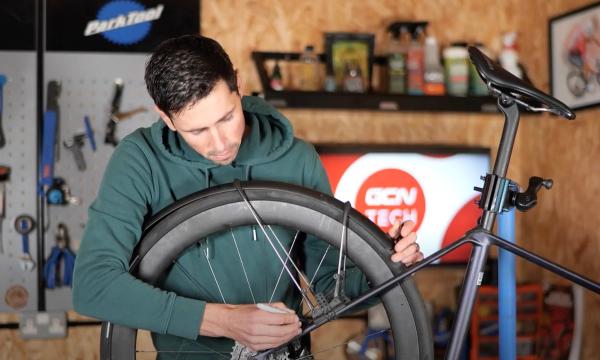
Step 1
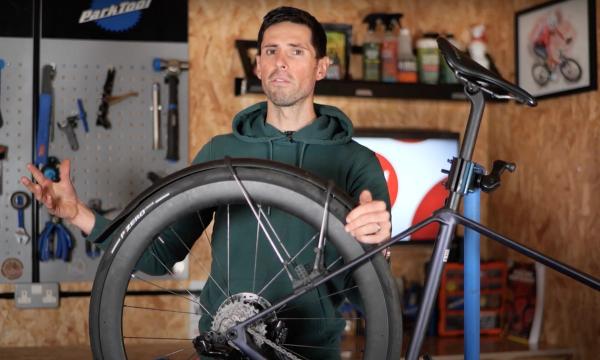
Place your bike in a work stand
When fitting clip-on mudguards you need access to the fork legs and the seat stays. Putting your bike in a work stand not only holds your bike securely but also puts it at a more comfortable working height.
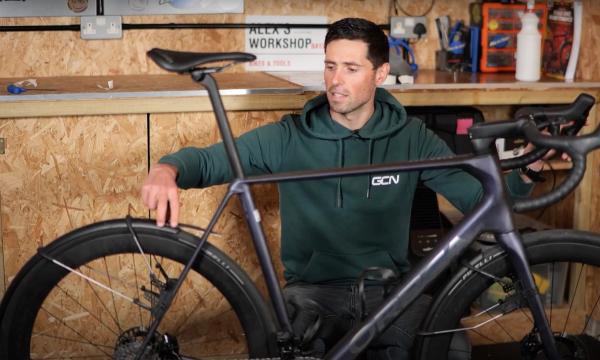
Top Tip
Mount your bike to the workstand with the seat post in the clamp. Clamping anywhere else on the frame can lead to damage.
Step 2
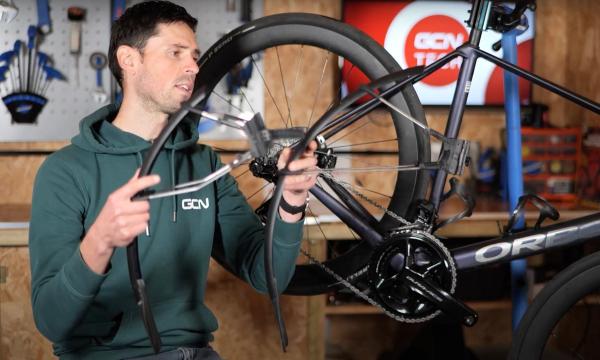
Identify the front and rear mudguard
Before we consider fitting the mudguards to the bike, we first need to make sure we are fitting the right one to the right place. Clip-on mudguards have a different profile front and rear so getting this right is important.
Typically the rear mudguard will be the longer of the two.
Step 3
Loosely fit the mudguards
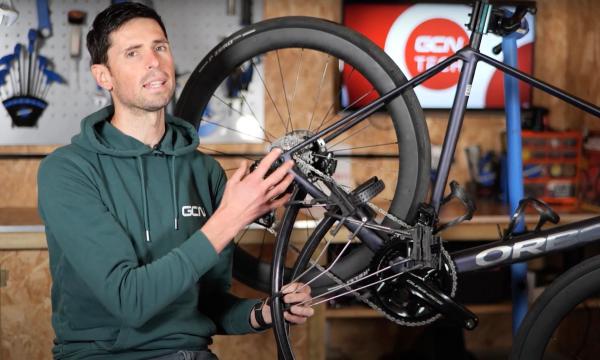
The first part of properly fitting a set of clip-on mudguards is to roughly fit them to the bike in order to work out where you need to put the protective tape. To do this you want to slide the legs of the mudguard over the wheel and down to the seat stays for the rear and the fork legs for the front.
When you have the mounting part of the mudguard butted up against the frame, loosen off any of the adjustment points with a hex key just so that they are loose enough to manipulate.
Top Tip
Fitting clip-on mudguards can be a fiddly job but spending some time to get them set up right from the start will be a worthwhile investment.
Step 4
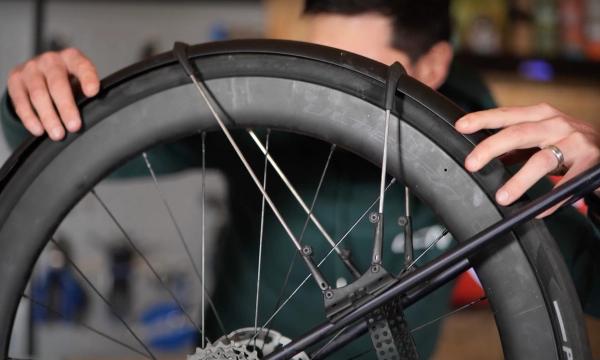
Find the right position
Once they are loosely fitted to the bike you can play around with the exact position you want them in. You ideally want to have the mudguard as close to the tyre as you can get it without it touching.
If you ride in a group it is important for the rear tyre both to protect you and your bike, as well as the riders behind, so make sure it's low enough at the back to protect the riders behind you.
Although in some cases, you will need to trim down the legs of the mudguard to get a good fit, in most cases just spending a bit more time adjusting the position will save you from having to cut anything.
Before you tighten the adjustment bolts, make sure you give the wheels a good spin to make sure nothing is going to catch or rub whilst you are riding.
Step 5
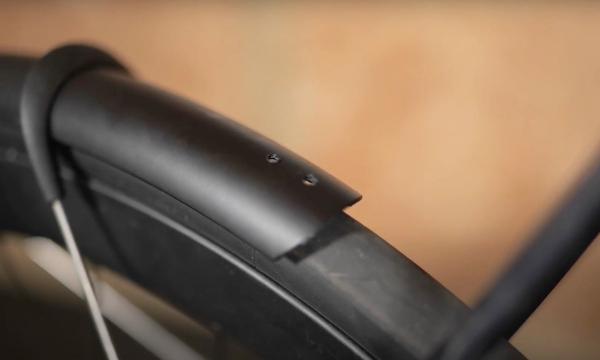
Mark the mount position
Once you are happy with the position and you have tightened up all adjustment bolts, it's time to mark where the mounts sit on the frame. The easiest way to do this is to take a Sharpie pen and make two dots, one at the upper and one at the lower point where the mount sits on the frame. This will allow you to get the perfect fit when it comes to fitting them properly later.

Step 6
Protect the frame
Now you know where the mudguards are going to sit on the frame, you can remove them and put them to one side. Cut a length of tape, ideally helicopter tape but other types of tape could work too, that will cover the area between the two dots. It's important to make sure that you cover the whole area, not just the top surface as the straps will also chafe on the frame.

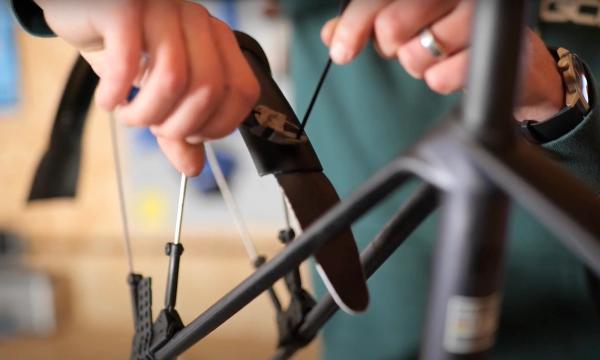
Step 7
Refit the mudguard
Now that your frame is protected, you can go ahead and fit the mudguard to the bike. When fitting the straps you want them to be tight enough that they will hold firm even with road buzz and vibrations but not too tight as to overstress the material that could cause them to snap.
Step 8A
If necessary, modify the mudguards
Depending on how they fit your bike, you might be left with some gaps that the mudguard can’t cover. To combat this you can modify them to extend the coverage that they offer.
Step 8B
Drill the existing mudguard
The first step in extending the protection of the mudguard is to drill two small holes along the length of the mudguard towards the end you wish to extend.
.jpeg?w=600&auto=format)
Step 8C
Cutting an additional flap
Use a strong but pliable plastic, perhaps from an ass-saver mudguard, and cut out a shape that is roughly the same width as the mudguard but long enough to cover the gap left between the end of the mudguard and the frame.
Step 8D
Joining the extension
Depending on your perfectionism levels, there are a few ways you can go about this part. The easiest and quickest way is to zip-tie them together using the holes that you drilled in the mudguard.
If you are looking for a tidier aesthetic then riveting the two parts together is a neat solution.
Top Tip
If you are swapping your mudguards between bikes make sure that any modifications work on both bikes before committing to them.

GCN Gradient Ass Saver - Red
When the seasons turn, you want Ass Saver on your side. In a design exclusive to GCN, this saddle mudguard keeps water and dirt off your butt whatever the weather brings. It's easy to fit (no tools required!) and is ideal for keeping you dry and comfortable on cold, wet rides. Designed to fit every standard rail saddle using patentend FLIP-TIP™ attachment techonlogy to securely lock the guard in place as you ride. Recommended for tire widths between 23-25mm. Made in Sweden.

Related Content

Intense interval blast: Hank's 15-minute indoor cycling workout
A short blast of 30-second sprints for burning calories and building muscle as quickly as possible

How to prevent numb hands when cycling
If you’ve ever felt your hands go numb while riding your bike, follow these simple tips to prevent it from happening

Quick but brutal 15-minute HIIT indoor cycling workout
A short, tough sprint session that is easy to squeeze in for time-strapped cyclists

Sweet spot endurance training: 30-minute indoor cycling workout
Manon Lloyd leads the way in this half-hour HIIT workout, designed to work the sweet spot training zone with some sprint intervals included at the end