Difficulty
Easy
How to cure rubbing hydraulic disc brakes
They sound awful and they increase wear, so it’s important to correct rubbing disc brakes. Here’s how
Tom Hallam-Gravells
Online Production Editor


There's no denying that disc brakes are better than rim brakes. With better modulation and braking power, their superior performance is unquestionable, which is why every pro and the vast majority of everyday riders now use them.
Like anything in life, disc brakes do have some downsides, though, most notably the rubbing noise that they sometimes produce. It’s one of the most irritating noises that exist, partly because it's often a piercing squeal, but also because you know it's slowing you down and wearing out your pads.
Luckily, it’s an easy thing to resolve, and you should be able to deal with the issue in a matter of minutes with just a couple of tools. You'll need a 4mm allen key and either a piston resetting tool or a nylon tyre lever. If you need to progress to the last steps in this guide, you'll need a screwdriver to remove the brake pads. We've used a Shimano system for this guide but it's a similar process for other manufacturers.

Step 1
Make sure the calliper is centred
If a disc brake isn’t centred correctly, it’ll cause the pads to rub against the rotor. This is the most common cause of rubbing disc brakes and can be easily identified via a visual inspection.
Here’s how to correct the issue.

Step 2A
Use an allen key to loosen the calliper bolts
Use a 4mm allen key to loosen the bolts that secure the calliper to the frame. They don’t need to be completely removed, but loosened enough so that the position of the calliper can be adjusted.

Step 2B
Apply the brake
Hold onto the relevant brake lever. When the brake pads clamp the rotor, it will pull the calliper into the correct position.

Step 2C
Tighten the bolts
Whilst keeping hold of the brake lever, tighten the bolts to the correct torque limit.

Step 3
Retract the pistons
If centering the callipers doesn’t work, the problem is likely occurring because the brake pistons aren’t retracting correctly.
When you pull the brake levers, the brake fluid is pressed against the pistons, forcing them outwards towards the pads, which in turn presses the pads against the rotor. If they don’t retract fully, they will continue to press the pads into the rotor, causing the irritating rubbing.

Step 4A
Remove the brake pads
To fix this, remove the wheel. Then remove the brake pads by unscrewing the holding pin and simply sliding them out. This should expose the brake pistons.

Step 4B
Press the pistons
Use a brake piston tool to press the pistons back in until they’re fully retracted. This may take a little pressure.
If you don’t have a specific tool, a nylon tyre lever can do the job.

Step 4C
Attach the brake pads
Slide the brake pads back into place, making sure they’re paired correctly with the spring, which should be placed between the two pads.

Step 4D
Test the brakes
Attach the wheel and then check the brake by pulling the lever while spinning the wheel.
.jpg?w=600&auto=format)
Related Content
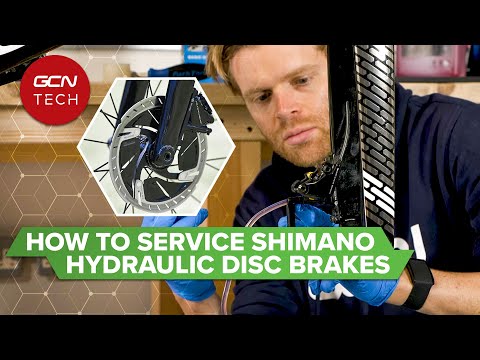
How to bleed Shimano road hydraulic disc brakes
If your hydraulic disc brakes have started to feel mushy or imprecise, then you need to bleed them.
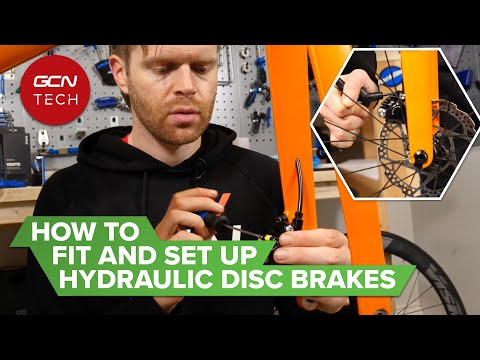
How to fit and set up Shimano road bike hydraulic disc brakes
Hydraulic discs offer brilliant all-weather braking control but fitting them can be a daunting prospect. Here’s how to get it right first time

The full pyramid: 30-minute HIIT indoor cycling workout from GCN
A 30-minute HIIT workout for developing anaerobic fitness, led by Manon Lloyd

How to replace a gear cable on a road bike
A new gear cable can reduce friction and improve shifting. Here’s how to change a gear cable on a road bike