Difficulty
Very Easy
How to correctly use a torque wrench
A torque wrench is an important tool that will protect your bike, so you need to know how to use one correctly
Tom Hallam-Gravells
Online Production Editor


Our bikes are our pride and joy, and most of us will do whatever it takes to protect and maintain them. This results in hours of cleaning, plenty of niggling maintenance tasks and a constant sense of imminent danger as soon as anyone steps a little too close to them for comfort.
One of the most important tools for protecting and maintaining a bike is a torque wrench. This humble tool is critical, helping to keep components secure and safe, whilst also eliminating the chance that you'll break components by overtightening them.
It's an essential tool, especially if your bike is made of carbon fibre. However, if you've never used one before, it can seem a little confusing. Here’s a complete guide to help.
- Read more: Five essential tools and spares for cyclists
What is a torque wrench?
Our bikes are essentially held together by a variety of bolts. From the rear derailleur to the handlebar, it's bolts that lock everything in place and make your bike safe to ride. With that in mind, it’s often tempting to simply tighten a bolt as much as possible, but doing so will actually harm your bike and components.
That’s where a torque wrench comes in handy. This device tightens bolts whilst also measuring torque at the same time, which is the rotational force we apply when tightening them. Torque is measured in Newton metres (N·m), which is the amount of force applied to a bolt multiplied by the length of the torque wrench, in metres.
Usually, torque wrenches have a ratchet at one end, onto which you can attach different adapters so that it can fit various bolt sizes. The ratchet also rotates both ways, allowing you to both tighten and loosen bolts.
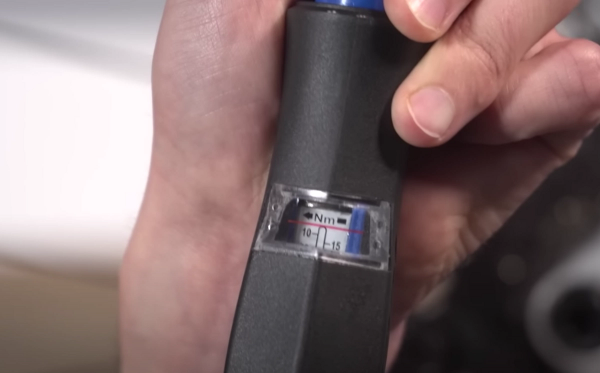
At the other end there’s a dial that allows you to set the wrench to a maximum torque, for example 10 N·m. As soon as a bolt is tightened to this number, the torque wrench will click to let you know. The limits for bike bolts can vary from 1 N·m, all the way up to 40 N·m. The higher the number, the tighter it will be.
It’s important to stick to these limits. Bike manufacturers will have worked out how much force each bolt needs to keep things secure, whilst protecting your bike. Find out the torque recommendation for each bolt (usually printed somewhere nearby on the bike or component), and stick to it.
- Read more: How to stop your seatpost from slipping
Types of torque wrench
There are lots of different torque wrenches available, but they all essentially do the same job. The major difference between them is the size, which usually correlates to the maximum torque that it can measure.
For example, TW5.2 torque wrenches can only measure torque up to 14 N·m. Some larger wrenches measure between 10 to 60 N·m, so it’s important to find one that meets the range of torque you’ll need to measure.
Beyond the standard versions, there are now electronic torque wrenches which have an almost infinite range of measurements, although that added range comes with a heftier price tag to match.
Tools Needed
Step 1
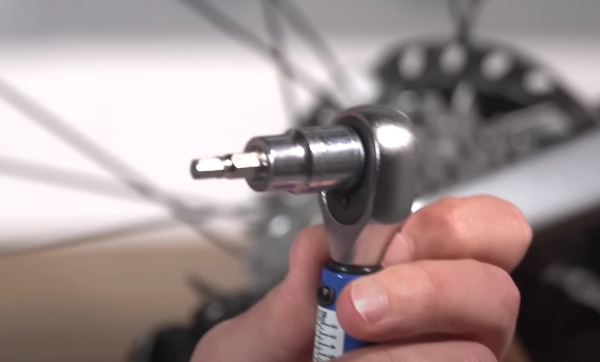
Select the correct adapter
Select the correct adapter that fits into the bolt you want to tighten and attach it to the end of the torque wrench.
Step 2
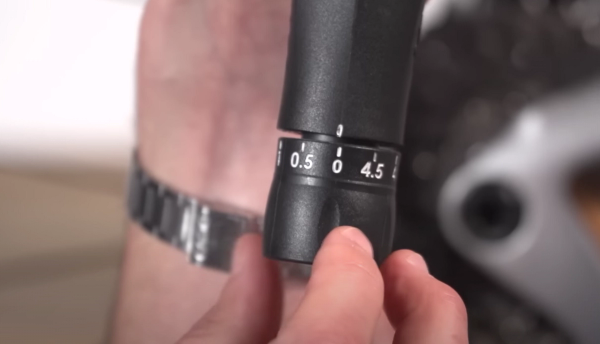
Set the torque limit
Set the torque wrench to the correct torque limit for the bolt you’re tightening. This limit may be displayed on the component or it should be in the bike owner’s manual.
Step 3
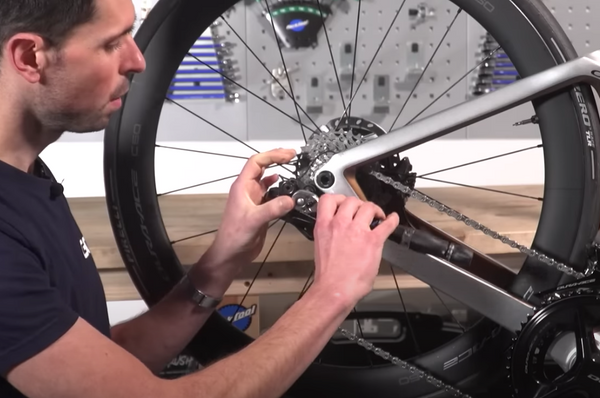
Fit the torque wrench to the bolt
Place the torque wrench adapter into the bolt. Loosely hold this end of the torque wrench with one hand, while holding the handle with the other. This will prevent the adapter from slipping out of the bolt.
Step 4
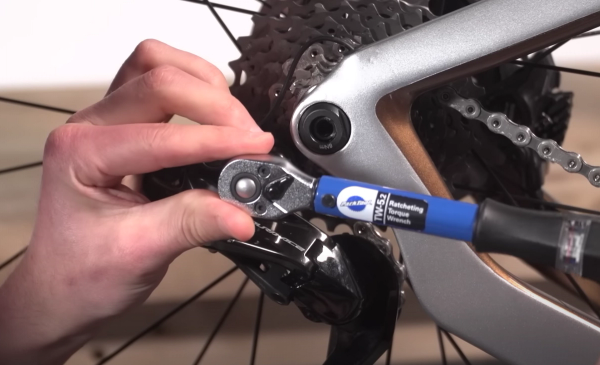
Press the torque wrench clockwise
Rotate the torque wrench in a clockwise direction until it clicks. This click indicates that you’ve reached the torque limit that you set. Only apply pressure to the torque wrench gradually. If you press the tool hard, it may exceed the torque limit before it has a chance to click.
Step 5
Wind the torque wrench down to the lowest setting
Remove the wrench and then wind the torque setting down to the lowest setting above zero - don’t wind it down to zero. Never leave a torque wrench set to a high setting. Inside the tool there’s a spring and if it’s left wound up it’ll stretch, meaning your torque wrench won’t be correctly calibrated.
.jpg?w=600&auto=format)
Related Content

Five essential tools and spares for cyclists
Mechanicals can happen at any time, so it’s important to always be prepared with the must-have cycling tools

Beginner indoor training session: 20-minute sweet spot indoor cycling workout
If you're new to indoor training, this is a good session to start with. No super hard efforts or high cadences, just a good, entry-level session that will burn calories

How to change the stem on a road bike
A new stem can transform the fit and feel of a bike. Here’s how to replace a stem on a road bike

Take it easy! 25-minute aerobic indoor cycling workout
A steadier workout for low-intensity days, or for building into your indoor cycling gradually