Difficulty
Easy
How to change an inner tube without tyre levers
Fixing a puncture is an easy task but it can be tricky if you’re forgotten tyre levers
Tom Hallam-Gravells
Online Production Editor


Whilst a puncture will bring you to a deflating halt on the side of the road, it doesn’t have to signal the end of your ride. As long as you’re prepared with all of the essentials, you can have the problem fixed and be back riding in no time.
Except, even the best-prepared cyclists can sometimes forget to carry essential tools on rides. Many cyclists have experienced that heart-sinking feeling when they realise that they’ve forgotten to bring tyre levers - cue plenty of choice language.
It’s a nightmare scenario but you don’t have to give up hope. Here’s how to replace a punctured inner tube without any tyre levers.
- Read more: How to fix a puncture on a tubeless tyre
Tools Needed
Step 1
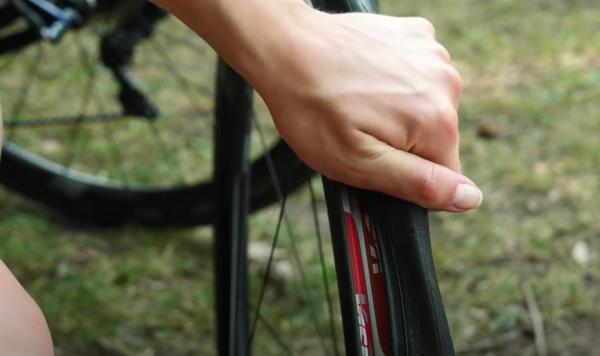
Push tyre bead into the centre of the rim
To remove the punctured inner tube, you’ll need to remove the tyre from the rim by hand.
Start by going around the wheel and pushing the bead of the tyre into the centre of the rim. This will create slack which should make the task a little easier.
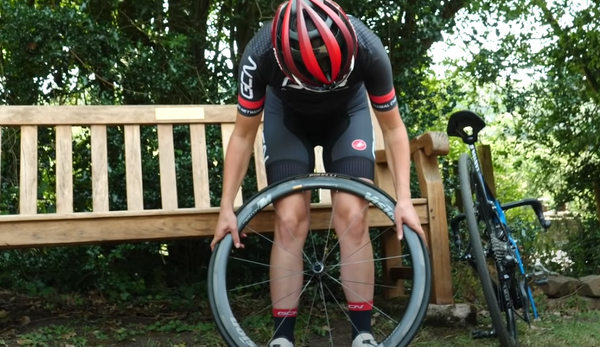
Step 2
Push the tyre to create slack
Lean the tyre against your legs, with the valve at the top of the wheel.
Starting from the valve area, press down on the tyre, working your way around to the bottom of the wheel. This should create more slack in the tyre at the bottom of the wheel.

Step 3
Pull the tyre off the rim
There should now be enough slack at the bottom of the wheel to now pull the tyre off the rim by hand. If not, try step 2 again. There may be some particularly tight-fitting tyres that won’t budge.
Roll the tyre off the edge, taking the inner tube off with it. Now is a good time to check the inside of the tyre for thorns or other sharp things before fitting a new tube.
Step 4
Fit half of the tyre to the rim
The hard part is done! Now it’s time to fit the tyre.
To start, only fit one side of the tyre bead to the rim. Leave the other side for now as we need to leave a gap so that we can slot the new inner tube in.
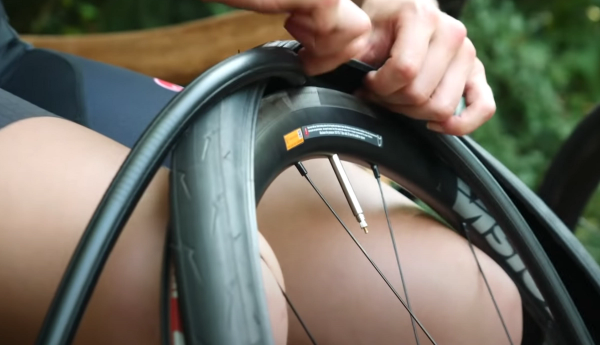
Step 5
Fit the inner tube
Give the inner tube a small pump of air to give it some shape - this will prevent it from twisting when you insert it into the tyre.
Then slot the valve through the valve hole and then work your way around the wheel, tucking the inner tube under the tyre.

Step 6
Fit the remainder of the tyre
Starting from the valve and working your way round, use your thumbs to fit the other side of the tyre bead to the rim.
The final part of the tyre can sometimes be tricky. It’s easier if you lay the wheel on your lap with the tricky section on the opposite side from your body, and then use your thumbs to push the tyre on.

Step 7
Pump the tyre
Finish by pumping the tyre up. While tyre levers aren’t essential, a pump is, so hopefully you’ve remembered it or you may have to send an SOS message to friends or family!
.jpg?w=600&auto=format)
Related Content
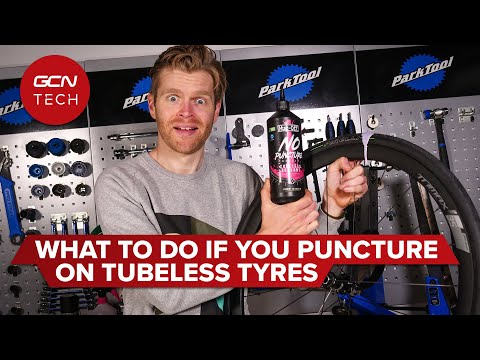
How to fix a puncture on a tubeless tyre
Tubeless tyres may lower the risk of a puncture but they don’t eliminate them completely. Here’s everything you need to know about repairing a punctured tubeless tyre.
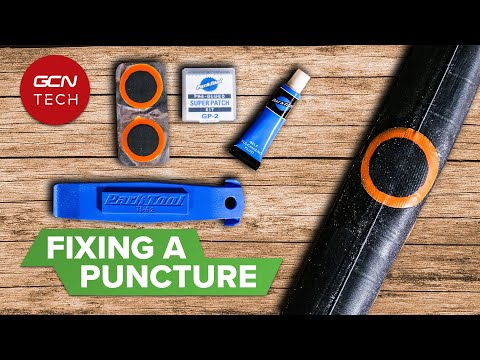
How to fix a bicycle puncture
This is an essential skill for any cyclist. If you've got a punctured tube, don't bin it, fix it

The full pyramid: 30-minute HIIT indoor cycling workout from GCN
A 30-minute HIIT workout for developing anaerobic fitness, led by Manon Lloyd

How to replace a gear cable on a road bike
A new gear cable can reduce friction and improve shifting. Here’s how to change a gear cable on a road bike