Difficulty
Easy
How to replace rim brake pads
Changing rim brake pads is an important job to know how to do. It's not difficult but there are a few things to make sure you get right.
Alex Hunt
Junior Tech Writer


The domination of the disc brake has taken a stronghold on road cycling, with most new bikes ditching rim brakes in favour of the newer technology of hydraulic disc brakes. That being said, the trusty rim brake remains a favourite among large swathes of riders for its simplicity, low weight and classic look. In fact, GCN's Alex Paton and Ollie Bridgewood both rate a good rim brake above a cable disc brake for the performance they offer.
One of the most common jobs you will need to carry out with rim brakes is to change the pads. This is not an overly complicated task, however it is crucial that you know how to do it correctly to prevent any brake-related issues further down the road.
- Read more: Five-minute rim brake tune up
This how-to guide will look at the most widely used rim brake configuration, the cartridge brake. You can tell if you have these as the pad material will sit on a track in a metal backing plate that is mounted to the calliper. There are other types of pads that mount directly to the calliper that take a little more to set up, however these are not covered in this guide.
For more bike maintenance guides, check out our comprehensive catalogue that will guide you through your next maintenance job.
Tools Needed

Step 1
How do I know my rim brakes are worn?
It is important when assessing the condition of your brake pads to take the time to look at each pad individually. This can tell you a lot about your brakes and the performance they have been offering you.
Most brake pads will have a small wear line marked on the top of the pads. Once the pads have worn to this limit, it is time to replace them. If they don’t have a line, when there are just a few millimetres of pad available, it's time to replace them.
Looking at how even the pads have worn compared to each other, and seeing if they have worn evenly across the pad, will show you if you have any issues with the balance and setup of your brakes. If they are set up well, both pads should be worn equally across the whole pad material.

Step 2
Preparing the bike
Once you have identified that it's time to replace your brake pads, it's time to get the bike ready for the task. Placing the bike in a work stand that's set at a comfortable height for working on the brake callipers will make the job a lot easier. So too will removing both wheels and cleaning the brakes with either a degreaser or a specific brake cleaner.

Step 3
Removing the pads
Almost all rim brake bikes use a system called cartridge brakes, this means that the pad material slides into the cartridge that is then fitted to the calliper. This allows the pads to be set to the correct position and then the pad material can be removed and refitted multiple times without the need to reset the pad position every time. In order to remove the pad material, firstly remove the 2mm grub screw that retains the pad.
Once the grub screws have been removed, set them to one side and inspect them for any damage. It can be useful to add a smear of grease on the threads before refitting them to prevent them from seizing, making your life easier next time.
Using your thumbs should be enough to extract the pads from the cartridge, although they can be a little bit tough and could take some working to get them to slide off. It is advised that you don't use anything else to try and ease the pads off as this could cause damage to the frame or fork if you slip.
Top Tip
To make it a bit more comfortable and to protect your hands, a clean microfibre cloth can be used between the pad and your thumbs when pushing the pads out.

Step 4
Fitting the new pads
Fitting the new brake pad is almost as simple as doing the reverse of what you did to remove the old ones, however, take note of any writing and arrows on the pads. Typically they will have an arrow labelled forward and a denotation marking to show which side they are for. These markings are to ensure that the cutout in the back of the pad will line up with the retaining grub screw and will hold the pad in place.
Now that the new pad is in place, it's time to fit the retaining grub screws. Make sure you are delicate with them – it's very easy to cross-thread them or damage the head of the screw. The grub screws do not need to be done up overly tight and a torque of around 2-3Nm should be enough.

Step 5
Final Adjustments
With the wheels refitted, it is likely that the wheels are rubbing against the brakes, as all that fresh pad material is taking up a lot more space. In order to compensate for this the brake barrel adjuster needs to be wound out to a point that the pads are not touching the rims and you have the desired lever throw.
The final checks to make before heading out for a ride is that the pads come into contact with the correct section on the rim, and that the pad meets the rim at a nice square angle.

GCN's Essential Road Bike Maintenance
For road, gravel, commuter and hybrid bikes, Essential Road Bike Maintenance is intended to be a proper bible to all those essential bike maintenance, repairs, and set-up tasks that we all need to know. Everything from basic bike set-up, how to get your wheels on and off, through setting up gears, bleeding brakes, and beyond to things like installing electronic gears, converting to a 1x transmission and more. In a nutshell, pretty much everything you would want to tackle on your bike (or bikes, plural) yourself. And then some. Like bike set up tips for taller and shorter riders; bottom bracket standards explained; common bike maintenance mistakes and how to avoid them; essential roadside fixes to keep you riding; how to make your bike more comfortable; how to puncture-proof your ride and much, much more. “A huge amount of knowledge, hacks, and know-how to help improve both your workshop skills and your ride” – Ollie Bridgewood, GCN Presenter Each chapter is structured with the tasks you’ll most likely need more of the time at the start (like how to adjust your gears, replacing brake pads, or changing a tyre), before running through to those that you’ll do much more infrequently (such as changing disc brake hoses, servicing a freehub or pedals, and so on). This also means that many of the tasks naturally ratchet up in difficulty as you go through each chapter which should also mirror your natural progression as you become more mechanically capable and confident. In short, 260 pages packed with all the essential knowledge you’ll need to confidently take on and complete pretty much any bike maintenance task. Get Some ‘Show-How’ With Your ‘Know-How’ Each walkthrough is linked to a companion video which you can watch for free from your computer, tablet or smartphone. To watch, either type in the walkthrough’s short-link URL – e.g. https://gcn.eu/GetPerfectShifting – into your browser, or scan the QR code with your smartphone or tablet so you can get the best of both worlds: know-how and show-how. Simple. All you need to know to fix your bike. Product Details: Pages: 260 (120sm) Size: 280mm (h) x 216mm (w) (portrait) Cover: Paperback Cover Finish: 300gsm, silk stock with anti-scuff matte laminate and spot UV gloss finish Please note: There may be some additional shipping charges for orders consisting of 2 or more books. However, our customer service team will contact you after you have placed the order to advise on delivery options. Click here to explore all GCN best selling books

Related Content
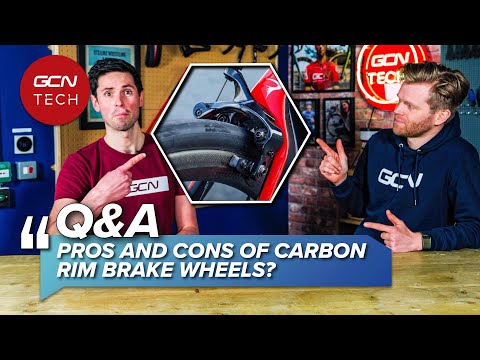
GCN Tech Clinic: Pros and cons of carbon rim brake wheels
From shoe-based power meters to carbon rim brakes, it's time for the latest GCN Tech Clinic
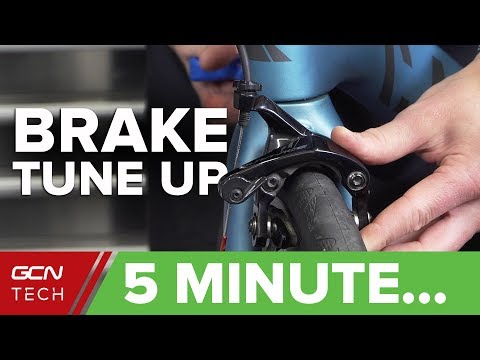
Five minute rim brake tune up
Get your brakes performing properly with these quick adjustments
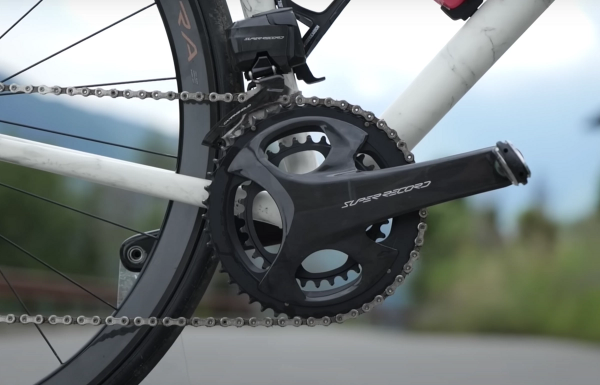
Complete guide to road bike groupsets 2024
A guide to Shimano, SRAM and Campagnolo’s groupset hierarchies, plus how to choose between disc or rim brakes and electronic or mechanical shifting.

How to replace a gear cable on a road bike
A new gear cable can reduce friction and improve shifting. Here’s how to change a gear cable on a road bike