Difficulty
Easy
How to fix a bicycle puncture
This is an essential skill for any cyclist. If you've got a punctured tube, don't bin it, fix it


If you've got a bicycle inner tube that's not holding air, here's how to fix it. You can always replace an inner tube with a new one, but repairing your own is quick and easy, and it'll save you buying a new one. Better for the planet and better for your pocket.
Read more: How to change a tyre
This tutorial uses a puncture repair kit, which you can pick up for very little in any bike shop. When you go riding, we'd suggest taking a new tube with you as well. Fixing punctures is easy, but it takes a few minutes. Replace your tube with a new one while you're by the side of the road, and fix the old one once you're in the comfort of your own home.
Tools Needed
Step 1
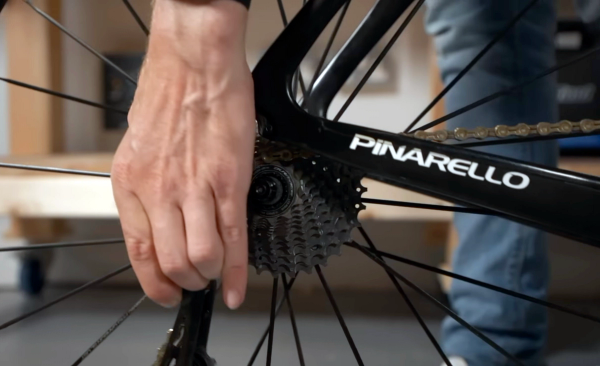
Remove the wheel
The first thing you need to do is remove the wheel from your bike and ensure the tyre is fully deflated. If you struggle with removing the rear wheel, shift into the smallest sprocket at the back and pivot the rear derailleur backwards to aid removal.
Learn more: How to remove and replace your bike wheel [link]
Step 2
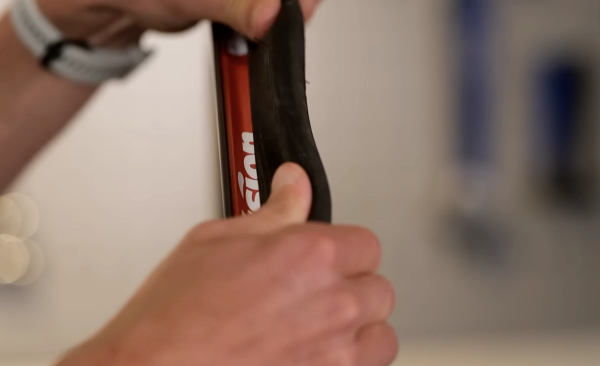
Unseat the tyre bead
Using your hands, push the entire bead of one side of the tyre off the rim into the central wheel well. This may require some force, especially with modern tyres.
Step 3
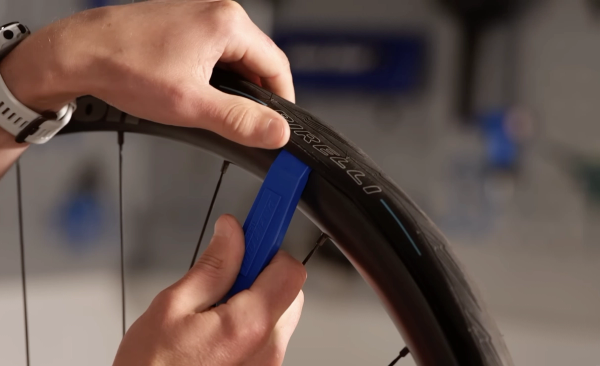
Take off the tyre bead on one side
Take one tyre lever and place it underneath the loose bead of the tyre. Lever the tyre up and over the edge of the wheel rim. Slide the tyre lever to one side to remove the rest of the tyre bead from the rim. If the tyre is tight, use a second tyre lever in the same manner to release the tyre bead completely.
Step 4
Remove the inner tube
Pull out the old tube and remove the valve. If your valve has a nut holding it in place, you'll have to remove that first.
Step 5
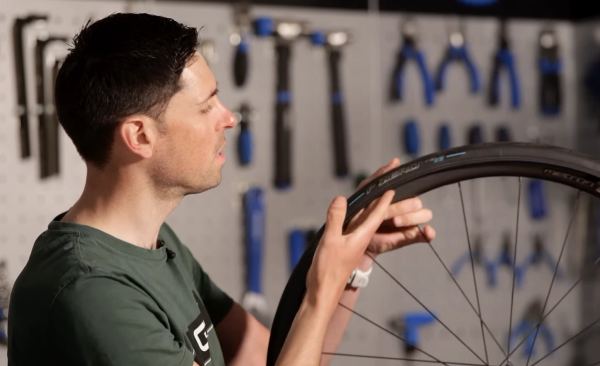
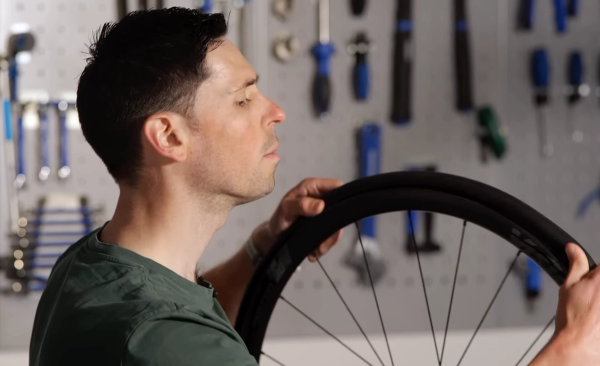
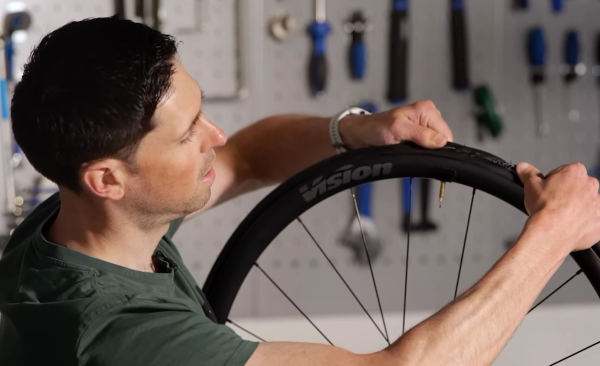
Inspect the tyre
Carefully inspect the tyre to ensure that the object that caused the puncture is not still inside. Slide your hand gently around the inner surface of the tyre. If you find any large cuts or holes in the tyre, it will likely need replacing. Small thorn holes or tiny cuts from small stones are usually okay. If you're unsure about a small hole, you can put a little bit of tape over the inside or patch the inside of the tyre using the same process you'll use on the inner tube.
Top Tip
Be careful with this step – a thorn or sharp object lodged in the tyre can easily cut your finger if you're rushing.
Step 6
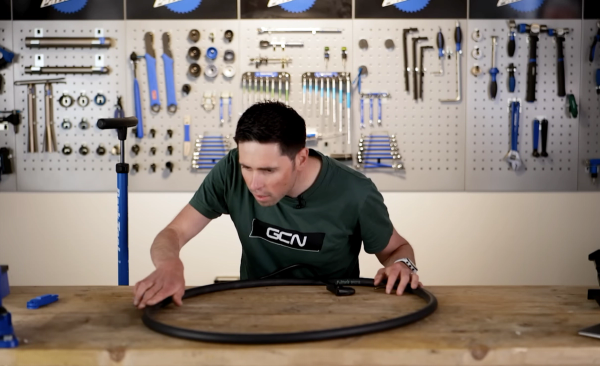
Locate the puncture and prepare the inner tube
With the inner tube removed, pump it up to locate the puncture. Listen carefully for the hiss of air escaping. Once you've found the hole, either keep your finger on it or mark it, then deflate the tube.
Top Tip
If you've got a slow puncture and you can't hear the air escaping, submerge the tube in water and see where the bubbles are coming from.
Step 7
Roughen the tube and apply the glue
Scuff up an area larger than the size of the patch with the included abrasive paper. Apply a thin layer of vulcanising solution to an area larger than the patch size and allow it to dry for a minute or so.
Step 8
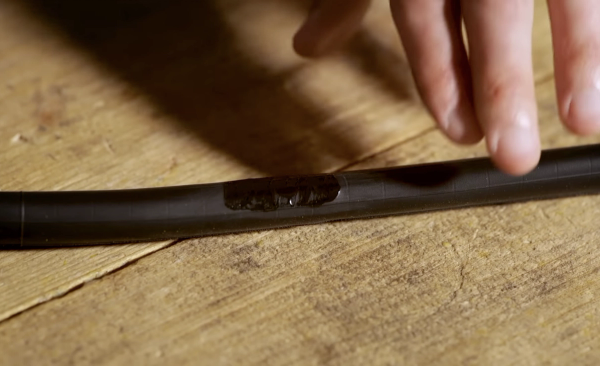
Apply the patch
Peel off the foil backing from the patch. Once the vulcanising solution has become dry and sticky, press the patch centrally over the puncture. Press down firmly to ensure full contact with the inner tube, and continue to apply pressure for a minute. Carefully peel off the top protective cover, ensuring the patch remains in place.
Top Tip
The most common mistake people make when repairing an inner tube is applying the patch too soon. Be patient – the vulcanising solution has to be dry and sticky to work.

Step 9
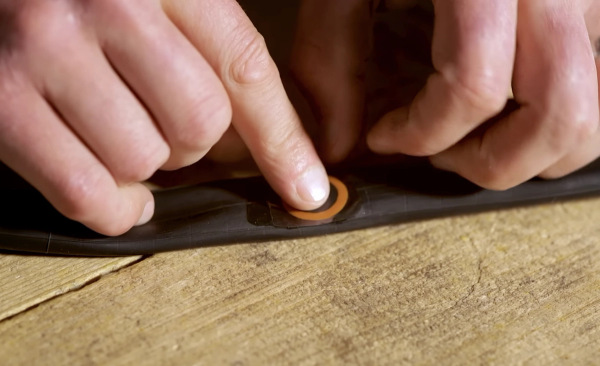
Refit the inner tube
With the patch in place, it's time to reinstall the inner tube into the tyre. Start by inserting the valve through the valve hole in the rim. Work your way around, starting and finishing at the valve.
Top Tip
Before inserting the tube, pump it up just enough to give it a bit of shape. It'll make it easier to install and reduce the chances of pinching the tube between the rim and tyre.
Step 10
Check and inflate
Ensure the inner tube is properly fitted inside the tyre, and not caught between the tyre bead or rim. Inflate the tyre to your normal pressure using a pump. Remember that front and rear tyres may have different pressures.
Install the wheel back onto your bike, and give it a quick spin to check that the tyre is seated correctly. If there are bulges or irregularities in the tyre, it's not seated correctly. To resolve this, add in more pressure until it pops into place, then let the air out and bring the tyre back to the correct pressure.
Step 11
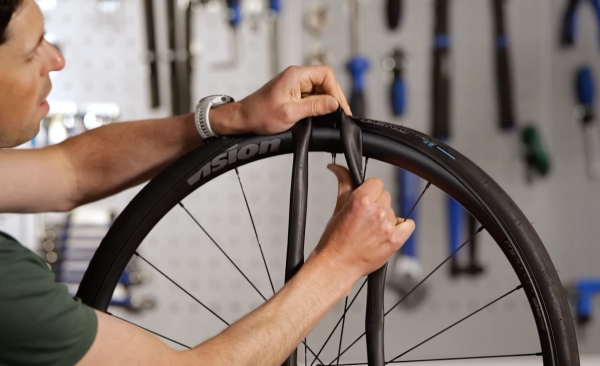
Refit the tyre
With just your thumbs, push the tyre bead back onto the rim. Getting the final bit over can be tricky, so to make it easier, work the bead around the rim to give yourself as much excess as possible.
Related Content

Beginner indoor training session: 20-minute sweet spot indoor cycling workout
If you're new to indoor training, this is a good session to start with. No super hard efforts or high cadences, just a good, entry-level session that will burn calories

How to change the stem on a road bike
A new stem can transform the fit and feel of a bike. Here’s how to replace a stem on a road bike

Take it easy! 25-minute aerobic indoor cycling workout
A steadier workout for low-intensity days, or for building into your indoor cycling gradually

VO2 max surges: 30-minute GCN indoor training session
Hank guides you through three five-minute blocks, each with a hard VO2 Max effort sandwiched between two sweet spot efforts