Difficulty
Very Easy
How to change a tyre on your road bike
Whether you’re replacing a worn one or upgrading your rubber, our in-depth guide on how to change a bike tyre will help.
Tom Hallam-Gravells
Online Production Editor
.png?w=600&auto=format)

These instructions are for clincher tyres, which use an inner tube inside the tyre to hold air.
How to Steps
Remove the wheel
Remove the air from the tyre
Insert a tyre lever
Insert second tyre lever
Remove the tyre from the rim on one side
Remove the inner tube
Remove the tyre
Check the rim
Check the direction of rotation on the new tyre
Fit one side of the tyre bead
Insert the inner tube
Fit the other side of the tyre
Check the tyre
Inflate the tyre
Tools Needed
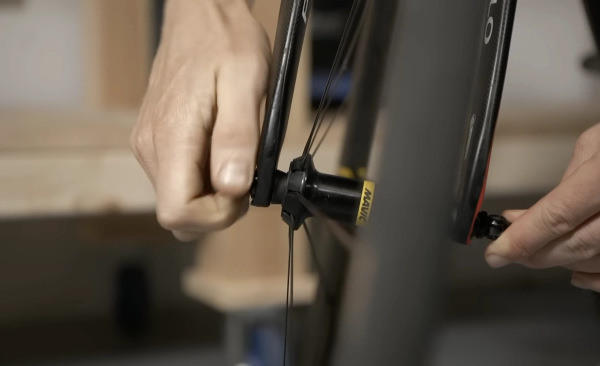
Step 1
Remove the wheel
Remove the wheel with the tyre that needs replacing. If you’ve got a quick-release skewer, undo the lever and remove the wheel from the bike. You may also need to release your brake calliper (by operating the small lever at the top) to get your tyre through the brake.
If you have a disc brake bike with thru-axles, simply undo the axle (you may need an Allen key) and remove the wheel.
Step 2
Remove the air from the tyre
Once removed, remove the air from the tyre. With the most common valve type - Presta - that’s by unscrewing the top of the valve and pushing it down. If you have a Schrader (car) type valve, depress the centre section.
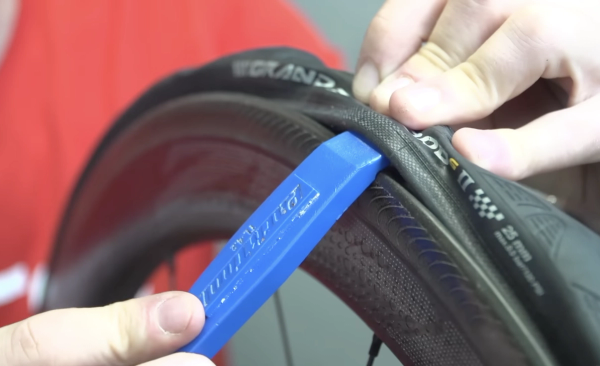
Step 3
Insert a tyre lever
Insert one of the tyre levers in between the bead of the tyre and the wheel rim and hook it underneath the bead. Once in place, pull it back towards the spokes and try to hook it behind one of them. It’s a good idea to do this on the opposite side of the wheel to the valve as it’ll be easier.

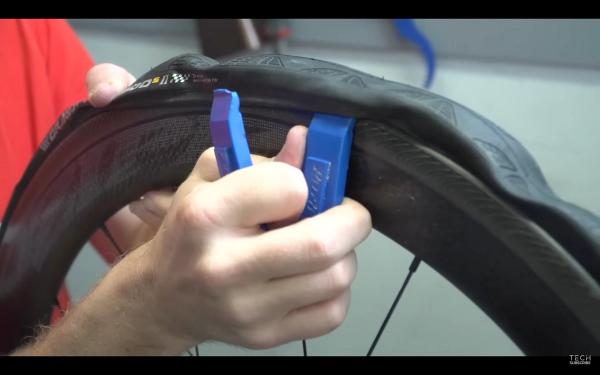
Step 4
Insert second tyre lever
Insert a second tyre lever underneath the bead of the tyre, positioning it fairly close to the first lever. You should now be able to use it to pull some tyre bead over the rim, though sometimes you might need to pull down both levers together to get this process started.
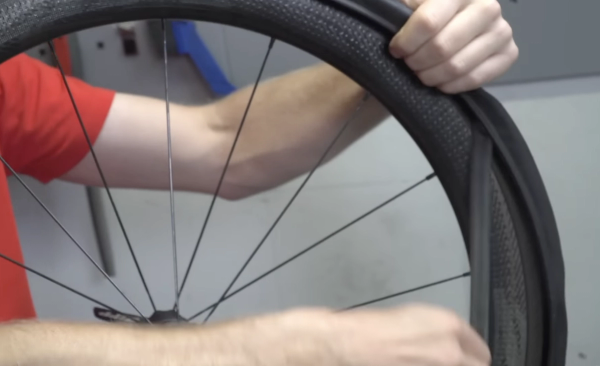
Step 5
Remove the tyre from the rim on one side
Continue to work your way around the wheel, pulling the bead over the rim with the lever until enough of the tyre is loose to be able to do it by hand. Alternatively, you can carefully slide the lever around the rim, taking care not to damage the inner tube.
Step 6
Remove the inner tube
Now that you’ve got half of the tyre off the rim, you need to remove the inner tube. Starting on the opposite side of the wheel from the valve, carefully pull the tube out until you get to the valve. Unscrew the retaining nut and pull the valve from the wheel.
Step 7
Remove the tyre
Now the tube is out of the way, remove the tyre. Push it off the rim bed and remove it from the wheel.
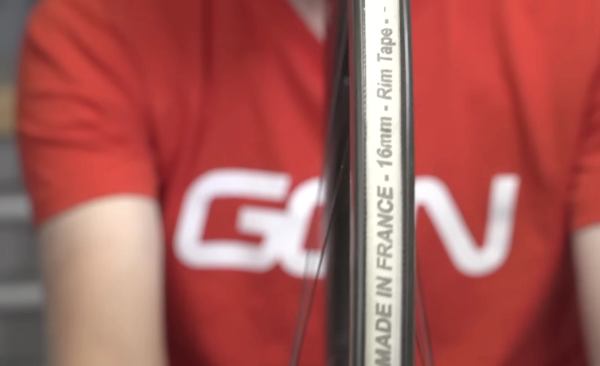
Step 8
Check the rim
Before fitting your new tyre, check the surface of the rim bed. All of the spoke holes should be covered by rim tape and there shouldn’t be any material defects which could cause a puncture in the future.
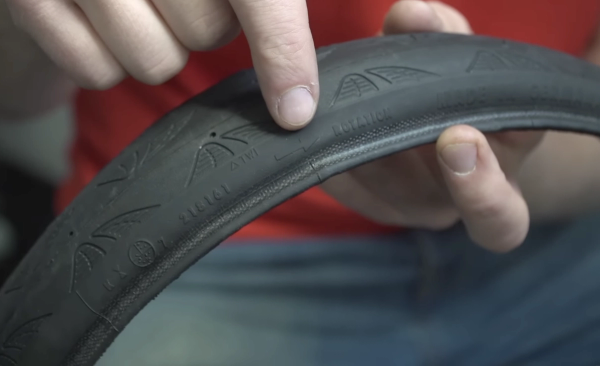
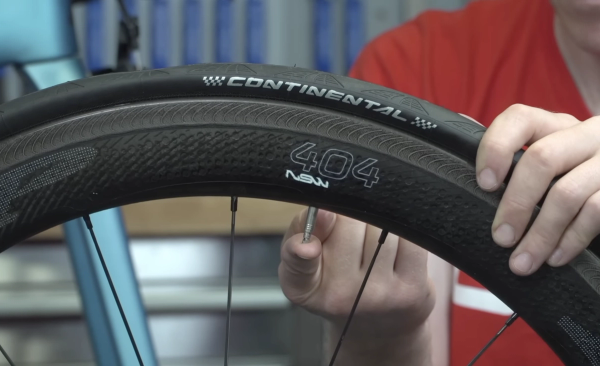
Step 9
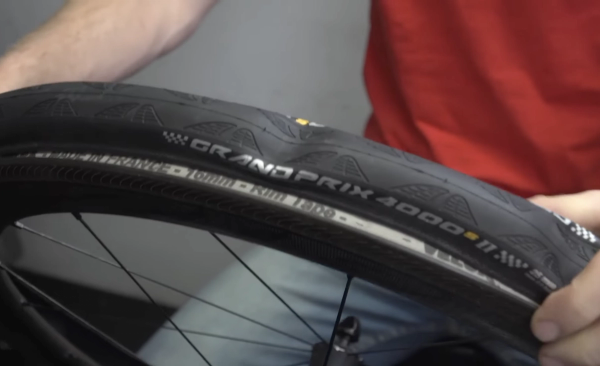
Check the direction of rotation on the new tyre
Grab your new tyre and get ready to start fitting it, but before you do, check the sidewall to see if there are any marks indicating the direction of rotation. Ensure you correctly orientate the tyre so the arrow will be pointing in the direction of travel when the wheel is attached to the bike.
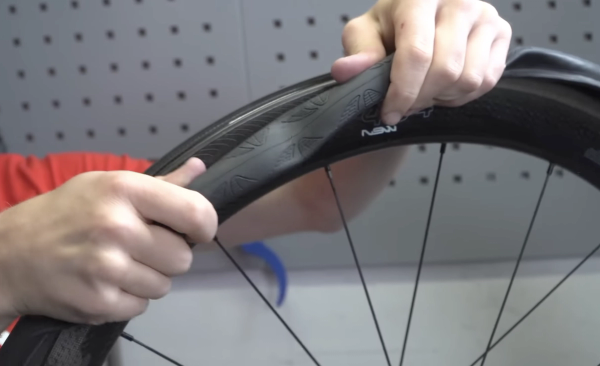
Step 10
Fit one side of the tyre bead
Insert one side of the tyre bead into the rim bed and start working your way around until the whole side has been fitted.
Step 11
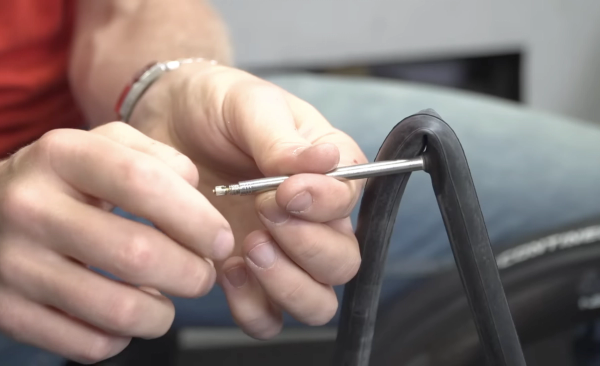
Insert the inner tube
Next, pick up the inner tube and inflate it slightly to give it a little shape. Then insert the inner tube’s valve through the hole in the rim and start fitting the inner tube into the open side of the tyre.
Step 12
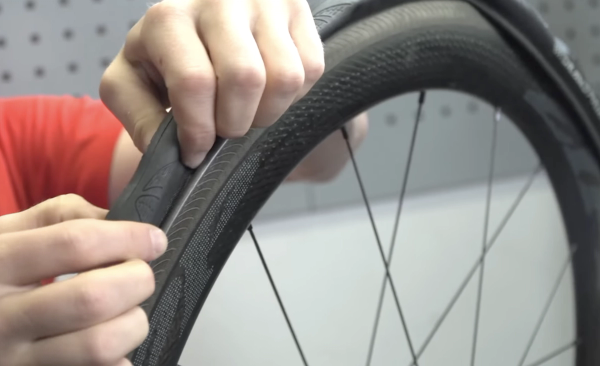
Fit the other side of the tyre
Starting at the valve, work around the tyre tucking in the remaining side of the tyre bead over the rim. If the final section is tough, go around the tyre squeezing both walls together so that they sit in the middle of the rim bed. This should create enough slack to easily push that final section over the rim.
Top Tip
Sometimes a tight tyre simply won’t budge and you just can’t get it over the rim. Don’t worry as you can resort to using a tyre lever to pop the final section in place. Place the lever between the bead and the rim and gently lever it up over the rim. Take great care not to snag the inner tube as it could get pinched or torn.
Step 13
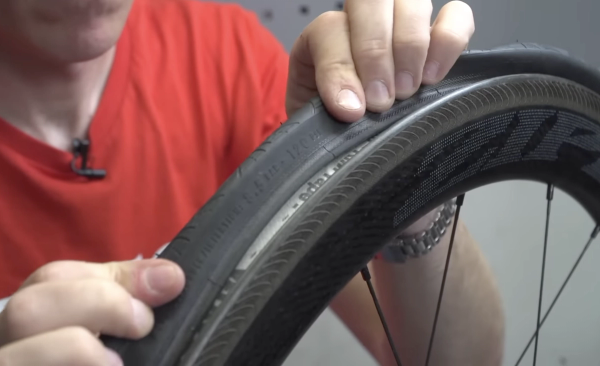
Check the tyre
Before inflating the tyre, check that the inner tube hasn’t become trapped between the bead of the tyre and bed of the rim. Go around pulling the bead of the tyre away from the sidewall of the rim to check. If the inner tube is trapped in any place, then gently wiggle the tyre off it.

Step 14
Inflate the tyre
Start to add some air though the valve. Stop at around 15psi to check for any pinches and wiggle the tyre if necessary to remove them. Pump it up to the maximum pressure indicated on the tyre’s sidewall to ensure that it’s properly seated on the rim, then adjust to your usual riding pressure. Once you’re happy, fit the wheel back onto your bike.
.jpg?w=600&auto=format)
Related Content

Beginner indoor training session: 20-minute sweet spot indoor cycling workout
If you're new to indoor training, this is a good session to start with. No super hard efforts or high cadences, just a good, entry-level session that will burn calories

How to change the stem on a road bike
A new stem can transform the fit and feel of a bike. Here’s how to replace a stem on a road bike

Take it easy! 25-minute aerobic indoor cycling workout
A steadier workout for low-intensity days, or for building into your indoor cycling gradually

VO2 max surges: 30-minute GCN indoor training session
Hank guides you through three five-minute blocks, each with a hard VO2 Max effort sandwiched between two sweet spot efforts